Discovering a puncture in your plush leather car seat can be disheartening. But before you resign yourself to costly replacements, know that repairing a puncture in a leather car seat is often possible and can save you a significant amount of money. Whether it’s a small nick from a sharp object or a larger tear, this comprehensive guide will walk you through the steps to effectively repair the damage and restore your car’s interior.
Assessing the Damage: What You’re Up Against
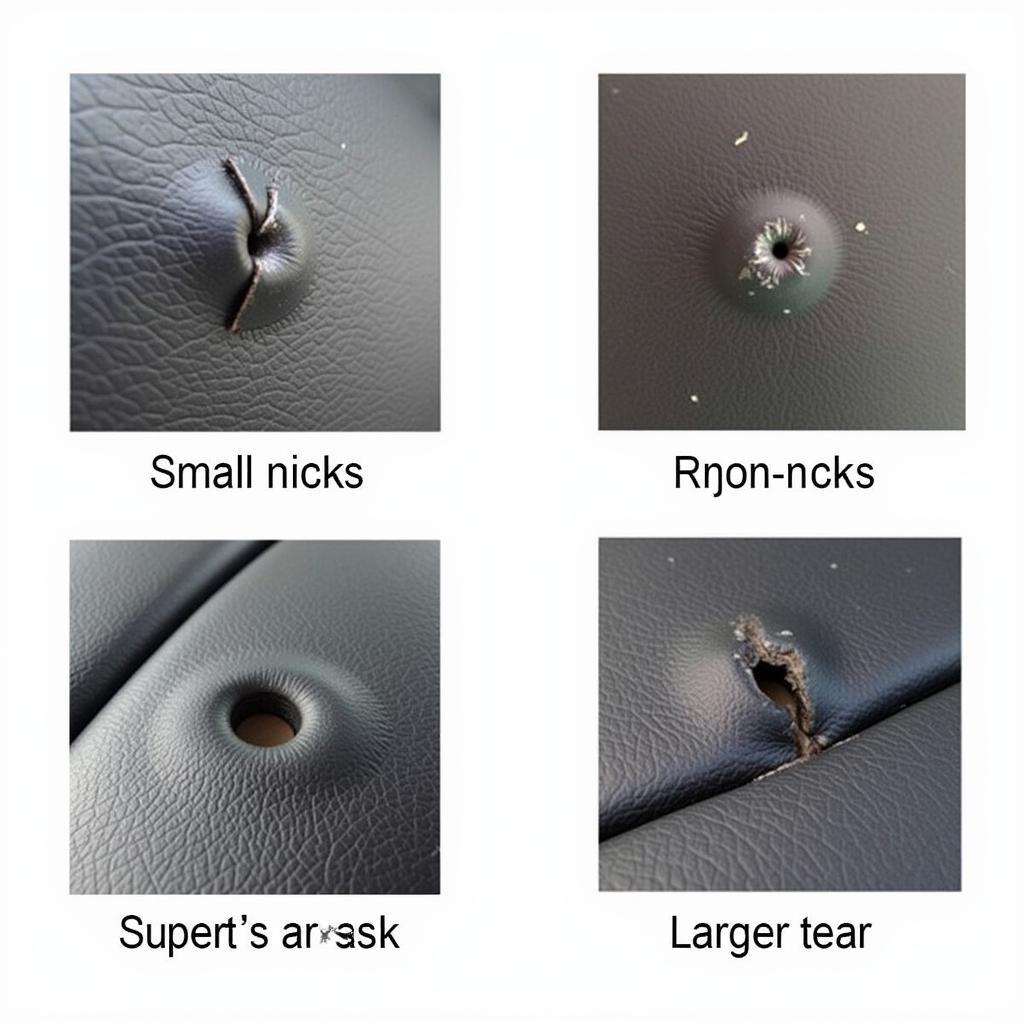
Before diving into the repair, it’s crucial to assess the extent of the damage. A small puncture might require a different approach than a large tear.
- Small Punctures: These are typically less than 1/4 inch and involve minimal material loss.
- Large Tears: Tears larger than 1/4 inch will require more involved repair techniques.
- Underlying Damage: Check if the puncture extends to the seat’s foam padding.
 Types of Leather Seat Punctures
Gathering Your Repair Arsenal: Tools and Materials
To effectively tackle the repair, you’ll need the right tools and materials:
- Leather Repair Kit: Opt for a high-quality kit that matches your seat’s color and grain.
- Cleaning Solution: Use a dedicated leather cleaner or a mild soap solution.
- Microfiber Cloths: These are perfect for cleaning and applying products.
- Scissors: For trimming any loose threads or patching material.
- Tweezers: Helpful for precise placement of patches.
- Hair Dryer: To speed up the drying process of repair compounds.
The Repair Process: A Step-by-Step Guide
Now that you’re prepped, let’s walk through the repair process:
1. Clean the Area: Thoroughly clean the punctured area and surrounding leather with a leather cleaner and a microfiber cloth. This removes dirt and grime, ensuring proper adhesion of repair materials.
2. Assess and Trim: If there are any loose threads or frayed edges around the puncture, carefully trim them with scissors.
3. Patching (for Larger Tears): For larger tears, a backing patch is necessary:
- Cut a piece of leather patch material slightly larger than the tear.
- Apply a thin layer of leather adhesive to the back of the patch and carefully place it underneath the tear, ensuring it aligns smoothly.
- Use your fingers or tweezers to press the patch firmly in place.
4. Filling the Puncture:
- Using a spatula or your finger, apply a small amount of leather filler compound directly into the puncture. Overfill slightly to allow for shrinkage during drying.
- Use the spatula to smooth out the filler, ensuring it’s level with the surrounding leather surface.
5. Heat Setting (Optional): If your leather repair kit includes a heat-setting tool or recommends using a hairdryer, follow the instructions to help cure the filler and create a stronger bond.
6. Color Matching and Grain Replication:
- Once the filler is dry, use the color matching system in your repair kit to create the closest match to your leather’s shade.
- Apply thin coats of the colorant to the repaired area, allowing each coat to dry completely before applying the next.
- If your kit includes a grain paper, use it to imprint a matching grain pattern onto the repaired area while the colorant is still slightly tacky.
7. Final Touches: After the colorant has fully dried, apply a leather conditioner to the entire seat to restore its suppleness and protect the repaired area.
Expert Insights: Tips from the Pros
“When choosing a leather repair kit,” advises John Smith, a veteran car upholstery specialist, “always prioritize quality and a perfect color match. A high-quality kit will yield the most natural-looking results. Don’t be afraid to test the color on an inconspicuous area first to ensure a seamless blend.”
Preventing Future Punctures: Proactive Measures
While repairs can effectively address punctures, prevention is always better than cure. Here are some tips to safeguard your leather car seats:
- Be Mindful of Sharp Objects: Avoid placing sharp objects like pens, tools, or keychains on your seats.
- Use Seat Covers: Consider using seat covers, especially if you frequently transport pets or cargo.
- Regular Cleaning and Conditioning: Keep your leather seats clean and conditioned to maintain their strength and flexibility.
Conclusion
Repairing a puncture in your leather car seats is a manageable DIY task that can save you money and preserve the beauty of your car’s interior. By following these steps and using the right materials, you can achieve impressive results and enjoy your restored leather seats for years to come.
Remember, if you’re unsure about any step of the repair process or if the damage is extensive, it’s always best to consult a professional car upholstery specialist.

