If your Windows 7 computer is stuck in an endless loop of Startup Repair, don’t worry! You can fix it even without a Windows installation CD. This comprehensive guide will walk you through various effective methods to troubleshoot and resolve startup issues on your Windows 7 PC.
Understanding Windows 7 Startup Repair and Its Importance
Startup Repair is a built-in recovery tool in Windows 7 designed to automatically diagnose and fix problems that prevent your computer from booting properly. When Windows 7 detects a startup issue, it launches Startup Repair to attempt to resolve the problem.
Common Causes of Startup Errors
Several factors can lead to startup errors in Windows 7, including:
- Corrupted system files: System files crucial for booting can become corrupted due to power outages, malware, or improper shutdowns.
- Faulty hardware: Issues with your hard drive, RAM, or other hardware components can also prevent your computer from starting correctly.
- Boot sector problems: The boot sector is a small section of your hard drive that tells your computer how to start Windows. If it’s damaged or corrupted, your computer may fail to boot.
- Incomplete or incorrect driver installation: Newly installed or updated drivers can sometimes conflict with your system and cause startup errors.
- Malware infections: Some types of malware specifically target the boot process, preventing your computer from starting properly.
How to Fix Startup Repair on Windows 7 Without a CD
Here are some proven methods to fix startup repair problems on your Windows 7 computer without needing a CD:
1. Run Startup Repair from System Recovery Options
- Restart your computer and repeatedly press the F8 key before the Windows logo appears. This should bring up the Advanced Boot Options menu.
- Select Repair Your Computer using the arrow keys and press Enter.
- Choose your keyboard layout and click Next.
- Select your username and enter your password (if applicable) and click OK.
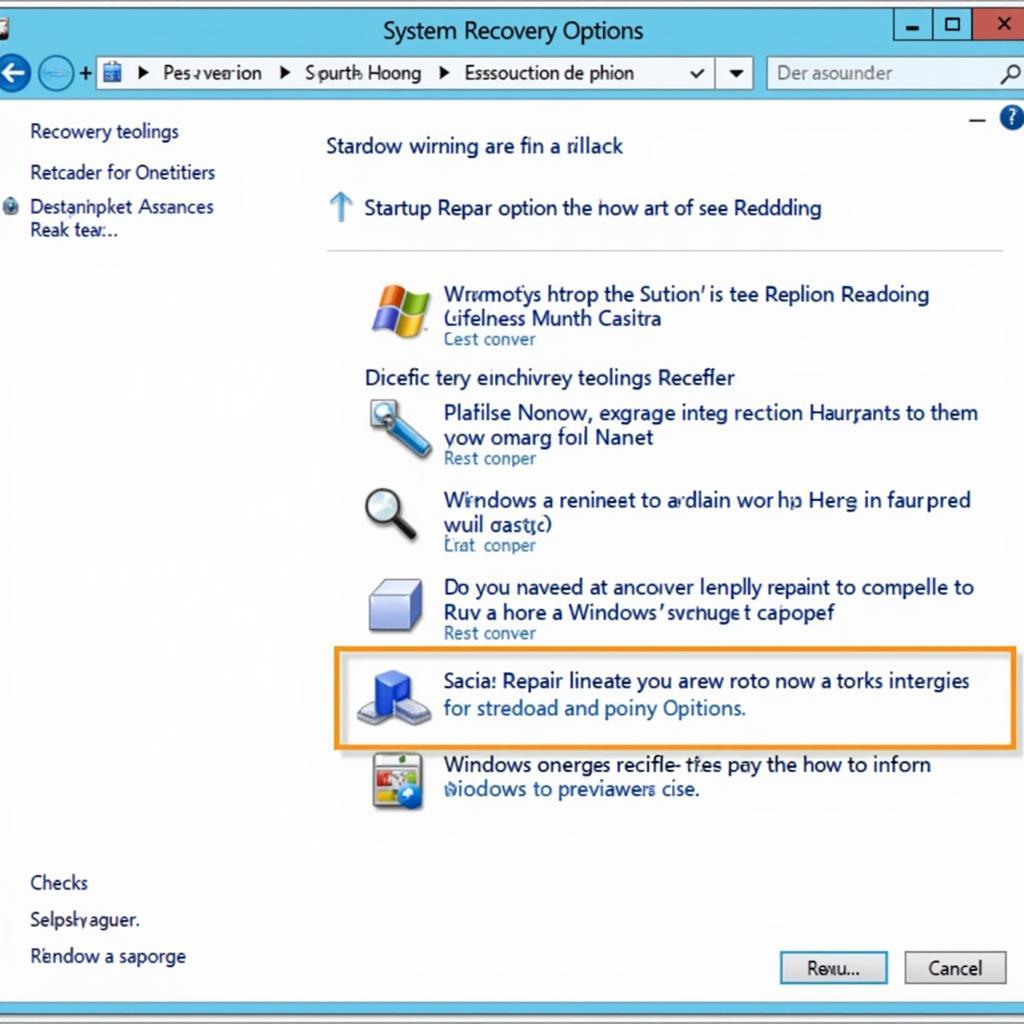
- In the System Recovery Options window, select Startup Repair.
- Follow the on-screen instructions to complete the repair process.
 System Recovery Options Menu in Windows 7
2. Use System Restore to Revert to a Previous State
- Access the System Recovery Options menu as described in the previous method.
- Select System Restore.
- Choose a restore point from the list of available options. It’s best to select a point created before you started experiencing startup issues.
- Follow the on-screen prompts to complete the system restore process.
3. Rebuild the Boot Configuration Data (BCD)
- Access the System Recovery Options menu and select Command Prompt.
- In the command prompt window, type the following commands one by one, pressing Enter after each one:
bootrec /fixmbrbootrec /fixbootbootrec /rebuildbcd
- Once the commands are executed, restart your computer.
4. Check Your Hard Drive for Errors
- Access the System Recovery Options menu and open Command Prompt.
- Type
chkdsk /f /rand press Enter. - The
chkdskcommand will scan your hard drive for errors and attempt to fix them.
5. Use the Bootrec.exe Tool
- Access the System Recovery Options menu and open Command Prompt.
- Type
bootrec.exeand press Enter. - This command will show you a list of available options for fixing boot problems.
- Use the
/fixmbr,/fixboot,/scanos, and/rebuildbcdoptions as needed.
6. Disable Automatic Restart on System Failure
Sometimes, your computer may continuously restart before you can even see the error message. To disable this:
- Restart your computer and press F8 repeatedly to access Advanced Boot Options.
- Select Disable Automatic Restart on System Failure.
- This will allow you to see the error message and get a better understanding of the problem.
7. Check for Hardware Issues
- Disconnect all non-essential peripherals like printers, scanners, and external hard drives.
- Inspect your RAM: Ensure that your RAM modules are properly seated in their slots.
- Check for loose connections: Inspect all internal cables and connections to ensure they are secure.
Note: If you suspect a hardware problem, it’s best to consult with a qualified technician for further diagnosis and repair.
Preventing Startup Errors in the Future
Here are some tips to help prevent startup errors from occurring in the future:
- Regularly perform system maintenance: Run Disk Cleanup, Disk Defragmenter, and antivirus scans regularly to keep your system running smoothly.
- Be cautious with downloads and installations: Always download software from trusted sources and be careful when installing new programs or drivers.
- Create system restore points: Before making any major changes to your system, create a system restore point so you can revert back if necessary.
- Keep your system updated: Install Windows updates regularly to ensure you have the latest security patches and bug fixes.
Conclusion
Encountering startup issues on your Windows 7 computer can be frustrating, but with the methods outlined in this guide, you can effectively troubleshoot and fix them even without a Windows installation CD. By following the steps carefully, you can hopefully get your computer up and running smoothly again. Remember to back up your important data regularly to prevent data loss in case of any unexpected system failures.

