Assessing Car Scratch Depth
Keyed car repair can be a frustrating and costly experience. However, with the right knowledge and tools, it is possible to fix minor to moderate key scratches yourself and save a significant amount of money. This comprehensive guide will walk you through the steps involved in Diy Keyed Car Repair, empowering you to restore your car’s appearance with confidence.
Assessing the Damage: How Deep is the Scratch?
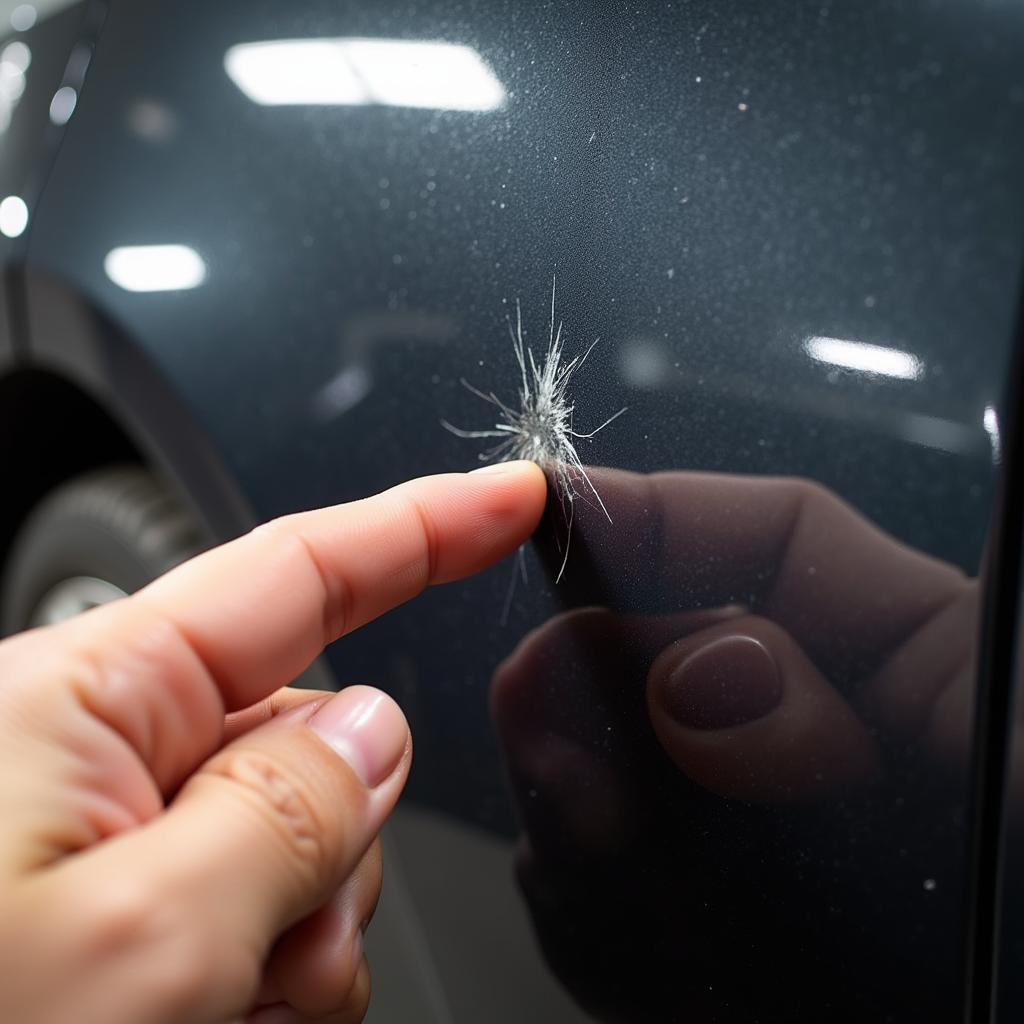
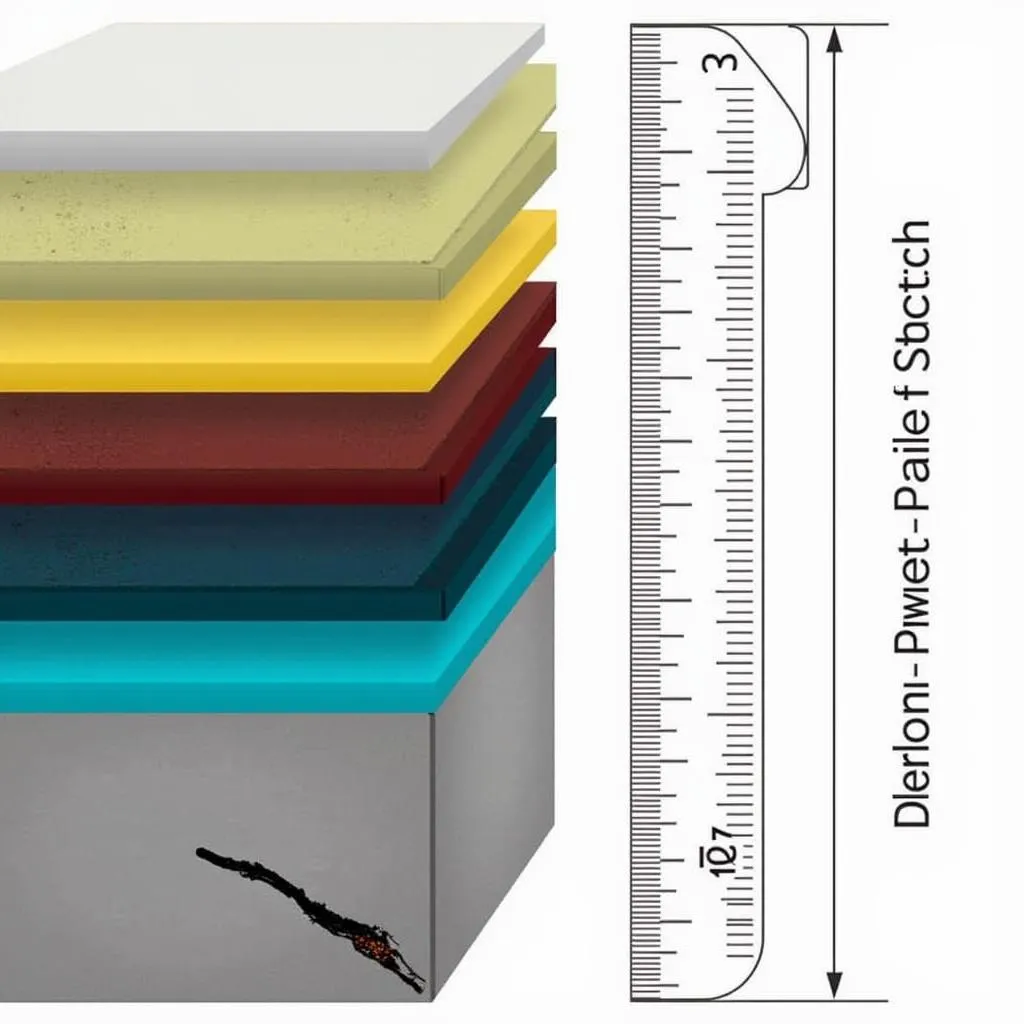
Before you begin, it’s crucial to assess the severity of the key scratch.
- Clear Coat Scratch: If the scratch is only in the clear coat – the outermost layer of your car’s paint – it can often be buffed out with a polishing compound.
- Paint Scratch: A scratch that penetrates the paint layer, revealing the primer underneath, requires more attention.
- Deep Scratch: If the scratch goes all the way down to the metal, you might need professional help.
 Assessing Car Scratch Depth
Gathering the Necessary Supplies for DIY Keyed Car Repair
Once you’ve determined the extent of the damage, gather the following supplies for your DIY keyed car repair:
- Car Wash Supplies: Soap, water, microfiber cloths
- Sandpaper: 2000-grit, 3000-grit (optional for deeper scratches)
- Rubbing Compound: For removing scratches and imperfections
- Polishing Compound: For restoring shine and gloss
- Wax: To protect the repaired area
- Masking Tape: To protect surrounding areas
- Microfiber Cloths: For application and buffing
- Applicators: Foam or microfiber
Step-by-Step Guide to DIY Keyed Car Repair
Follow these steps to effectively repair key scratches on your car:
-
Clean the Area: Thoroughly wash the scratched area with car wash soap and water, ensuring it’s free of dirt and debris.
-
Sanding (If Necessary): If the scratch is deeper than the clear coat, start by lightly sanding the area with 2000-grit sandpaper. Use gentle back and forth motions, keeping the sandpaper wet to prevent further damage.
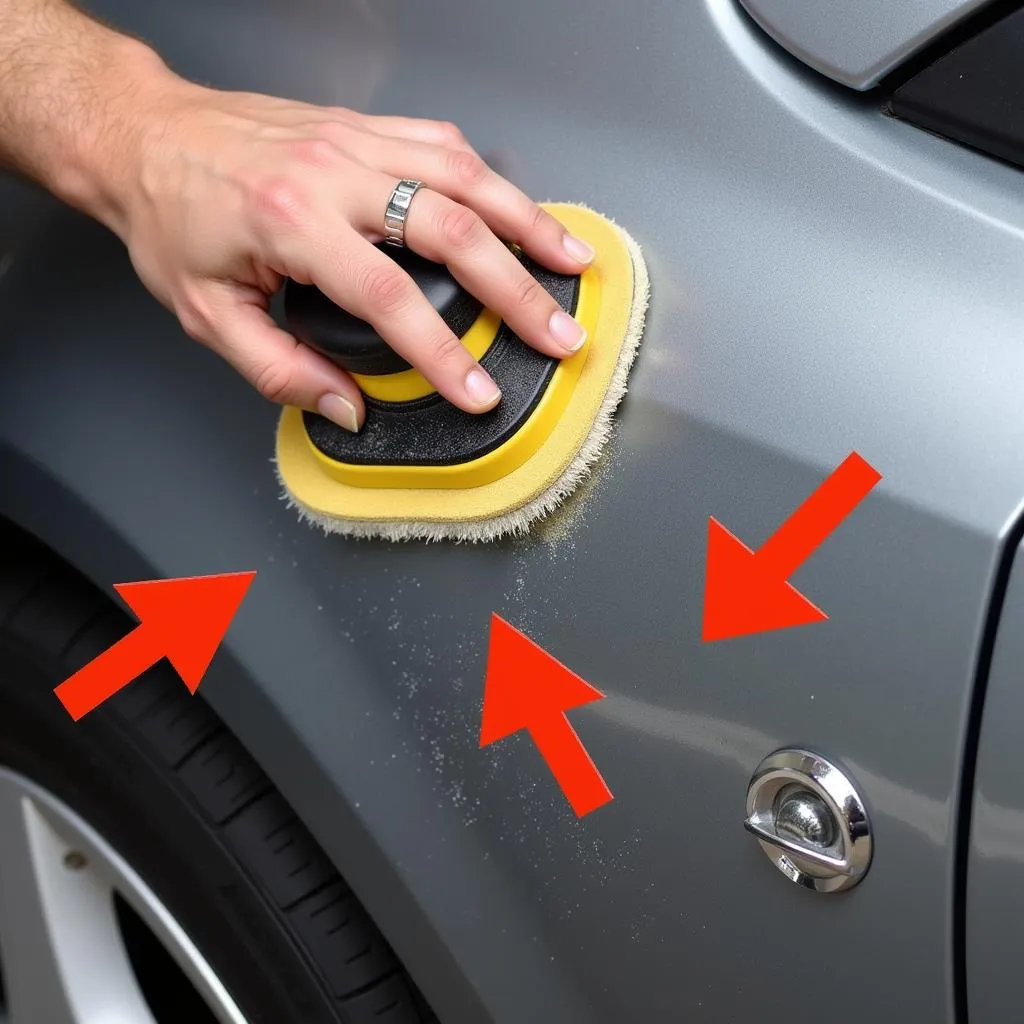 Wet Sanding a Car Scratch
-
Apply Rubbing Compound: Using a clean applicator pad, apply a small amount of rubbing compound to the scratched area. Work in circular motions, applying gentle pressure.
-
Buff Out the Rubbing Compound: Once the rubbing compound has dried to a haze, use a clean microfiber cloth to buff it off in circular motions.
-
Polish for Shine: Apply a polishing compound using the same technique as the rubbing compound. This step helps restore the shine and gloss to the repaired area.
-
Wax for Protection: After polishing, apply a layer of car wax to the repaired area to protect it from the elements and further damage.
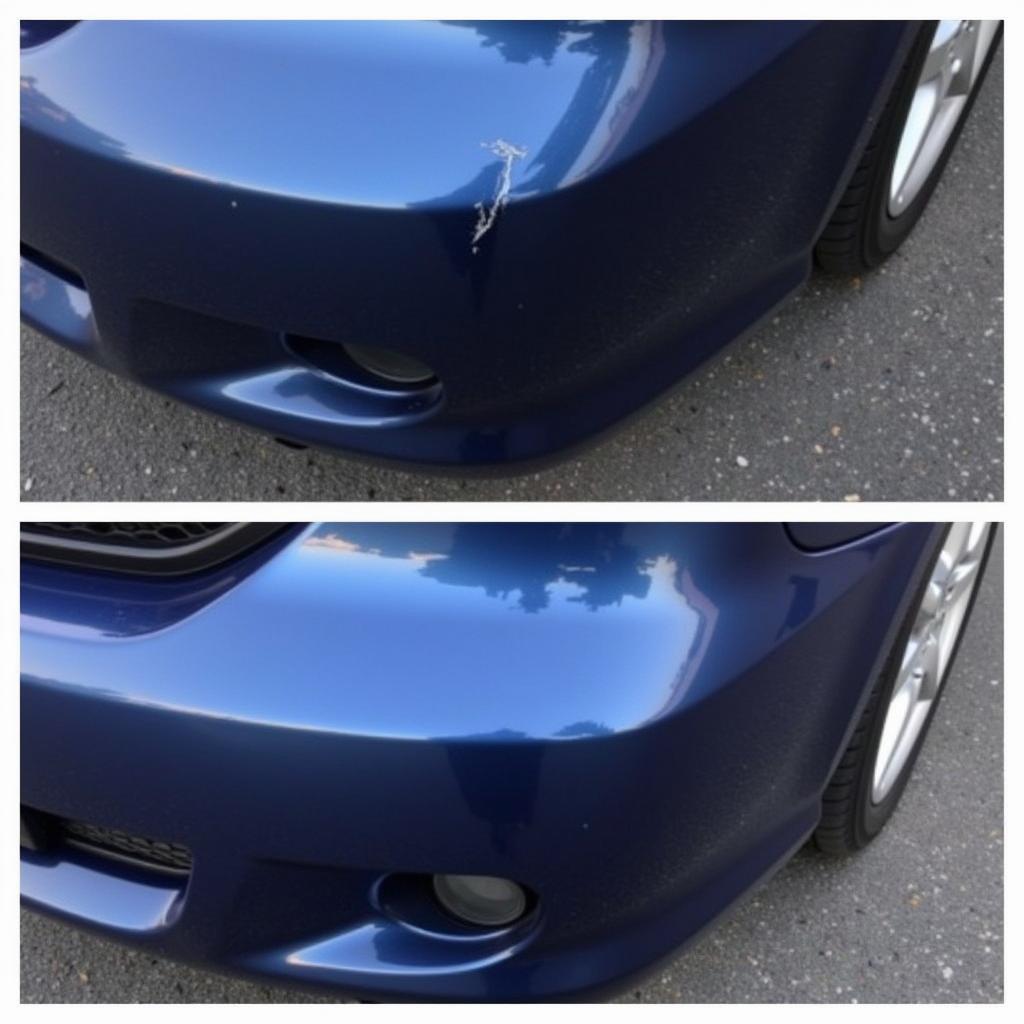
do it yourself keyed car scratch repair
When to Seek Professional Help for Keyed Car Repair
While DIY keyed car repair can effectively address minor to moderate scratches, there are instances when professional help is necessary:
- Deep Scratches: If the scratch is very deep, exposing bare metal, professional repair is recommended to prevent rust and ensure proper paint application.
- Extensive Damage: Multiple or very long key scratches may be too time-consuming or challenging to tackle yourself.
- Unsure About the Process: If you’re uncomfortable with any step of the DIY repair process, it’s best to consult a professional.
DIY Keyed Car Repair Cost Savings
Choosing DIY keyed car repair can save you a significant amount of money compared to professional repairs.
-
Professional Keyed Car Repair Costs: Professional repair for a single key scratch can range from $250 to $1500 or more, depending on the severity, car make and model, and labor costs in your area.
-
DIY Keyed Car Repair Costs: You can expect to spend around $20 to $50 on supplies for DIY repair, resulting in substantial cost savings.
“DIY car scratch repair can seem daunting, but it’s actually very manageable,” says John Smith, a seasoned auto body specialist with over 20 years of experience. “With a little patience and the right approach, you can achieve professional-looking results and save a bundle.”
Tips for Successful DIY Keyed Car Repair
-
Work in a Shaded Area: Avoid direct sunlight when working on your car’s paint, as it can cause the compounds to dry too quickly.
-
Use Light Pressure: Always use light pressure when sanding, rubbing, and polishing to avoid damaging the paint further.
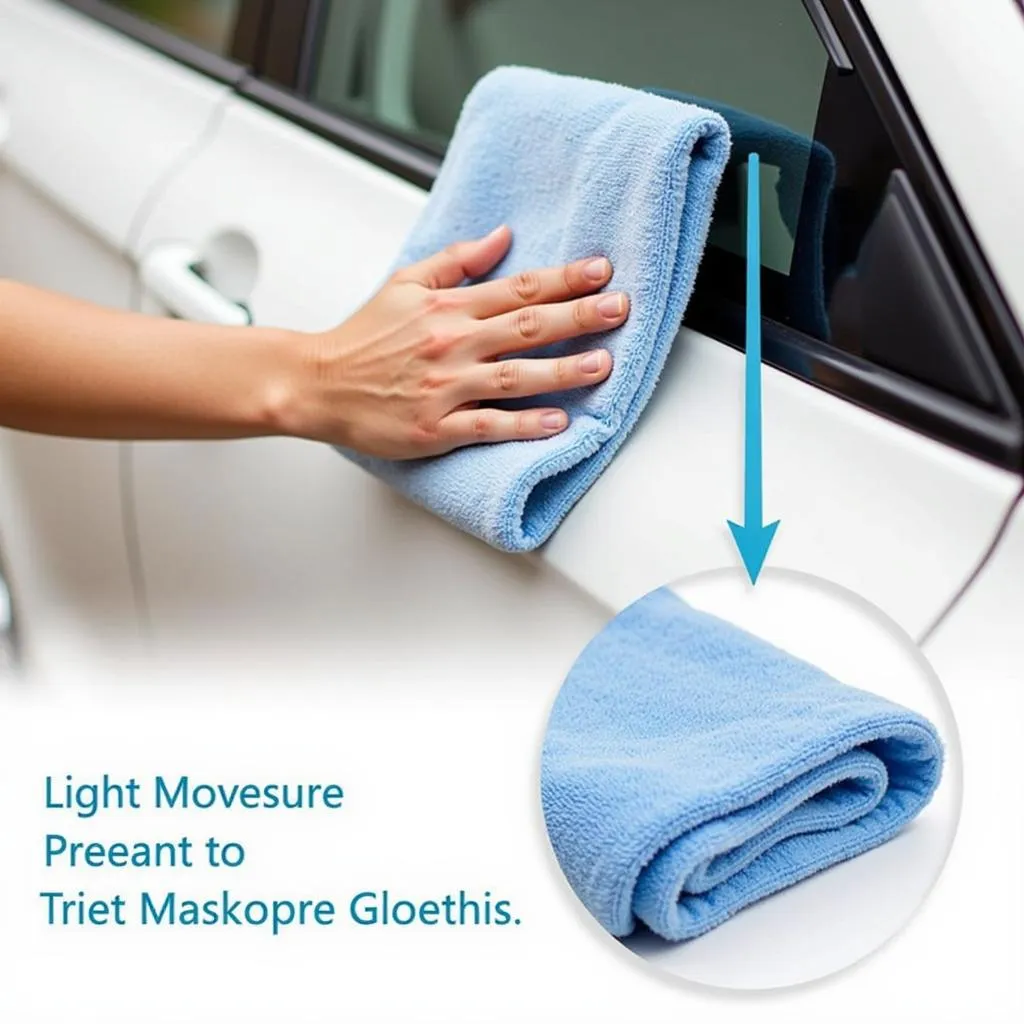 Polishing Car Paint with Light Pressure
-
Less is More: Start with small amounts of compound and gradually add more if needed.
-
Take Your Time: Don’t rush the process. Rushing can lead to mistakes and unsatisfactory results.
Conclusion
DIY keyed car repair is an achievable solution for minor to moderate scratches, empowering car owners to address these blemishes and restore their vehicle’s appearance with confidence. By following this guide’s comprehensive instructions and expert tips, you can save money while achieving professional-looking results. However, remember to assess the damage honestly and seek professional help when needed, ensuring a flawless and long-lasting repair for your prized possession.
FAQs
Can I use toothpaste to fix car scratches?
While toothpaste is often suggested as a home remedy, it’s not recommended for car scratches. Toothpaste is designed for teeth and can be abrasive, potentially causing further damage to your car’s paint.
How do I know if a car scratch is too deep to fix myself?
If the scratch reveals bare metal or a significant amount of primer, it’s best to consult a professional.
What is the best rubbing compound for car scratches?
There are many great rubbing compounds available. Look for reputable brands and read reviews to find one that suits your needs.
Can I use a regular power buffer for car scratch repair?
It’s recommended to use a dual-action polisher specifically designed for automotive paint. Regular power buffers can generate too much heat and potentially damage the paint.
For immediate assistance, feel free to reach out to us via WhatsApp at +1(641)206-8880 or email us at [email protected]. Our dedicated customer support team is available 24/7 to address your queries.

