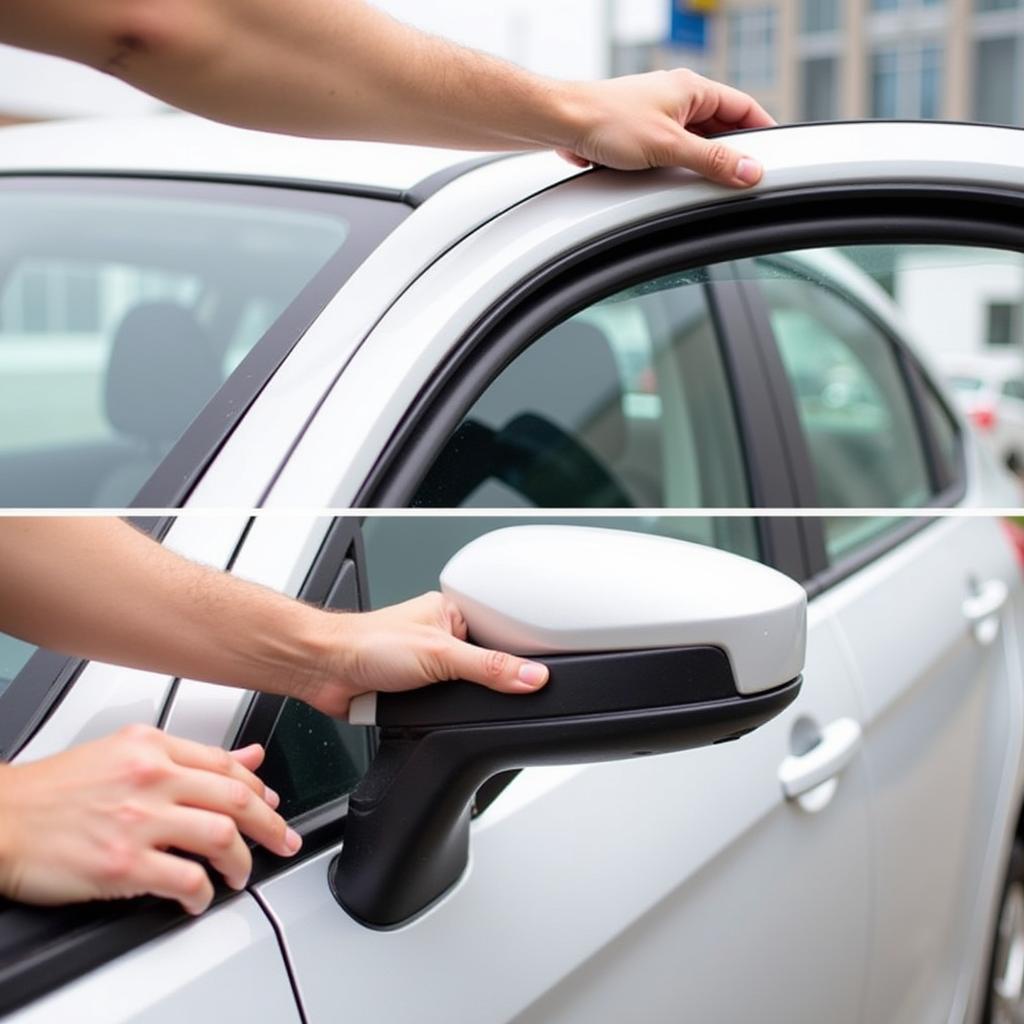
A car window molding strip might seem like a small detail, but it plays a crucial role in protecting your car’s interior and exterior. These strips create a seal around your car windows, preventing water leaks, wind noise, and even rust. Over time, these strips can become worn, cracked, or loose, compromising their effectiveness. Thankfully, repairing or replacing your car window molding strip is often a manageable DIY project. This guide will walk you through the process.
Understanding Car Window Molding Strips
Before diving into the repair process, let’s clarify what we mean by “car window molding strip.” It’s actually a general term that can refer to several different trim pieces around your car window:
- Outer window molding: This strip runs along the outside of the window glass, providing a weatherproof seal and a finished look.
- Inner window molding: Located inside the door frame, this strip helps guide the window glass as it moves up and down and also prevents drafts and water leaks.
- Beltline molding: This trim piece runs along the top of the car door, often extending from the front windshield to the rear window. It can incorporate a rubber seal to further protect against the elements.
Each type of molding serves a specific purpose, but damage to any of them can lead to similar problems.
Common Signs of a Damaged Window Molding Strip
Knowing when your car window molding strip needs attention is the first step to a successful repair. Here are some telltale signs:
- Visible damage: Cracks, tears, or warping in the molding are clear indicators of a problem.
- Water leaks: If you notice water pooling inside your car after rain, a damaged window molding strip is a likely culprit.
- Increased wind noise: A compromised seal can allow more wind noise into your car cabin, especially at higher speeds.
- Loose or detached molding: If the molding feels loose or comes off entirely, it needs immediate attention.
Repairing a Car Window Molding Strip
In many cases, you can repair minor damage to your window molding strip without replacing the entire piece. Here’s a step-by-step guide:
1. Gather your materials:
- Cleaning solution (soap and water or rubbing alcohol)
- Clean cloths
- Automotive adhesive sealant (choose one specifically designed for exterior trim)
- Masking tape
- Utility knife (if removing damaged sections)
2. Prepare the area: Thoroughly clean the molding strip and the surrounding area with your chosen cleaning solution. This removes dirt, grime, and any residue that could interfere with adhesion.
3. Apply adhesive sealant:
- For cracks and tears: Carefully apply a bead of adhesive sealant along the damaged area, pressing the molding firmly together.
- For loose sections: Apply sealant to the back of the loose molding and firmly press it back into place. Use masking tape to hold it in position while the sealant dries.
4. Allow ample drying time: Refer to the sealant manufacturer’s instructions for the recommended drying time. Avoid driving your car or operating the window during this period.
When to Replace Your Car Window Molding Strip
While repairs can extend the life of your window molding, sometimes replacement is the best option. Consider replacing the strip entirely if:
- Repairs are ineffective: If the damage is extensive or the molding continues to detach after repairs, a replacement is necessary.
- Molding is severely deteriorated: Over time, the material can become brittle and lose its flexibility, making repairs difficult or impossible.
- You want a seamless look: Repairs, even when done carefully, might not blend in perfectly with the rest of the molding.
Finding the Right Replacement Molding
When it’s time for a replacement, finding the correct molding for your car model is essential. Here’s what to do:
- Check your owner’s manual: Your manual might provide information on the specific type of molding used on your vehicle.
- Visit a dealership or auto parts store: Provide them with your car’s year, make, and model to find the correct part.
- Search online: Many retailers offer car parts online. Be sure to double-check compatibility before purchasing.
Replacing the Molding Strip
Replacing a car window molding strip is generally straightforward but requires careful handling to avoid damaging the new part or your car. Here’s a general overview:
-
Carefully remove the old molding: Start at one end and gently pry the molding away from the car body. Use a plastic trim removal tool if necessary to avoid scratching the paint.
-
Clean the mounting surface: Remove any remaining adhesive residue and thoroughly clean the area where the new molding will be installed.
-
Install the new molding: Align the new molding strip with the mounting surface and gently press it into place. Start at one end and work your way along, ensuring a secure fit.
 Installing New Car Window Molding Strip
Conclusion
Maintaining your car’s window molding strips is crucial for a comfortable and leak-free driving experience. By addressing damage promptly and knowing when to repair or replace these strips, you can keep your car in optimal condition and avoid more costly problems down the road.


