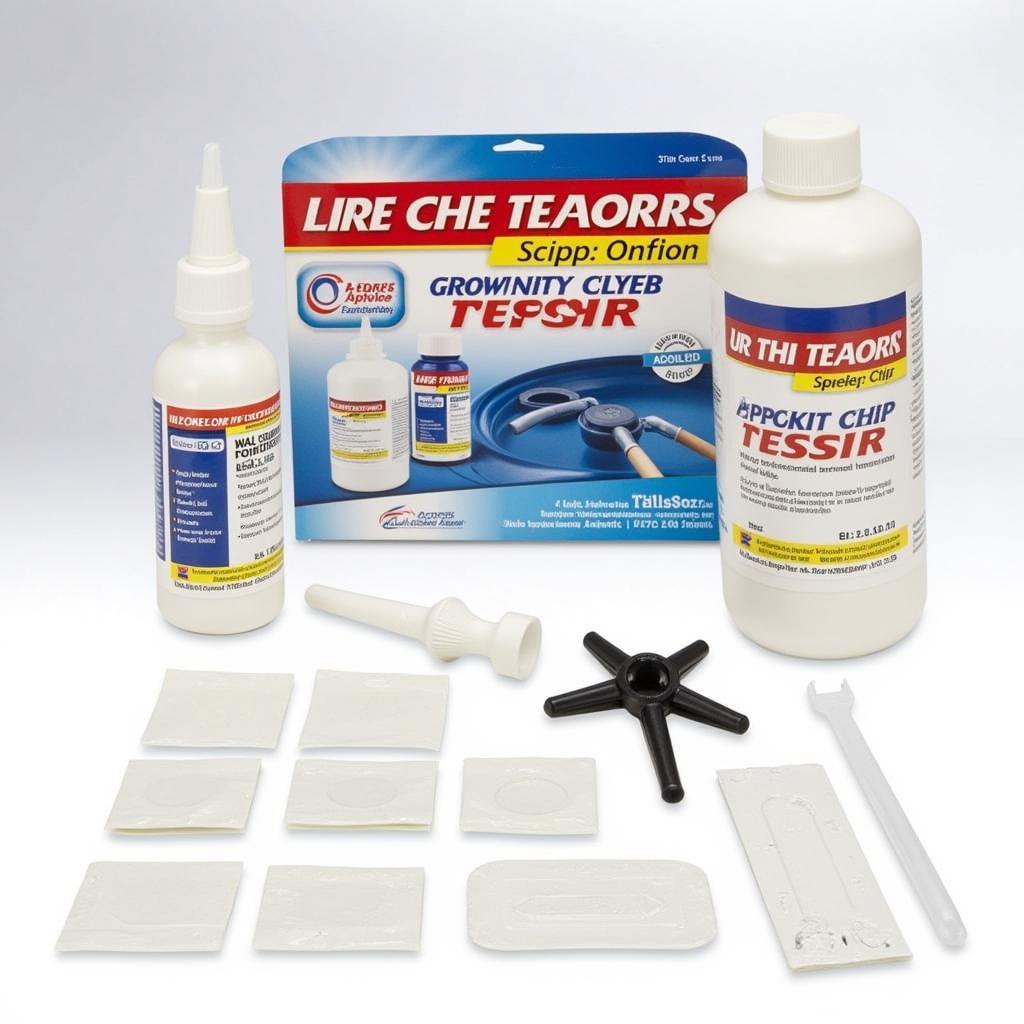
A small chip in your car window can be a big nuisance. Left unattended, it can quickly spiderweb into a larger crack, obstructing your vision and potentially requiring a full windshield replacement. Fortunately, with a little time and the right tools, a DIY car window chip repair is often a feasible and cost-effective solution. This guide will provide you with a comprehensive understanding of the process, helping you decide if a DIY fix is right for you and guiding you through each step.
Understanding Car Window Chip Repair
Before diving into the repair itself, it’s crucial to understand what types of chips can be fixed with a DIY kit and when it’s best to leave it to the professionals.
Types of Chips Repairable with DIY Kits:
- Bullseye Chips: These are small, round chips with a dark center point, resembling a bullseye.
- Star Chips: Characterized by cracks radiating out from a central impact point.
- Combination Chips: A mix of bullseye and star chip characteristics.
Note: DIY kits are generally effective for chips smaller than a quarter (25 cents). Larger cracks, chips on the edge of the windshield, or those affecting the driver’s direct line of sight typically require professional attention.
 DIY Car Window Chip Repair Kit
Gathering the Necessary Tools
Having the right tools is crucial for a successful DIY car window chip repair. Here’s what you’ll need:
- DIY Windshield Repair Kit: Available at most auto parts stores, these kits typically include resin, an applicator, curing strips, and instructions.
- Isopropyl Alcohol: For cleaning the chipped area.
- Microfiber Cloth: Used in conjunction with isopropyl alcohol to ensure a clean repair surface.
- Razor Blade (Optional): For gently removing any loose glass fragments within the chip.
- Safety Glasses and Gloves: To protect your eyes and hands during the repair process.
Step-by-Step Guide to DIY Car Window Chip Repair
Following these steps carefully will help you achieve the best possible results:
- Clean the Area: Thoroughly clean the chipped area with isopropyl alcohol and the microfiber cloth. Ensure the surface is free of dirt, debris, and moisture.
- Prepare the Applicator: Following the instructions provided with your specific kit, assemble the applicator and load it with the resin.
- Apply the Resin: Carefully position the applicator over the chip and slowly dispense the resin, ensuring it fills the entire cavity.
- Remove Air Bubbles: Gently press and release the applicator a few times to force out any trapped air bubbles within the resin.
- Apply Curing Strip: Cover the repaired area with the provided curing strip, pressing firmly to ensure good adhesion.
- Cure the Resin: Follow the kit’s instructions for curing time. This usually involves leaving the car in direct sunlight for a specific duration.
- Remove Excess Resin: Once cured, carefully peel off the curing strip and use a razor blade (held at a 45-degree angle) to gently scrape away any excess resin.
Benefits of DIY Car Window Chip Repair
- Cost-Effectiveness: DIY kits are significantly cheaper than professional repairs or windshield replacements.
- Convenience: Perform the repair at your own pace and convenience, without the need for appointments.
- Prevention: Addressing chips promptly prevents them from spreading and potentially requiring more extensive repairs.
When to Consult a Professional
While DIY kits are effective for minor chips, some situations warrant professional intervention:
- Large or Complex Cracks: Cracks exceeding the size of a quarter or exhibiting complex patterns often require professional repair.
- Chips on Windshield Edges: These are more challenging to repair and may compromise the structural integrity of the windshield.
- Chips Affecting Driver’s Vision: Any chip directly in the driver’s line of sight necessitates professional repair for safety reasons.
FAQs about DIY Car Window Chip Repair
Q: Can I drive my car immediately after the repair?
A: While the curing time varies depending on the kit, it’s generally advisable to wait at least an hour before driving to allow the resin to fully harden.
Q: Will the repair be noticeable?
A: While DIY kits can effectively fill and seal the chip, a slight blemish or discoloration may remain visible. The goal is to prevent further spreading and maintain the structural integrity of the windshield.
Q: How long will the repair last?
A: A properly executed DIY repair can last for several years or even the lifespan of the vehicle.
Conclusion
DIY car window chip repair can be a practical and cost-effective solution for minor chips, helping you save money and maintain the clarity of your windshield. By carefully following the steps outlined in this guide and using the right tools, you can address these minor blemishes and prevent them from escalating into bigger problems. However, it’s crucial to assess the severity of the damage and seek professional help when needed to ensure your safety and the longevity of your windshield.
Need professional assistance with car window repair in Dallas City, IL? Check out our services here: car window repair dallas city il.
For other locations and related services, explore our offerings:
- Car Window Repair Newark NJ
- Car Window Repair Overland Park
- Car Window Repair Troy MI
- Car Window and Door Repair
Don’t hesitate to reach out for expert advice and assistance. Contact us via WhatsApp: +1(641)206-8880 or Email: [email protected]. Our dedicated customer support team is available 24/7 to address your needs.


