Keyed car scratch repair can be a daunting task, especially if you’re facing a deep and unsightly scratch. While seeking professional help is always recommended for serious damage, minor scratches can often be tackled with a do-it-yourself approach. This comprehensive guide will provide you with all the information you need to know about assessing the damage, gathering the necessary tools, and executing the repair effectively.
Evaluating the Scratch: How Deep Does it Go?
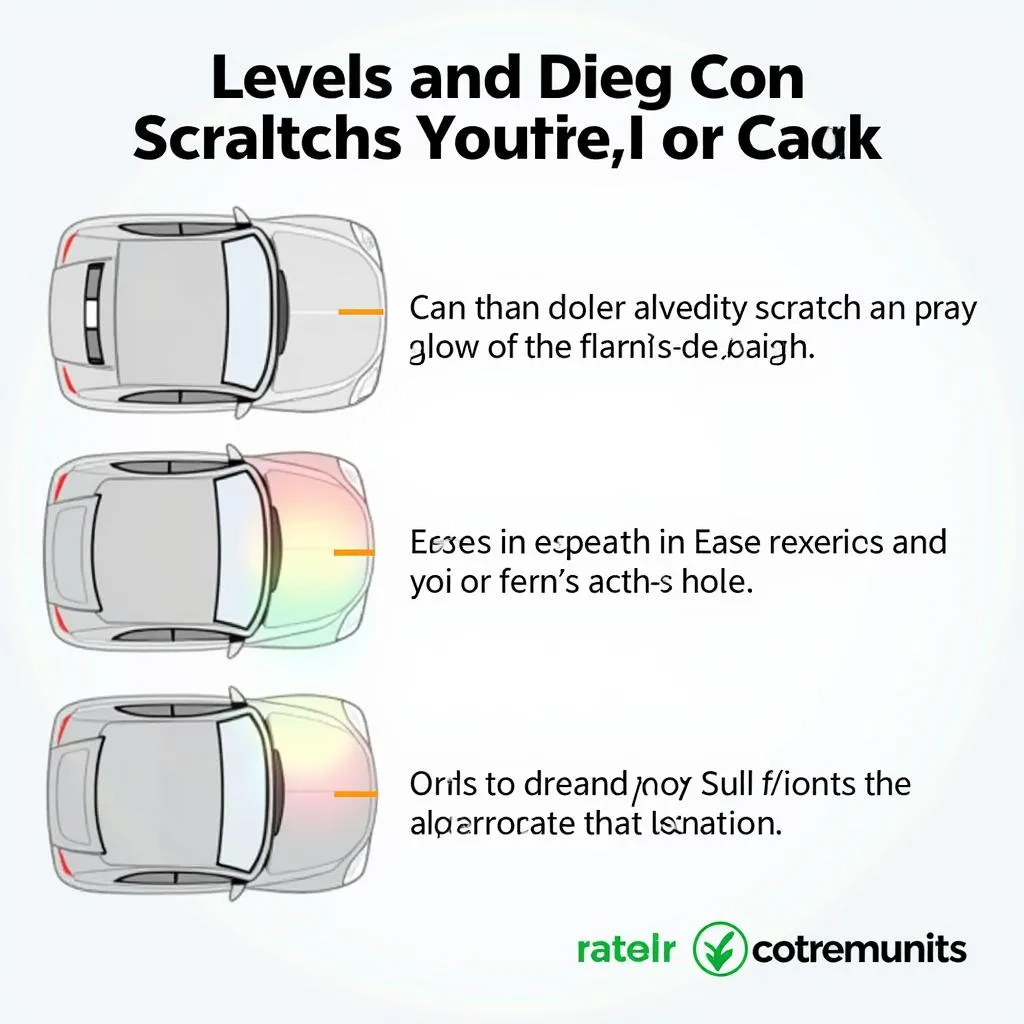
Before rushing to your local auto body shop, take a moment to assess the severity of the keyed car scratch. A light scratch that hasn’t penetrated the paint’s clear coat can often be buffed out with minimal effort. However, deeper scratches that expose the primer or bare metal require more involved repair methods.
Here’s a simple way to determine the scratch depth:
- Wash the affected area thoroughly: This removes dirt and debris, providing a clearer view of the damage.
- Run your fingernail gently across the scratch: If your nail catches on the scratch, it indicates that the damage extends beyond the clear coat, requiring more than just buffing.
Gathering Your DIY Keyed Car Scratch Repair Arsenal
Once you’ve assessed the damage, it’s time to gather your weapons of choice – the tools and materials needed to combat that unsightly scratch.
Here’s a checklist:
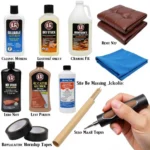
- Car wash supplies: Car wash soap, wash mitt, microfiber drying towels
- Masking tape: Protects surrounding areas during sanding and polishing
- Sandpaper: Various grits (1500, 2000, 3000) for smoothing imperfections
- Rubbing compound: Removes scratches and imperfections
- Polishing compound: Restores shine and gloss
- Microfiber cloths: Applicators for compounds and final buffing
- Car wax: Protects the repaired area and enhances shine
Pro Tip from John Miller, Automotive Detailing Expert: “Always use high-quality car care products designed specifically for your car’s paint type. This ensures optimal results and prevents potential damage.”
The Art of Keyed Car Scratch Repair: A Step-by-Step Guide
-
Prep the Battlefield: Thoroughly wash and dry your car. Use masking tape to protect surrounding areas from accidental sanding or polishing.
-
Sanding: A Gentle Touch: If the scratch is deep, start with 1500-grit sandpaper. Wet sand the scratch using gentle back-and-forth motions. Gradually move to finer grits (2000, 3000), ensuring a smooth and level surface.
-
Compounding: Erasing the Past: Apply a small amount of rubbing compound to a clean microfiber cloth. Rub it onto the scratch using circular motions, applying moderate pressure. This step removes scratches and prepares the surface for polishing.
-
Polishing: Restoring the Glory: Once the rubbing compound dries to a haze, apply polishing compound using a clean microfiber cloth. Use circular motions and moderate pressure to buff the surface to a high shine.
-
Wax On, Wax Off: Apply a layer of car wax to the repaired area, following the product’s instructions. This step seals and protects your hard work, providing a long-lasting shine.
Frequently Asked Questions
Q: Can I use toothpaste to repair car scratches?
A: While toothpaste contains mild abrasives, it’s not designed for car paint and can cause more harm than good. Stick to dedicated car scratch repair products.
Q: When should I seek professional help for car scratch repair?
A: If the scratch is extremely deep, exposes bare metal, or you’re unsure about DIY repair, it’s best to consult a professional.
Need More Help?
For further assistance with car repair issues, explore our website for more informative articles and guides.
Get in touch! For personalized advice and support, contact our team via WhatsApp at +1(641)206-8880 or email us at [email protected]. We’re available 24/7 to answer your questions.


