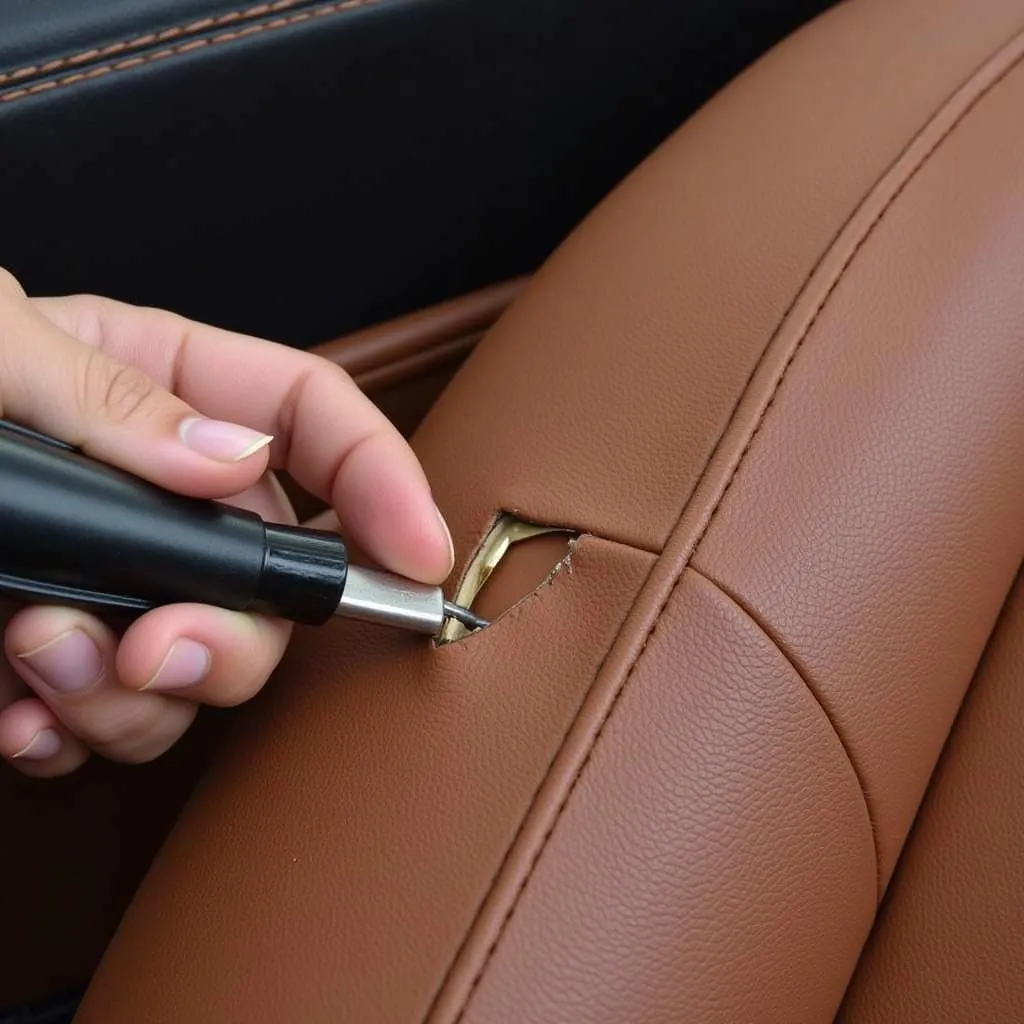
A rip or tear in your leather car seat can be an eyesore and impact the resale value of your vehicle. While it might seem daunting, repairing a leather car seat tear is often achievable with the right tools and a little patience. This guide will walk you through the steps to effectively repair minor to moderate rips in your leather car seat, helping you restore its appearance and potentially save on costly professional repairs.
Assessing the Damage: Know Your Enemy
Before diving into the repair, it’s crucial to assess the severity of the damage. A small, clean tear is much simpler to fix than a large gash with frayed edges or deep scratches.
- Minor Tears and Cuts: These are typically surface-level and don’t expose the underlying foam or structure of the seat. They can often be addressed with a simple leather repair kit.
- Moderate Tears: These might be larger and potentially expose a small amount of the seat’s foam. Repairing these often involves a patching material along with a leather filler.
- Severe Damage: Large rips, tears that expose a significant amount of foam, or damage that impacts the seat’s structure are best left to professional upholsterers.
Gathering Your Repair Arsenal
Having the right tools and materials on hand will make the repair process smoother and more effective. Here’s what you’ll generally need:
- Leather Repair Kit: These are widely available online and at auto parts stores. A good kit will include a color-matched leather filler, adhesive, a backing fabric, an application spatula, and a color blending solution.
- Cleaning Supplies: Isopropyl alcohol, microfiber cloths, and a soft-bristled brush.
- Scissors
- Heat Gun or Hairdryer
- Leather Conditioner (for post-repair care)
How to Repair a Car Leather Seat Tear: A Step-by-Step Guide
Follow these steps to tackle that rip in your leather car seat:
1. Prep the Area
- Clean Thoroughly: Use isopropyl alcohol and a microfiber cloth to clean the damaged area and surrounding leather. This removes dirt, grime, and any conditioning products that could interfere with adhesion.
- Trim Loose Threads: Carefully trim any loose threads or frayed edges around the tear using sharp scissors. Avoid cutting into the leather itself.
2. Back It Up (For Moderate Tears)
If the tear exposes the seat’s foam, you’ll need to provide support and prevent the filler from sinking in:
- Cut Backing Fabric: Using the backing fabric from your kit (or a similar strong, flexible fabric), cut a patch slightly larger than the tear.
- Apply Adhesive: Apply a thin layer of leather adhesive to the patch and carefully insert it into the tear, ensuring it lays flat against the foam backing.
3. Fill and Level
- Apply Leather Filler: Using the application spatula, carefully fill the tear with the leather filler. Overfill slightly, as the filler will shrink as it dries.
- Heat and Shape: Use a heat gun or hairdryer on a low setting to slightly heat the filler. This makes it more pliable. While it’s warm, use the spatula to shape the filler and level it with the surrounding leather.
- Repeat if Necessary: For deeper tears, you may need to apply multiple thin layers of filler, allowing each layer to dry before applying the next.
4. Blend and Match
- Texture Matching: If your kit includes a texture paper, you can imprint a realistic leather grain onto the filler while it’s still slightly tacky.
- Color Matching: Once the filler is fully dry, use the color blending solution and a clean microfiber cloth to blend the edges of the repair with the surrounding leather. Work in thin layers, building up the color gradually.
5. Condition and Protect
- Condition the Leather: After the repair is complete and the area is dry, apply a high-quality leather conditioner to the entire seat. This helps keep the leather supple and prevents future cracking.
Prolonging Your Repair: Prevention Tips
- Regular Cleaning: Keeping your leather seats clean can prevent dirt and grime from becoming embedded and causing premature wear.
- Conditioning: Regularly conditioning your leather seats keeps them moisturized, reducing the likelihood of drying, cracking, and tearing.
- Protective Covers: Seat covers can be a great investment, especially if you frequently transport children, pets, or cargo.
When to Call in the Pros
While DIY repairs can be effective for minor to moderate tears, some situations are best left to the experts. Consider professional auto car seat repair for:
- Severe damage
- Tears on seams or stitching
- Damage to heated or cooled seats
- Valuable or classic cars
FAQs: Addressing Common Concerns
Q: Can I use super glue to fix a leather car seat tear?
A: While tempting, super glue isn’t ideal for leather car seat repairs. It dries rigidly, which can lead to further cracking, and it doesn’t offer the flexibility or color-matching capabilities of a dedicated leather repair kit.
Q: Where can I find the right color match for my leather car seat?
A: Most leather repair kits come in a variety of colors. Check your car’s owner’s manual for the exact color code of your leather upholstery. You can also contact your car’s dealership or an automotive upholstery specialist for assistance in finding a perfect match.
Q: How long will a leather seat repair last?
A: With proper care and maintenance, a well-executed leather seat repair can last for several years.
Q: Can I still repair a tear if the leather is old and cracked?
A: While you can attempt a repair, keep in mind that older, cracked leather might be more prone to further tearing. Addressing the underlying dryness and cracking with a good leather conditioner is crucial for any repair to hold.
Need More Help? We’re Here for You!
Repairing a rip in your leather car seat can seem challenging, but by following these steps, you can often restore your seat’s appearance and prolong its lifespan. If you’re unsure about tackling the repair yourself, numerous resources are available. For additional guidance on repairing leather or fabric tears, you can find more information in our comprehensive guide on how to repair car leather seat tear. And if you need a quick fix solution for fabric tears, we also have a helpful guide on car seat repair kit fabric. Remember, it’s always wise to assess the damage first and consider where to repair car seat tear for professional help if needed. Don’t let a small tear ruin the look and feel of your car’s interior!
For further assistance and expert advice, don’t hesitate to reach out to our dedicated team. You can contact us via WhatsApp at +1(641)206-8880 or email us at [email protected]. We are available 24/7 to address your automotive repair and maintenance queries.


