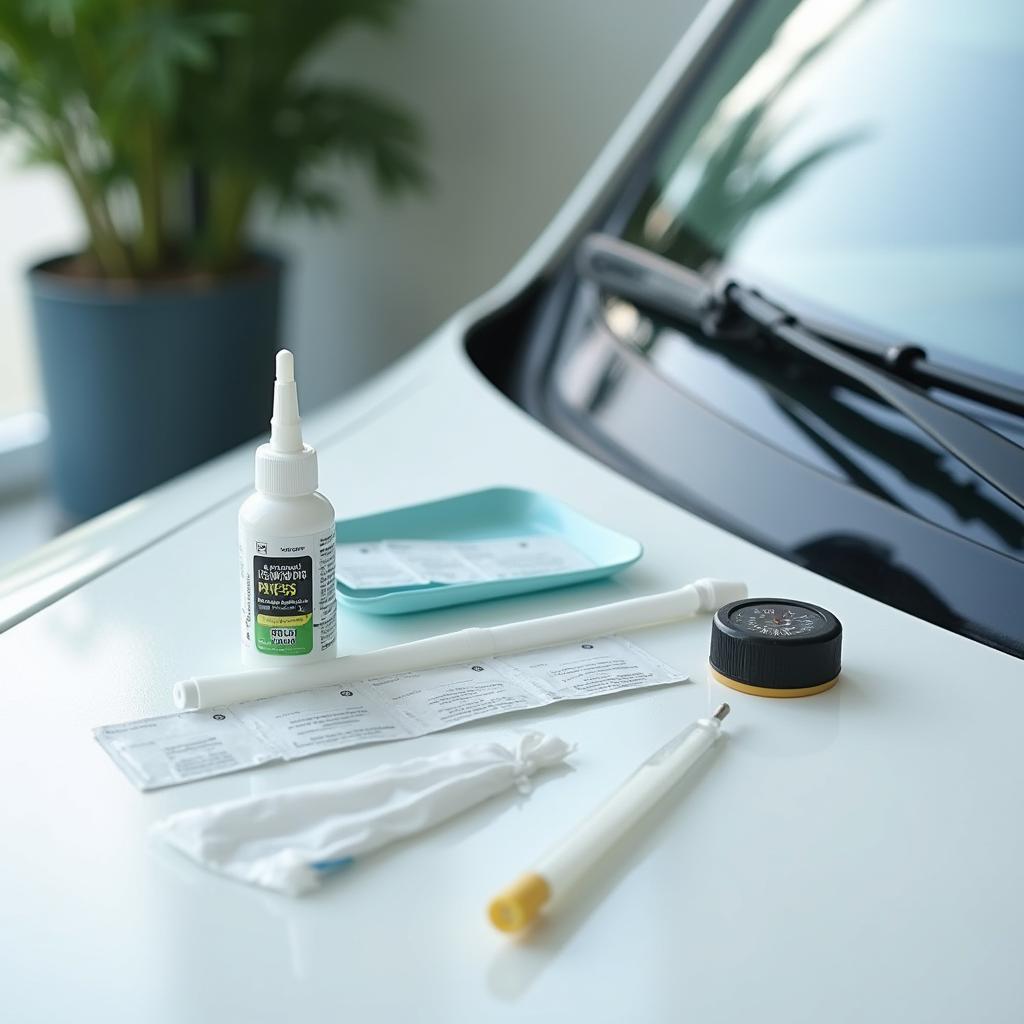
Windshield Scratch Repair Kit Components
A Car Windscreen Glass Window Scratch Repair Kit can be a real lifesaver, literally and figuratively. These handy kits allow you to address minor chips and scratches on your windshield before they become major problems, potentially saving you from costly replacements and ensuring optimal visibility while driving. This guide delves into everything you need to know about these kits, from understanding their components to achieving professional-grade results at home.
 Windshield Scratch Repair Kit Components
Understanding Windscreen Scratches and When to Repair
Before jumping into the repair process, it’s crucial to determine if a DIY repair kit is suitable for your situation. Minor chips and scratches, often resembling bullseyes or starbursts, are ideal candidates. These imperfections, if addressed early, can be effectively filled and sealed with a repair kit, preventing further spreading and restoring structural integrity.
However, deeper cracks, those exceeding a few inches in length, or damage directly in the driver’s line of sight require professional attention. Additionally, damage to the inner layer of the windshield necessitates a complete replacement.
Choosing the Right Car Windscreen Glass Window Scratch Repair Kit
With numerous options available, selecting the appropriate kit can feel overwhelming. Here’s what to consider:
- Type of Resin: Most kits employ acrylic resin, known for its clarity and durability.
- Applicator Type: Kits may feature suction cup applicators or syringe-style mechanisms for resin application. Choose based on your comfort level and the size of the damage.
- Curing Method: UV-curing resins are increasingly popular due to their quick curing time when exposed to sunlight.
- Additional Features: Some kits include extras like glass cleaning wipes, razor blades for removing debris, and practice pieces for honing your technique.
Mastering the Art of Windshield Scratch Repair
While the process may seem daunting, following a systematic approach ensures optimal results:
-
Clean the Area: Thoroughly clean the damaged area with the provided cleaning wipes or a microfiber cloth and glass cleaner. Ensure no dirt or debris remains trapped within the scratch.
-
Prepare the Resin: Following the manufacturer’s instructions, prepare the resin by mixing components if necessary.
-
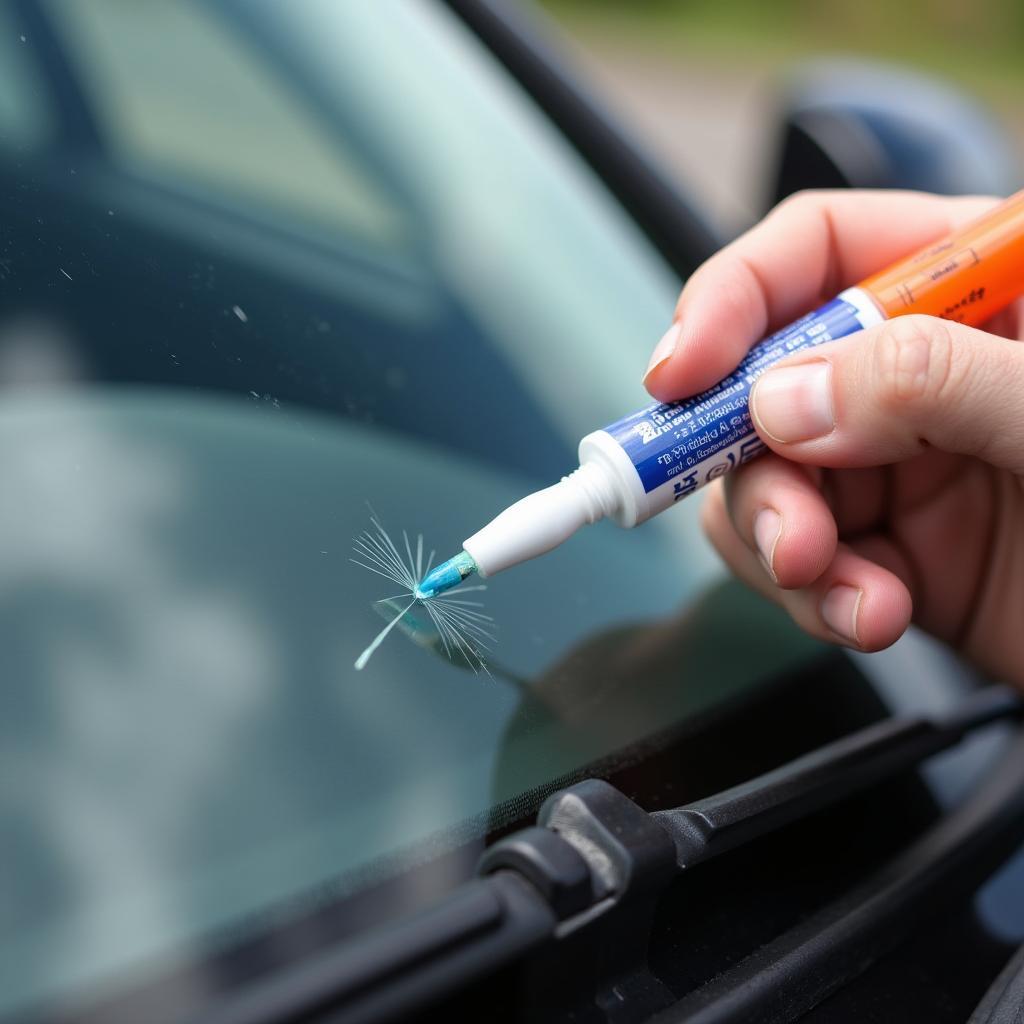
Apply the Resin: Using the applicator, carefully inject the resin into the chip or scratch, ensuring complete coverage.
-
Remove Air Bubbles: Gently press on the applicator or use a provided tool to remove any trapped air bubbles within the resin.
 Applying Resin to Windshield Scratch
-
Cure the Resin: If using a UV-curing resin, expose the area to direct sunlight for the recommended time. Other resins may require air drying or a specific curing process.
-
Scrape Off Excess Resin: Once cured, carefully scrape off any excess resin using a razor blade held at a 45-degree angle. This creates a smooth and flush finish.
-
Inspect the Repair: Examine the repaired area for any remaining imperfections. If necessary, repeat the resin application and curing process.
Benefits of Using a Car Windscreen Glass Window Scratch Repair Kit
-
Cost-Effectiveness: Repair kits offer a significantly more affordable solution compared to windshield replacements.
-
Convenience: DIY kits eliminate the need for scheduling appointments and taking time off work.
-
Safety Enhancement: Addressing minor damage promptly prevents it from worsening, ensuring optimal visibility and structural integrity of the windshield.
Tips for Achieving Professional-Grade Results
-
Work in a Shaded Area: Avoid direct sunlight during the resin application process, as it can cause premature curing.
-
Follow Instructions Carefully: Each kit may have specific instructions, so read them thoroughly before starting.
-
Practice Makes Perfect: Consider practicing on a spare piece of glass before working on your actual windshield.
-
Don’t Delay Repairs: Addressing minor damage promptly yields the best results, preventing further spreading and potential complications.
Conclusion
A car windscreen glass window scratch repair kit is an invaluable tool for any car owner. It empowers you to address minor windshield damage swiftly and efficiently, saving you money and ensuring a safe driving experience. Remember, early intervention is key. By tackling chips and scratches as soon as they appear, you can maintain optimal visibility and extend the life of your windshield. Need help with a bent window channel? Check out our guide on window channel car bent repair.
FAQs
Can I use a repair kit on all types of windshield damage?
Repair kits are most effective on minor chips and cracks. Deeper damage, long cracks, or damage in the driver’s line of sight require professional attention.
How long does the repair process take?
The entire process, from cleaning to curing, typically takes 30 to 60 minutes, depending on the kit and curing time.
Will the repaired area be noticeable?
While repair kits can significantly improve the appearance of the damage, a faint outline or slight discoloration may remain.
How long will the repair last?
When applied correctly, a windshield scratch repair can last for several years.
Can I still drive my car if I have a windshield chip?
While a small chip may not seem like a major issue, it can compromise the structural integrity of the windshield. It’s best to repair any damage promptly.
If you’re looking for professional assistance with car window repair or need specialized equipment, explore our resources on auto car door window glass channel repair shops and car window repair equipment. You can also find helpful tutorials on car window repair youtube. For those interested in tackling repairs independently, our guide on manual car door window repair provides valuable insights and step-by-step instructions.
Need help? Contact us via WhatsApp: +1(641)206-8880 or email us at [email protected]. Our team is available 24/7 to assist you.


