A close-up of a damaged car window trim seal
Car window trim seals play a crucial role in keeping your vehicle’s interior dry, quiet, and comfortable. Over time, these seals can deteriorate due to exposure to the elements, leading to leaks, wind noise, and even damage to your car’s interior. Understanding the importance of car window trim seal repair can save you from costly repairs down the line.
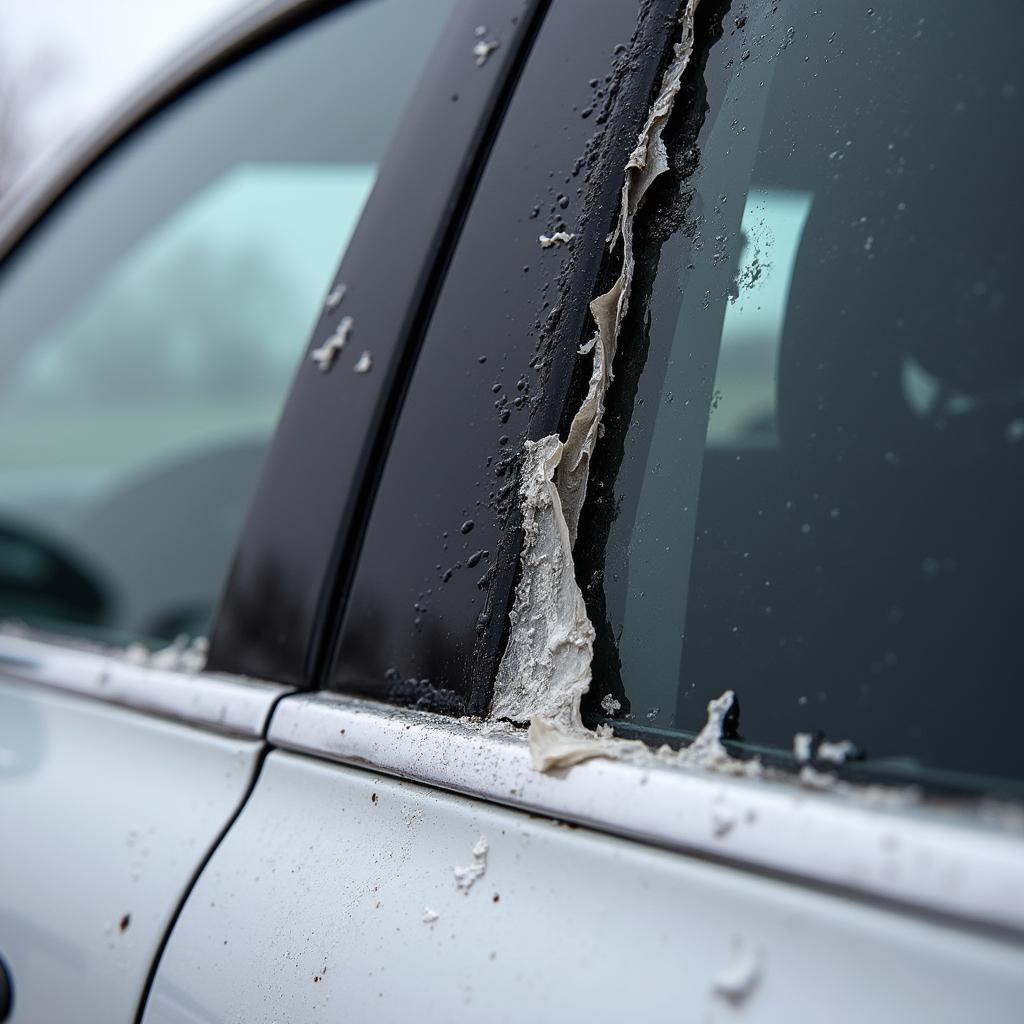
 A close-up of a damaged car window trim seal
Recognizing the Signs of a Failing Car Window Trim Seal
Before you can address the issue, it’s essential to identify the telltale signs of a failing car window trim seal:
- Water Leaks: One of the most obvious signs is water seeping into your car, especially after rain or a car wash.
- Wind Noise: A damaged seal can disrupt the aerodynamic flow around your windows, leading to annoying whistling or whooshing sounds at higher speeds.
- Visible Damage: Inspect your window trim seals closely. Look for cracks, tears, gaps, or any signs of the seal pulling away from the window frame.
- Mold or Mildew: Moisture trapped due to a leaking seal can create a breeding ground for mold and mildew, posing health risks and unpleasant odors.
DIY vs. Professional Car Window Trim Seal Repair: What’s Best for You?
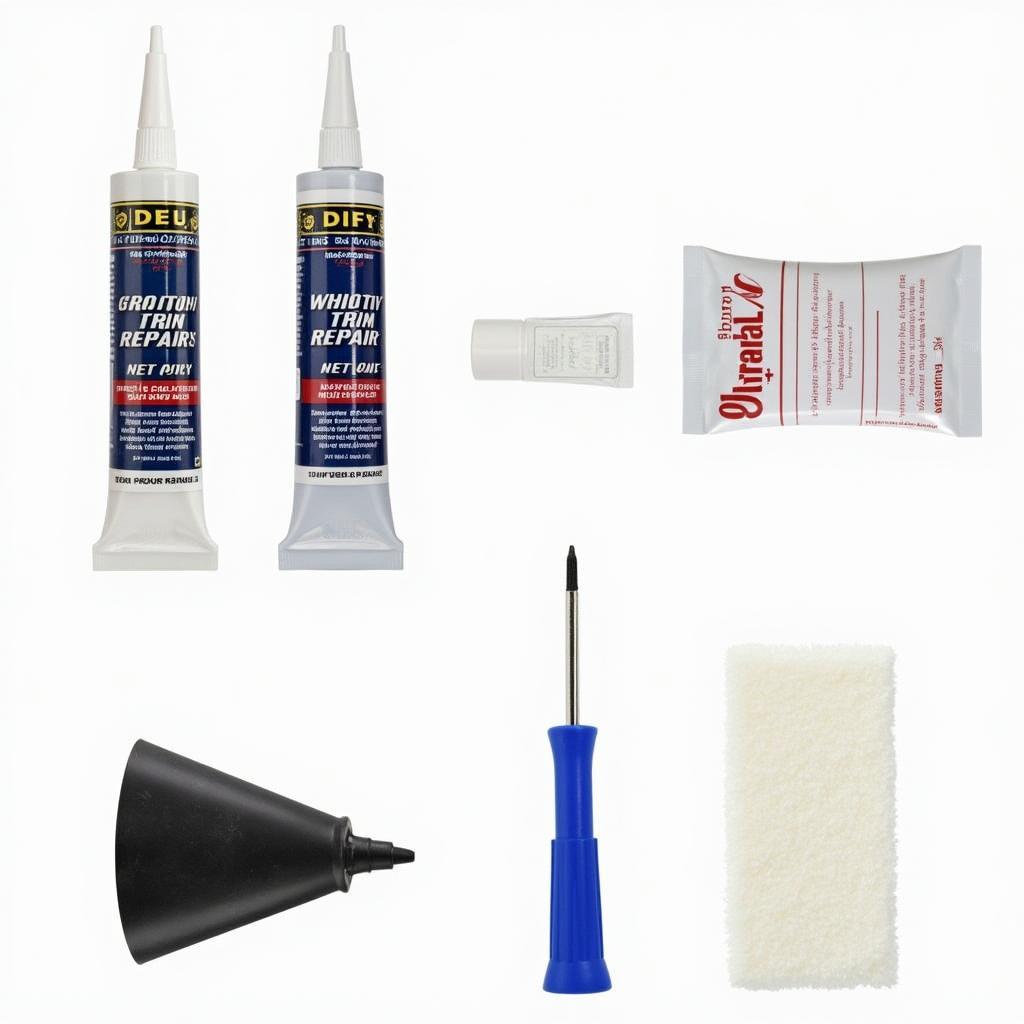 A DIY car window trim seal repair kit laid out on a table
Deciding between a DIY repair and seeking professional help depends on several factors:
- Extent of the Damage: Minor cracks or gaps might be manageable with DIY repair kits. However, extensive damage or severely deteriorated seals often require professional expertise.
- Your Skill Level: DIY repairs demand patience, precision, and a basic understanding of automotive seals. If you’re not comfortable tackling this task, it’s best to leave it to the professionals.
- Cost Considerations: DIY kits are generally less expensive than professional repairs. However, improperly executed DIY fixes can lead to further damage and ultimately cost you more in the long run.
The Car Window Trim Seal Repair Process: A Step-by-Step Breakdown
Whether you opt for DIY or professional repair, understanding the general process can be helpful:
- Thorough Cleaning: The affected area needs to be meticulously cleaned and dried to ensure proper adhesion of the sealant.
- Removing the Old Seal: The old, damaged seal is carefully removed, and any remaining adhesive residue is thoroughly cleaned.
- Applying the New Seal: A high-quality automotive sealant is applied evenly to the window frame or the trim seal itself, depending on the type of seal.
- Securing the Seal: The new seal is carefully pressed into place, ensuring a tight and secure bond.
- Drying and Curing Time: The sealant needs adequate time to dry and cure completely before the vehicle is exposed to moisture.
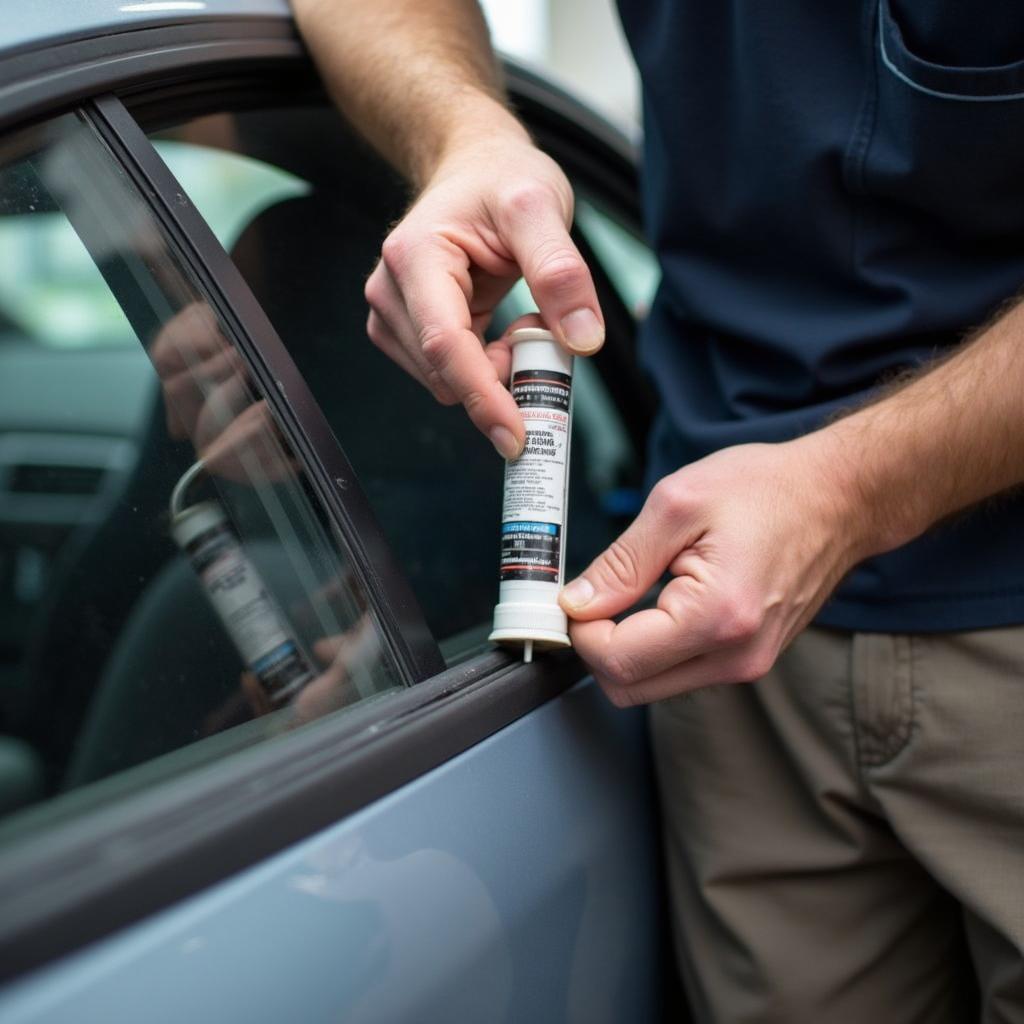 A mechanic professionally repairing a car window trim seal
Preventing Future Car Window Trim Seal Problems
- Regular Cleaning: Keep your car window trim seals clean and free from dirt, debris, and mold.
- Gentle Handling: Avoid slamming car doors excessively as the vibrations can stress the seals over time.
- Parking in the Shade: Prolonged exposure to direct sunlight can dry out and damage rubber seals. Whenever possible, park your car in the shade.
- Periodic Inspections: Make it a habit to inspect your window trim seals regularly for any signs of wear and tear.
Conclusion
Car window trim seal repair is not just about aesthetics; it’s about maintaining the integrity of your vehicle’s interior and preventing potential damage. By understanding the importance of timely repairs and following preventative measures, you can ensure a comfortable and enjoyable driving experience for years to come.

