A malfunctioning rear window defogger can be a real pain, especially during those cold and rainy days. Condensation building up on your rear window limits visibility and creates a safety hazard. Luckily, a car rear window defogger repair kit offers a cost-effective and convenient solution to get your defroster working like new again.
Understanding How Your Defogger Works
Before diving into repairs, it’s helpful to understand the basics of how your rear window defogger functions. Most vehicles utilize a grid of thin, heated lines embedded within the glass. These lines, often made of a conductive material like copper, heat up when you activate the defroster button, effectively evaporating any moisture and providing clear visibility.
Common Causes of Defogger Failure
Defogger failure typically stems from a few common culprits:
- Damaged Grid Lines: Scratches, wear and tear, or accidental damage can break the delicate grid lines, interrupting the flow of electricity.
- Faulty Electrical Connections: Corrosion or loose connections at the terminals or wiring harness can prevent power from reaching the grid.
- Blown Fuse: A sudden surge of electricity can blow the fuse dedicated to your rear window defogger, cutting off power entirely.
What to Look for in a Car Rear Window Defogger Repair Kit
Not all repair kits are created equal. When choosing a kit, consider these factors:
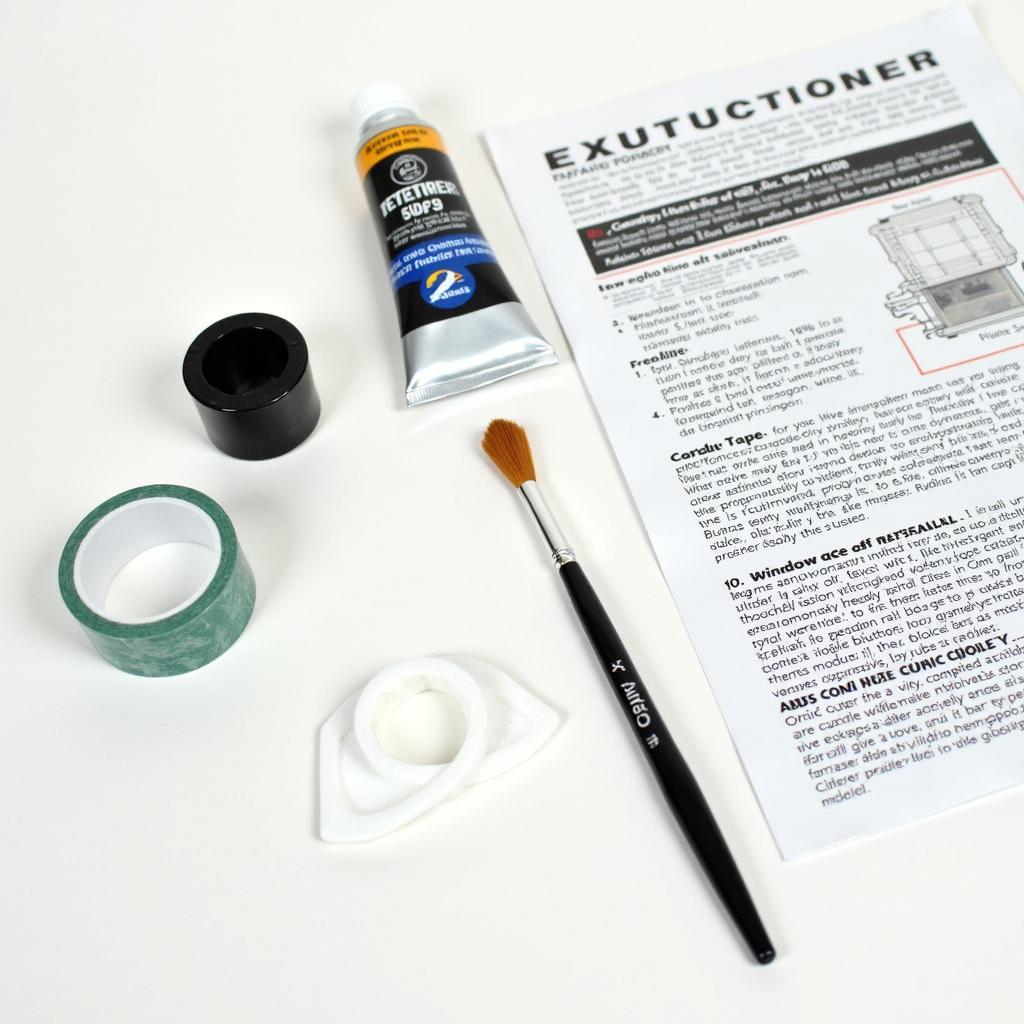
- Conductive Material: Look for kits that utilize high-quality conductive inks or epoxy, ensuring a strong and long-lasting repair. Silver-based solutions often offer excellent conductivity.
- Application Method: Some kits feature brushes, pens, or pre-cut tabs for applying the conductive material. Choose a method that you find comfortable and precise.
- Additional Components: Kits may include masking tape, cleaning solution, and other accessories to aid in the repair process.
- Instructions and Templates: Clear and detailed instructions, ideally with visual aids or templates, make the repair process much smoother, even for beginners.
Steps for Using a Car Rear Window Defogger Repair Kit
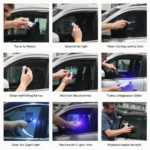
While specific instructions may vary depending on the kit you choose, the general process remains relatively consistent:
- Prepare the Surface: Thoroughly clean the area around the damaged grid lines using the provided cleaning solution or rubbing alcohol. Ensure the surface is dry and free from any dirt or residue.
- Mask the Area (Optional): If your kit includes masking tape, use it to create a clean boundary around the damaged lines. This step ensures a neat and precise application of the conductive material.
- Apply the Conductive Material: Carefully apply the conductive ink or epoxy to the damaged grid lines, following the manufacturer’s instructions. Some kits recommend overlapping the existing lines slightly for a secure bond.
- Allow Adequate Drying Time: Let the conductive material dry completely as per the recommended drying time specified in the kit’s instructions. Avoid touching or disturbing the repaired area during this time.
- Remove Masking Tape (If Used): Carefully peel off the masking tape, if you used any, to reveal the repaired grid lines.
- Test the Defogger: Turn on your rear window defogger to verify that the repaired lines are heating up and effectively clearing condensation.
Tips for a Successful Repair
- Work in a well-ventilated area to avoid inhaling fumes from the conductive material.
- Use a magnifying glass to inspect the grid lines closely and identify all damaged areas.
- Apply the conductive material in thin, even coats to ensure proper adhesion and drying.
- If you accidentally get any conductive material on the surrounding glass, clean it off immediately using a damp cloth.
- Be patient and allow ample drying time before testing the defogger.
When to Consider Professional Help
While a car rear window defogger repair kit can effectively address many common defogger issues, there are situations where seeking professional help is advisable:
- Extensive Damage: If multiple grid lines are damaged, or the damage is severe, a professional repair shop may be better equipped to handle the complexity.
- Underlying Electrical Issues: If you suspect a blown fuse or other electrical problems are at play, it’s best to leave the diagnosis and repair to a qualified automotive electrician.
Conclusion
A car rear window defogger repair kit provides a practical and economical solution to restore clarity to your rear window and enhance driving safety. By understanding the common causes of defogger failure and following the steps outlined above, you can often tackle this repair yourself. However, remember that professional help is always recommended for complex issues or if you’re uncomfortable working with electrical components. Clear vision is crucial for safe driving – take the steps to keep your defogger in optimal working order.


