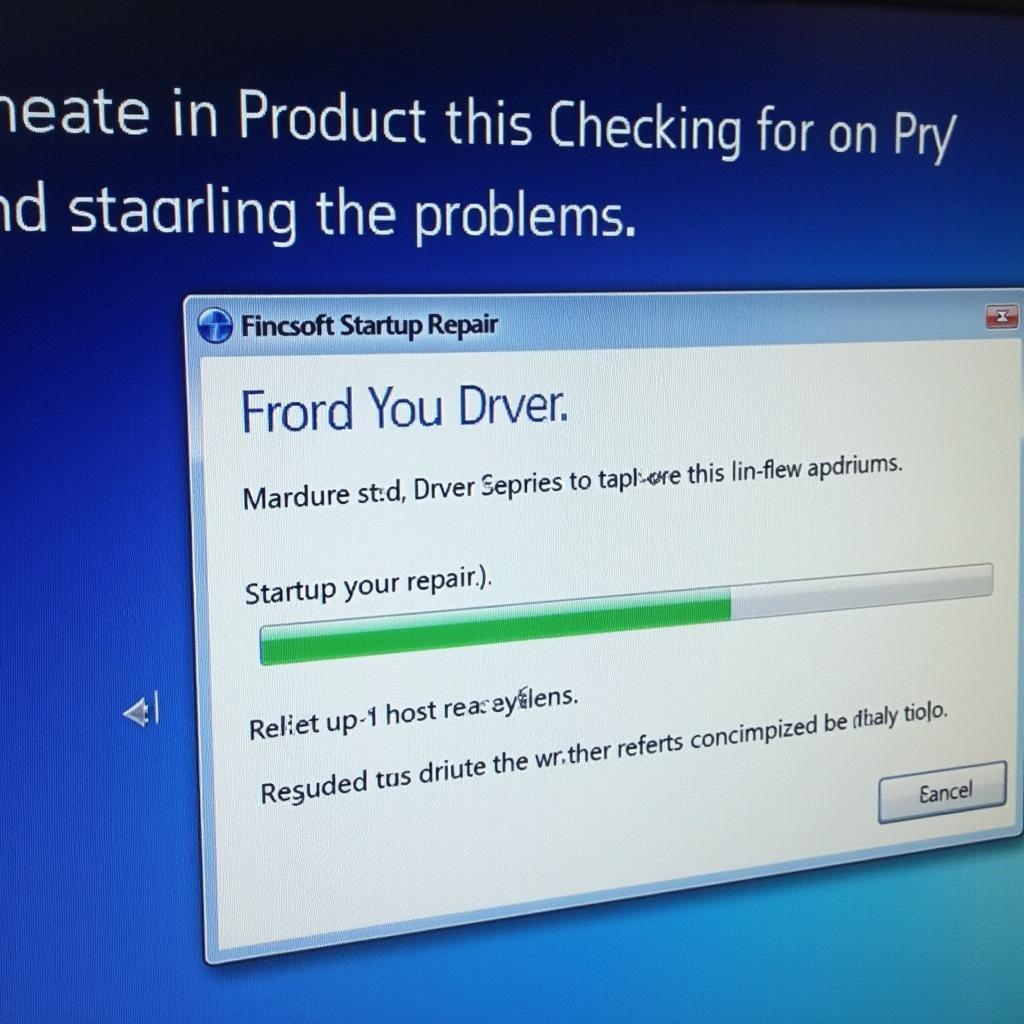
Encountering the dreaded “Startup Repair” loop on your Windows 7 computer can be a frustrating experience. This issue often prevents your system from booting up normally, leaving you feeling stuck and unsure of what to do next. Don’t worry! This guide will walk you through the most effective solutions to overcome startup repair problems in Windows 7, getting you back on track quickly.
Understanding the Windows 7 Startup Repair Loop
Before diving into solutions, it’s essential to grasp why this issue occurs. The “Startup Repair” feature in Windows 7 is designed to automatically diagnose and fix problems that prevent your computer from starting correctly. However, sometimes this repair process gets stuck in a loop, indicating it can’t resolve the underlying issue on its own.
Common Causes of Startup Repair Issues
Several factors can trigger startup repair problems. Recognizing the potential cause can guide you towards the most appropriate solution:
- Corrupted System Files: Damaged or missing system files are a frequent culprit. This can result from sudden power outages, improper shutdowns, or malware infections.
- Hard Drive Errors: Issues with your hard drive, such as bad sectors or failing components, can disrupt the boot process.
- Faulty RAM: Random Access Memory (RAM) problems can interfere with the system’s ability to load properly.
- Boot Order Issues: If the BIOS settings are incorrect, your computer might be trying to boot from the wrong device.
- Recent Software or Hardware Changes: Newly installed software or hardware can sometimes conflict with the system, leading to startup errors.
Troubleshooting Windows 7 Startup Repair Problems
Now, let’s explore some proven methods to fix startup repair issues on your Windows 7 PC:
1. Run Startup Repair Multiple Times
It might sound counterintuitive, but sometimes running the Startup Repair utility several times can help dislodge it from a loop and eventually resolve minor issues.
2. Boot into Safe Mode
Safe Mode starts Windows with a minimal set of drivers and programs, allowing you to troubleshoot problems in a safer environment. Here’s how to access Safe Mode:
- Restart your computer.
- As soon as you see the Windows logo, press the F8 key repeatedly.
- Choose Safe Mode from the Advanced Boot Options menu.
If you can boot into Safe Mode, try running a System Restore (see Method 4) or uninstalling recently installed software that might be causing conflicts.
3. Check Your Hard Drive and RAM
Checking the Hard Drive:
- Boot from your Windows 7 installation disc or a bootable USB drive.
- Select Repair your computer.
- Choose Command Prompt.
- Type chkdsk /r C: (replace “C:” with your system drive letter if different) and press Enter.
- Wait for the process to complete, then restart your computer.
Checking the RAM:
Using the Windows Memory Diagnostic tool:
- Click Start, type “memory”, and select Windows Memory Diagnostic.
- Choose Restart now and check for problems.
Alternatively, you can use a bootable memory testing tool like Memtest86+ to perform a more comprehensive RAM check.
4. Perform a System Restore
System Restore can revert your computer to a previous state when it was working correctly.
- Boot into Safe Mode (follow the steps in Method 2).
- Click Start, type “system restore”, and press Enter.
- Follow the on-screen prompts to choose a restore point created before the startup issues began.
5. Rebuild the Boot Configuration Data (BCD)
The BCD stores essential boot configuration parameters. Rebuilding it can often resolve startup problems:
- Boot from your Windows 7 installation disc or bootable USB drive.
- Select Repair your computer.
- Choose Command Prompt.
- Enter the following commands one by one, pressing Enter after each:
- bootrec /fixmbr
- bootrec /fixboot
- bootrec /rebuildbcd
- Restart your computer.
6. Run System File Checker (SFC) Scan
SFC scans and repairs corrupted system files:
- Boot into Safe Mode with Command Prompt.
- Type sfc /scannow and press Enter.
- Let the scan complete and restart your computer.
7. Check BIOS Settings
Ensure that the boot order in your BIOS is set correctly. The first boot device should be your hard drive or the device from which you want to boot (e.g., CD/DVD drive or USB drive).
8. Reinstall Windows 7
If all else fails, reinstalling Windows 7 might be the ultimate solution. Remember to back up your important data before proceeding.
Conclusion
Dealing with startup repair issues in Windows 7 can be a real headache. However, by understanding the potential causes and following the troubleshooting steps outlined in this guide, you can often resolve the problem yourself. Remember to back up your essential data regularly to minimize potential data loss. If you’re uncomfortable performing these steps on your own, seeking assistance from a qualified computer technician is always a wise decision.


