Leather car seats are a luxurious feature that can elevate the overall aesthetic and feel of your vehicle’s interior. However, over time, they can be prone to wear and tear, including scratches, cracks, and fading. Knowing the best way to repair leather car seats can save you from costly replacements and maintain your car’s value.
Understanding Leather Car Seat Damage
Before diving into repair methods, it’s crucial to identify the type of damage your leather car seats have incurred.
- Scratches and Scuffs: These are superficial damages that usually affect the top layer of the leather.
- Cracks and Tears: These are more severe damages that penetrate deeper into the leather, often due to aging, dryness, or sharp objects.
- Fading and Discoloration: Prolonged exposure to sunlight and heat can cause the leather to lose its original color and vibrancy.
DIY vs. Professional Repair: Which Route to Take?
Deciding whether to tackle the repair yourself or hire a professional depends on the severity of the damage and your comfort level with DIY projects.
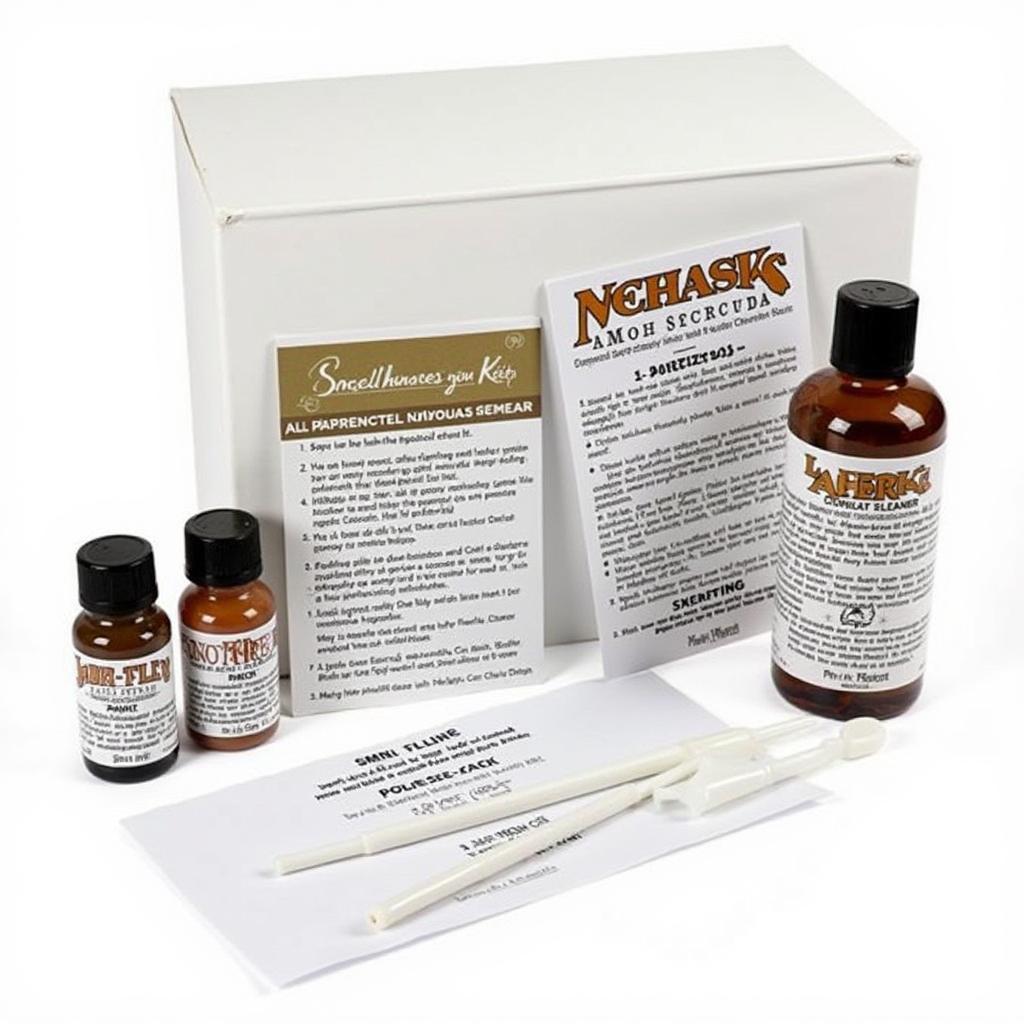
For minor scratches and scuffs, DIY repair kits and methods can be effective and budget-friendly. These kits usually include cleaning solutions, leather fillers, colorants, and sealants.
However, for deeper cracks, tears, or extensive damage, seeking professional help is highly recommended. Professional car upholstery repair shops have the expertise, specialized tools, and high-quality materials to deliver long-lasting and aesthetically pleasing results.
Best Ways to Repair Leather Car Seat: A Comprehensive Guide
Let’s explore some of the best ways to repair leather car seats based on the type of damage:
Repairing Scratches and Scuffs
- Clean the Area: Use a gentle leather cleaner and a microfiber cloth to remove dirt and debris from the scratched area.
- Apply Leather Filler (If Needed): For deeper scratches, apply a small amount of leather filler using a palette knife, ensuring it’s evenly spread and leveled with the surrounding surface. Let it dry completely.
- Use a Leather Colorant: Choose a colorant that matches your leather’s exact shade. Apply thin coats using a sponge or brush, blending it outward for a seamless finish. Allow each coat to dry before applying the next.
- Apply Leather Conditioner: Once the colorant dries, apply a leather conditioner to restore moisture, softness, and protect the repaired area.
 DIY Leather Car Seat Repair Kit
Repairing Cracks and Tears
While minor cracks can be addressed using DIY kits, larger tears often require professional intervention. Here’s a general overview of the process:
- Clean and Prepare the Area: Thoroughly clean the torn area with a leather cleaner.
- Apply Backing Patch (If Necessary): For large tears, a backing patch is adhered beneath the tear to provide support and prevent further tearing.
- Fill the Tear: Leather filler is carefully applied to fill the gap, ensuring a smooth and even surface.
- Apply Colorant and Sealer: Once dry, matching leather colorant is applied, followed by a leather sealant to protect the repair and restore the leather’s original look and feel.
For detailed guidance on repairing small tears yourself, refer to our comprehensive guide on “[how to repair a small tear in car leather seat](https://carrepairon.com/how to-repair-a-small-tear-in-leather-car-seat/)”
Addressing Fading and Discoloration
- Clean the Affected Area: Use a leather cleaner to remove dirt and grime that may hinder the effectiveness of leather dye.
- Apply Leather Dye: Choose a high-quality leather dye that matches your car’s interior color. Apply thin coats using a sponge or brush, ensuring even coverage.
- Apply Leather Conditioner: Once the dye dries, apply a leather conditioner to moisturize and protect the leather, preventing further fading.
Remember that preventing damage is always better than repairing it. Regular cleaning, conditioning, and protecting your leather car seats from extreme temperatures and direct sunlight can significantly prolong their lifespan.
Choosing the Right Repair Products
The success of your leather car seat repair hinges on using the right products.
“Always opt for high-quality leather repair products specifically designed for automotive use,” advises Johnathan Miller, a seasoned car upholstery specialist with over 20 years of experience. “Using substandard products can lead to unsatisfactory results and potentially damage your leather further.”
Look for reputable brands and products with positive customer reviews. It’s also advisable to test the chosen product on a hidden area of your car seat before applying it to the damaged area.
Conclusion
Knowing the best way to repair leather car seat damage can help you maintain your car’s interior aesthetics and value. While DIY methods can effectively address minor scratches and scuffs, seeking professional help is recommended for more severe damage. Remember to use high-quality repair products and follow instructions carefully. By taking proactive steps to care for your leather car seats, you can enjoy their luxurious look and feel for years to come.


