A torn car seat can be an eyesore and detract from the overall look of your car’s interior. While it might seem like a job best left to the professionals, repairing a cloth car seat tear is a manageable DIY project that can save you money and give you a sense of accomplishment. This guide will provide you with a step-by-step approach to effectively repair that tear and restore your car’s interior.
Assessing the Damage: Knowing Your Enemy
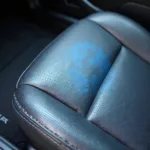
Before diving into the repair process, it’s crucial to assess the extent of the damage. Is it a minor snag, a small tear, or a large rip? The size and location of the tear will determine the best repair method and the materials you’ll need.
Gathering Your Arsenal: Tools and Materials
Having the right tools and materials on hand will make the repair process smoother and more successful. Here’s a list of what you’ll need:
- Cleaning Supplies: A vacuum cleaner with a crevice attachment, a soft-bristled brush, and a mild upholstery cleaner will help you clean the area around the tear thoroughly.
- Repair Fabric: You can use a matching fabric patch, an iron-on patch, or a leather repair kit (for vinyl or leather seats) depending on the severity of the tear and the material of your car seat.
- Adhesive: Fabric glue or a strong adhesive specifically designed for upholstery will bond the repair fabric to the seat.
- Scissors: Sharp fabric scissors will ensure clean cuts for your repair fabric.
- Sub-patch Material: This is optional but recommended for larger tears. A piece of sturdy fabric slightly larger than the tear can be used as a backing to provide extra support and prevent the tear from reopening.
- Color Matching: If using a fabric patch, try to find a close match to your car’s interior upholstery.
The Repair Process: A Step-by-Step Guide
Follow these steps to effectively repair your cloth car seat tear:
-
Clean the Area: Thoroughly vacuum the torn area to remove any dirt, debris, or loose threads. Use the crevice attachment to reach tight spaces. If necessary, use a soft-bristled brush and a mild upholstery cleaner to gently scrub away any stains around the tear. Allow the area to dry completely before proceeding.
-
Prepare the Repair Fabric: If using a fabric patch, cut a piece slightly larger than the tear, ensuring it covers the edges completely. If using an iron-on patch, follow the manufacturer’s instructions for cutting and preparing the patch.
-
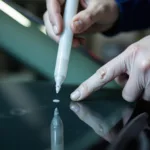
Apply Adhesive (if necessary): Apply a thin, even layer of fabric glue or upholstery adhesive to the back of the repair fabric or the area around the tear, depending on the type of adhesive and repair method you are using. Follow the manufacturer’s instructions for drying time.
-
Apply the Patch: Carefully align the repair fabric over the tear, ensuring it covers the entire damaged area. Press firmly and evenly on the patch to secure it in place. If using an iron-on patch, follow the manufacturer’s instructions for ironing and bonding the patch to the seat.
-
Secure with Sub-patch (optional): For larger tears, cut a piece of sturdy fabric slightly larger than the tear and apply adhesive to one side. Carefully place this sub-patch material underneath the tear, pressing it firmly against the back of the repair fabric. This will provide extra support and reinforcement.
-
Drying and Curing: Allow the adhesive to dry and cure completely according to the manufacturer’s instructions. Avoid using the car seat during this time to prevent disturbing the repair.
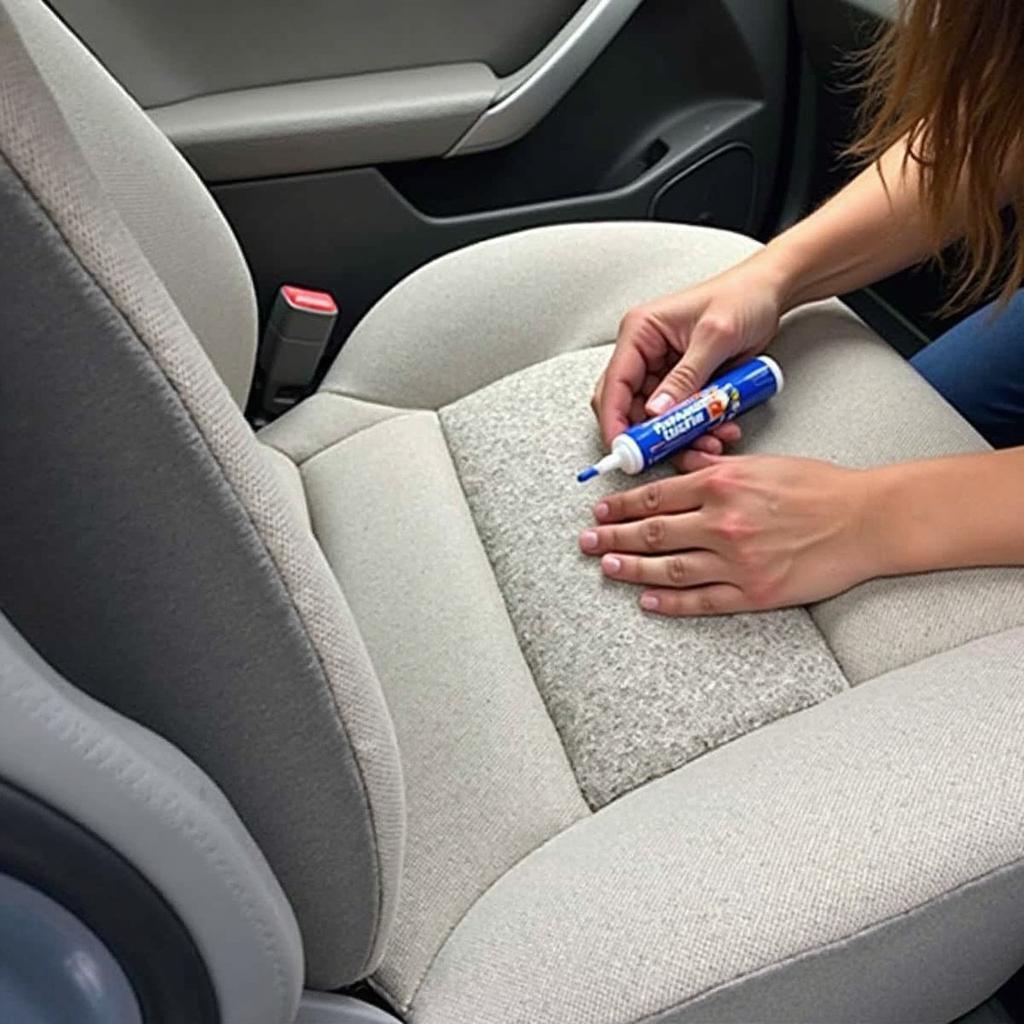 Applying a patch to a cloth car seat tear using fabric glue
Preventing Future Tears: Proactive Measures
Once you’ve successfully repaired your cloth car seat tear, it’s essential to take steps to prevent future damage. Here are a few tips:
- Regular Cleaning: Regularly vacuum your car seats to remove dirt and debris that can cause wear and tear.
- Use Seat Covers: Consider using seat covers to protect your upholstery from spills, stains, and everyday wear and tear, especially if you frequently transport children or pets.
- Careful Entry and Exit: Be mindful when entering and exiting your vehicle to avoid snagging your clothes or belongings on the seats.
Conclusion
Repairing a cloth car seat tear is a manageable DIY project that can save you money and restore the look of your car’s interior. By following the steps outlined in this guide, you can achieve a clean and durable repair. Remember to assess the damage, gather the necessary materials, and follow the repair process carefully for the best results. With a little patience and effort, you can have your car seats looking their best in no time!