Discovering a rip in your car seat can be frustrating. Whether it’s due to wear and tear, sharp objects, or an unfortunate accident, a torn car seat not only looks bad but can also decrease the resale value of your car. Luckily, you don’t always need a professional to fix it. This guide will show you how to repair a rip in a car seat yourself, saving you money and keeping your car’s interior looking its best.
Assessing the Damage and Choosing the Right Repair Method
Before you begin, it’s important to assess the severity of the rip and the type of material your car seat is made of.
Types of Car Seat Materials:
- Cloth: Most common type, usually made of durable fabric or synthetic blends.
- Vinyl: Affordable and easy to clean, but can be prone to cracking.
- Leather: Luxurious and durable, but requires specialized repair kits.
Repair Options Based on Severity:
- Small rips and tears (less than an inch): Can often be repaired with a fabric repair kit or vinyl repair kit, depending on the material.
- Larger rips and tears: May require a patch or professional repair.
- Rips on seams: Need to be sewn together for a lasting fix.
Gathering Your Materials
Once you’ve assessed the damage and chosen the right repair method, gather the necessary materials. Here’s a general list:
- Cleaning Supplies: Mild soap, water, microfiber cloth
- Repair Kit: Choose a fabric, vinyl, or leather repair kit depending on your car seat material.
- Patch (if needed): Choose a patch that closely matches the color and texture of your car seat.
- Scissors
- Tweezers
- Sewing Needle and Thread (for seam repairs)
Step-by-Step Guide to Repairing a Rip in a Car Seat:
1. Clean the Area:
Thoroughly clean the ripped area and surrounding surface with a mild soap and water solution. This will remove any dirt or debris that could interfere with the repair. Allow the area to dry completely.
2. Prepare the Rip:
If the edges of the rip are frayed, use sharp scissors to carefully trim away any loose threads. This will create a cleaner surface for the repair.
3. Apply the Repair Solution:
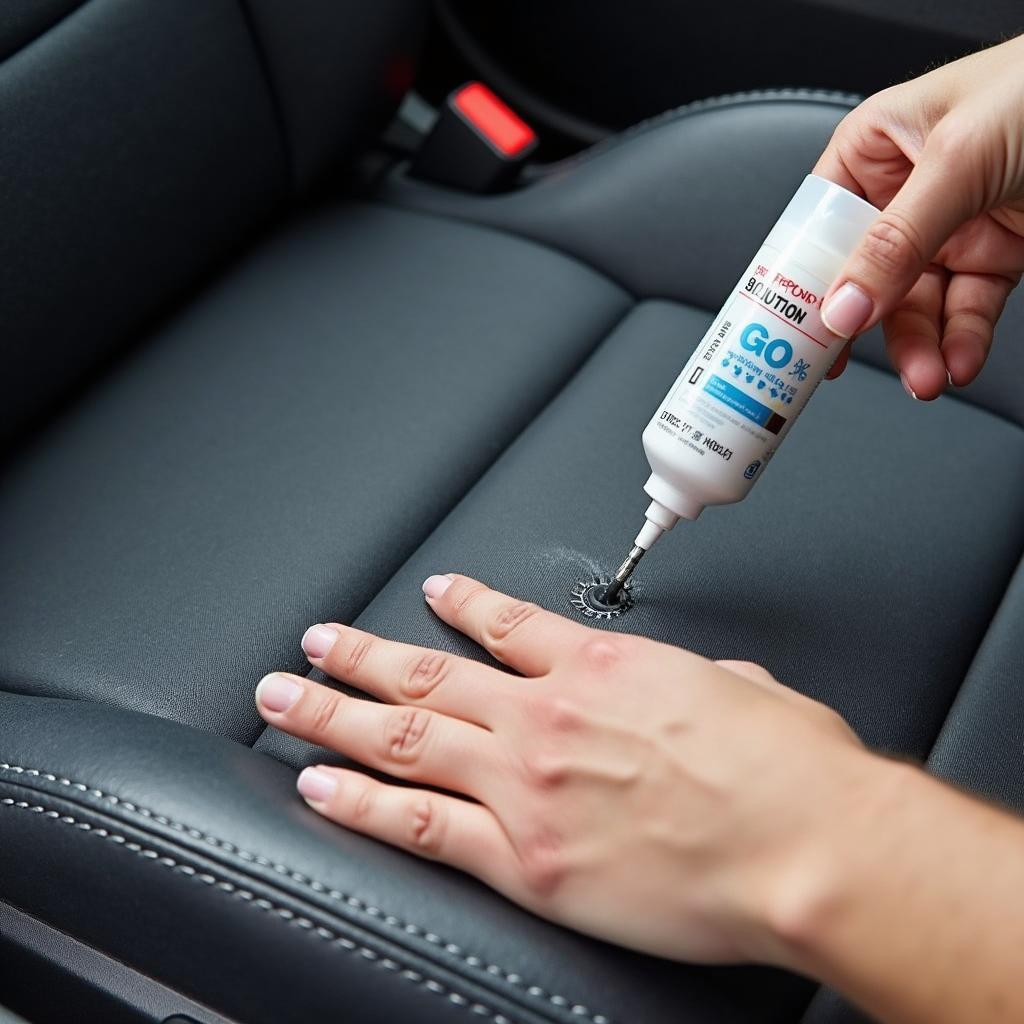
Following the instructions provided with your chosen repair kit, apply the repair solution or adhesive to the ripped area.
 Applying Car Seat Repair Solution
4. Apply the Patch (If Needed):
If you are using a patch, cut it to the appropriate size, ensuring it slightly overlaps the rip. Apply the adhesive to the back of the patch and carefully position it over the rip, smoothing out any wrinkles or air bubbles.
5. Allow to Dry:
Let the repair solution or adhesive dry completely as per the manufacturer’s instructions. This is crucial for a strong and lasting bond.
6. Seam Repairs:
For rips along seams, you’ll need to sew the edges together. Use a curved needle and a thread that matches your car seat material. Start stitching a little before the rip and continue a short distance beyond for added strength.
Tips for a Seamless Repair:
- Test the repair solution or adhesive on an inconspicuous area of the car seat first to ensure color matching and prevent any unwanted reactions with the material.
- Work in a well-ventilated area when using adhesives or repair solutions.
- Use a hair dryer on a low heat setting to speed up drying time if needed.
- For larger rips or tears, consider seeking professional upholstery repair services.
Conclusion
Repairing a rip in your car seat is a manageable task that can save you money and maintain the appearance of your car’s interior. By following these steps and choosing the right repair method, you can restore your car seat and prevent further damage. Remember to always prioritize safety and seek professional help if needed.


