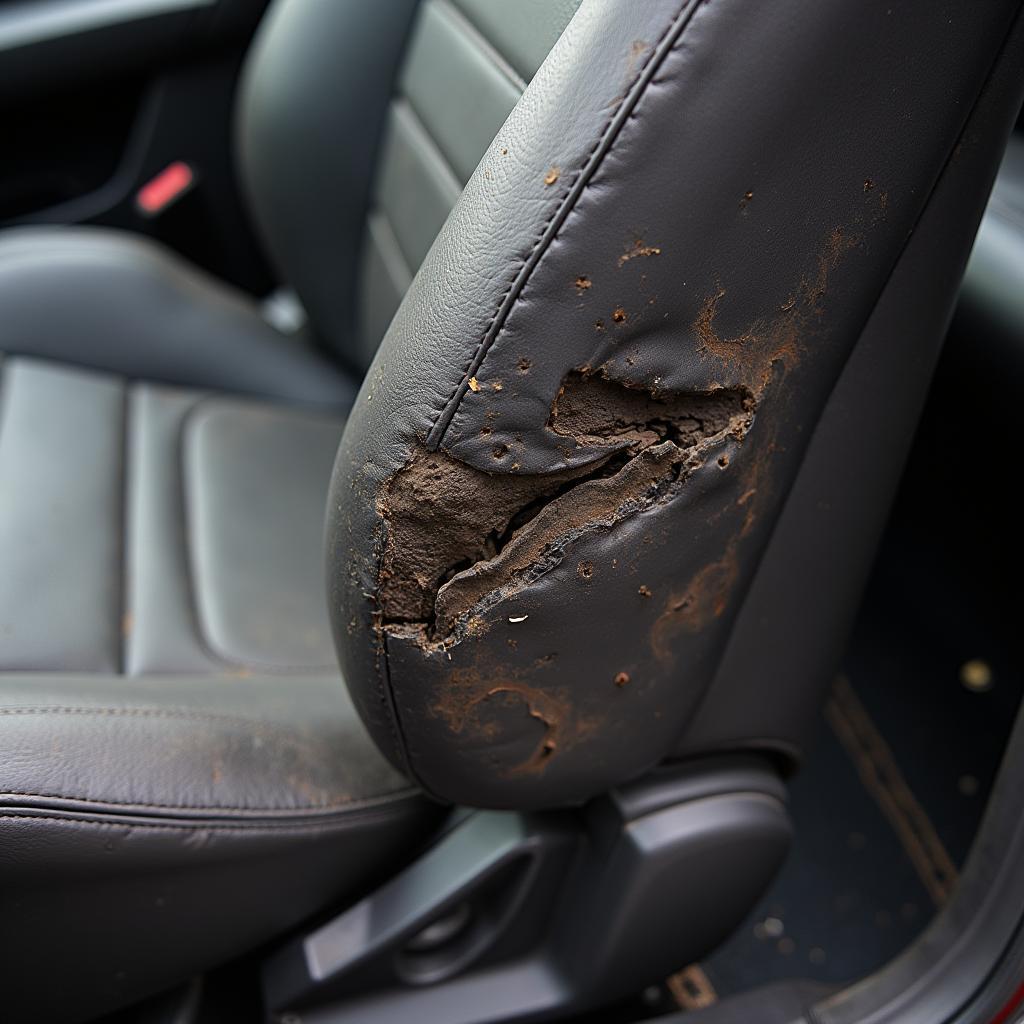
A torn leather car seat can be a real eyesore. It not only affects the aesthetics of your car’s interior but can also decrease the car’s value. Thankfully, you don’t always need a professional to fix it. With the right approach and a little patience, you can repair minor to moderate tears yourself. This comprehensive guide will walk you through the steps to effectively repair a torn leather car seat and restore your car’s interior.
Assessing the Damage: What You’re Up Against
Before you start gathering materials, it’s crucial to assess the extent of the damage. A small tear requires a different approach than a large gash. Check if it’s a clean cut or a tear with frayed edges. Identifying the type and severity of the damage will help you choose the right repair method and materials.
Gathering Your Repair Arsenal: Tools and Materials
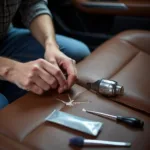
Having the right tools and materials is essential for a successful repair. Here’s a list of what you’ll need:
- Leather Repair Kit: These kits are readily available online and at auto parts stores. They usually contain a color matching guide, leather filler, adhesive, a palette knife, and various grain papers.
- Rubbing Alcohol: This is used to clean the area around the tear.
- Microfiber Cloth: Used for cleaning and applying products.
- Scissors: For trimming any loose threads or excess material.
- Heat Gun or Hairdryer (optional): Helps to speed up the drying process of the leather filler.
- Leather Conditioner: Essential for nourishing and protecting the repaired area after the repair.
DIY Leather Car Seat Repair: A Step-by-Step Guide
Here’s a detailed guide on how to repair a torn leather car seat:
- Clean the Area: Start by cleaning the torn area and the surrounding leather with rubbing alcohol. This will remove dirt, grime, and any oils that might prevent the adhesive from properly bonding.
- Trim Loose Threads: If the tear has frayed edges, carefully trim any loose threads using a pair of sharp scissors.
- Apply Leather Filler (if necessary): For larger tears or gashes where material is missing, you’ll need to use a leather filler. Apply the filler to the torn area using a palette knife, ensuring it fills the gap evenly.
- Dry and Sand the Filler: Allow the leather filler to dry completely. This might require using a heat gun or hairdryer to speed up the process. Once dry, gently sand down the area with fine-grit sandpaper until it’s smooth and level with the surrounding leather.
- Apply Leather Adhesive: Apply a thin layer of leather adhesive to the back of the torn piece and carefully align and press it onto the seat. Use a microfiber cloth to apply even pressure and remove any excess adhesive that seeps out.
- Match the Texture (if necessary): If your leather repair kit comes with grain paper, you can use it to match the texture of the repaired area to the surrounding leather. Place the grain paper over the repaired area and heat it gently with a hairdryer, then press firmly.
- Apply Leather Dye (if necessary): If the tear is significant or the color of the filler doesn’t perfectly match your leather, you might need to use leather dye. Choose a dye that closely matches your leather’s color and apply it to the repaired area following the manufacturer’s instructions.
- Condition the Leather: Once the repair is complete and the dye (if used) has dried, apply a high-quality leather conditioner to the entire seat. This will help to moisturize the leather and protect it from future cracking or fading.
Professional Repair: When to Call in the Experts
While minor tears can often be repaired at home, some situations call for professional help:
- Extensive Damage: If the tear is very large, deep, or involves multiple panels of leather, it’s best to leave it to the professionals.
- Airbag Concerns: If the tear is located near an airbag, it’s crucial to have it repaired by a certified technician. Tampering with the airbag system can be dangerous.
- Lack of Confidence: If you’re unsure about your ability to achieve a satisfactory repair, don’t hesitate to consult a professional.
For more information on repairing leather car seats, you can check out these resources: how can you repair leather car seats, does subaru repair leather car seats, how much does it cost to repair leather car seat.
Maintaining Your Repaired Leather Car Seat
Once you’ve successfully repaired your leather car seat, proper maintenance will help prolong the life of the repair and keep your leather looking its best:
- Regular Cleaning: Clean your leather seats regularly with a pH-neutral leather cleaner to prevent dirt and grime from building up and causing premature wear and tear.
- Conditioning is Key: Leather conditioners help to keep the leather supple and prevent it from drying out and cracking. Aim to condition your leather seats every few months or as needed, depending on the climate and usage.
- Protect From the Elements: UV rays from the sun can cause leather to fade and crack. Consider using a sunshade or parking your car in the shade whenever possible.
Conclusion: Restoring Your Car’s Interior
Repairing a torn leather car seat might seem daunting at first, but with the right approach and a little effort, you can restore your car’s interior and preserve its value. By following the steps outlined in this guide, you can confidently tackle minor to moderate tears yourself. Remember, professional help is always available for more complex repairs or if you’re unsure about any aspect of the process.
Do you have further questions about car repairs? Feel free to check out our other helpful articles: how much to repair leather car seats, how to repair leather car seats w123.
Need personalized assistance with your car repair? Our dedicated team is here to help! Contact us via WhatsApp: +1(641)206-8880 or Email: [email protected]. We offer 24/7 customer support to address all your queries and concerns.


