Dealing with cracked, brittle, or shrunken rubber window seals on your car? You’re not alone. These seals are crucial for keeping your car’s interior dry and quiet, but over time, exposure to the elements can take their toll. Fortunately, repairing rubber window seals is a manageable task, even for DIY enthusiasts. This guide will walk you through everything you need to know about repairing your car’s rubber window seals, from identifying the problem to choosing the right repair solutions.
Why Repairing Rubber Window Seals Matters
Before we delve into the “how-to,” it’s essential to understand why repairing rubber window seals is so important.
- Prevent Water Leaks: Damaged seals can allow rainwater to seep into your car’s interior, leading to musty odors, mold growth, and even electrical problems.
- Reduce Road Noise: Intact rubber seals create a tight barrier against wind and road noise, providing a quieter and more comfortable ride.
- Maintain Interior Temperature: Worn-out seals can compromise your car’s heating and cooling efficiency, forcing your HVAC system to work harder and potentially leading to higher energy consumption.
- Preserve Resale Value: A well-maintained car with intact seals is more appealing to potential buyers and can command a higher resale value.
Identifying Damaged Window Seals
Recognizing the signs of damaged window seals is the first step toward a successful repair. Here’s what to look for:
- Visual Inspection: Carefully examine your car’s window seals, looking for cracks, tears, gaps, or missing pieces of rubber. Pay close attention to the corners and bends, where damage is most common.
- Water Test: On a dry day, spray water around your car’s windows and doors while someone sits inside. If they notice any leaks, mark the areas where water enters.
- Wind Noise: Drive your car at highway speeds and listen for excessive wind noise coming from the windows or doors. This can indicate damaged or shrunken seals.
DIY Repair Options for Rubber Window Seals
For minor damage or as a preventative measure, several DIY repair options can effectively restore your car’s window seals:
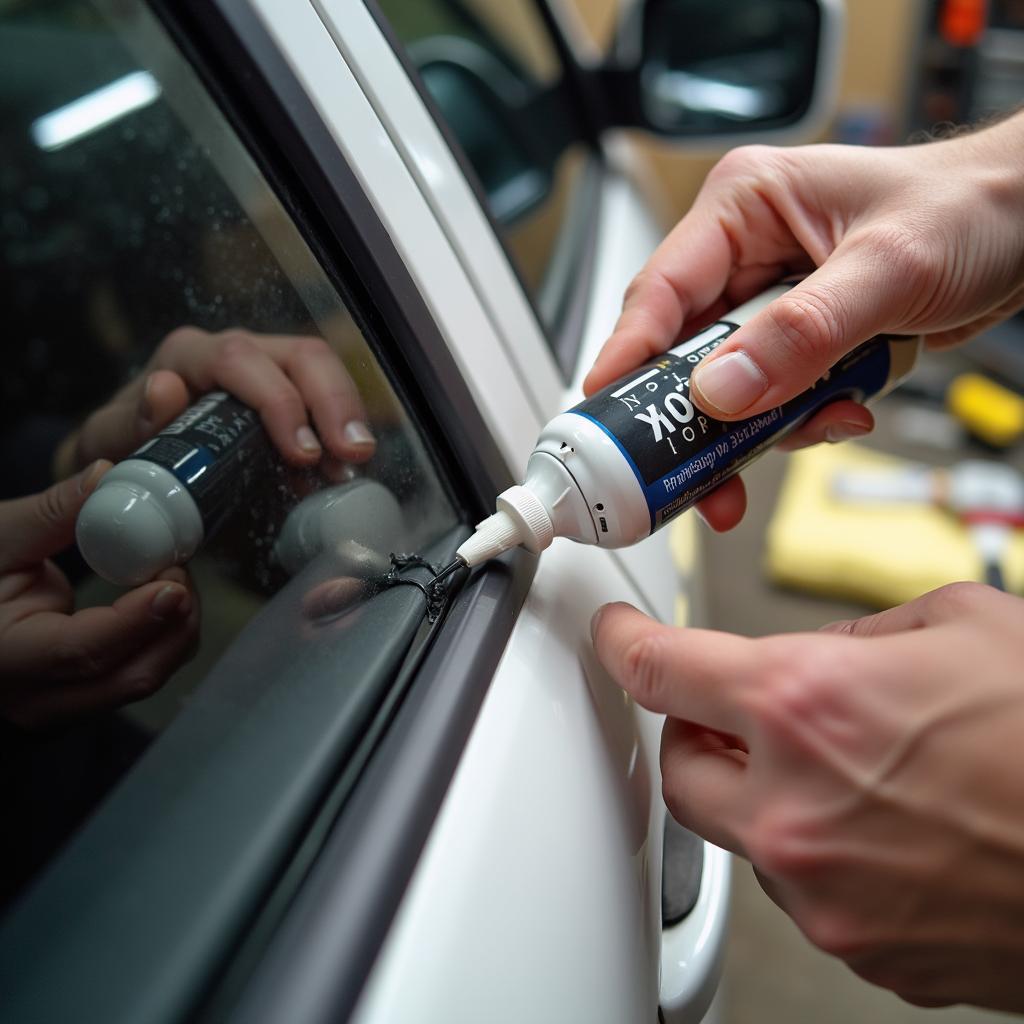
- Rubber Sealant: This affordable and user-friendly solution is ideal for filling small cracks, gaps, or tears in rubber seals. Choose a high-quality rubber sealant specifically designed for automotive use.
- Liquid Rubber Sealant: This type of sealant dries into a flexible, waterproof membrane, providing a durable repair for larger cracks or tears.
- Rubber Seal Tape: This adhesive-backed tape is a quick and easy way to seal gaps or reinforce weakened areas of the seal.
- Silicone Lubricant: Applying silicone lubricant to your rubber seals can help prevent them from drying out, cracking, and shrinking, prolonging their lifespan.
“Regularly inspecting and maintaining your car’s rubber window seals is a small investment that can save you from costly repairs and headaches down the road,” advises John Miller, a seasoned automotive technician with over 20 years of experience.
When to Seek Professional Help
While DIY repairs can be effective for minor damage, some situations warrant the expertise of a professional auto glass technician. Consider seeking professional assistance if:
- Extensive Damage: If the rubber seals are severely cracked, torn, or missing in large sections, replacement is often the best course of action.
- Mold or Mildew: If you notice mold or mildew growth beneath the rubber seals, it’s crucial to have a professional inspect and address the underlying water leak.
- Unsure About DIY: If you’re uncomfortable or unfamiliar with automotive repairs, it’s always best to err on the side of caution and consult a professional.
Preventing Future Damage
Once you’ve repaired your car’s rubber window seals, take these steps to prevent premature wear and tear:
- Regular Cleaning: Wash your car’s window seals with mild soap and water, removing dirt, grime, and debris that can accelerate deterioration.
- UV Protection: Park your car in a shaded area or use a car cover to protect the rubber seals from harmful UV rays, which can cause fading and cracking.
- Silicone Lubricant Application: Regularly apply a thin coat of silicone lubricant to your rubber seals to keep them pliable and prevent drying, cracking, and shrinking.
Conclusion
Repairing rubber window seals car is crucial for maintaining a dry, quiet, and comfortable driving experience. By understanding the importance of these seals, recognizing signs of damage, and exploring DIY repair options, you can keep your car in top condition while potentially saving money on costly repairs. Remember, regular maintenance is key to extending the life of your car’s rubber seals and preventing future problems.
FAQs
Q: How often should I check my car’s window seals?
A: It’s a good practice to inspect your window seals at least twice a year, ideally during the spring and fall.
Q: Can I use any type of sealant on my car’s rubber seals?
A: No, it’s essential to use a sealant specifically designed for automotive use and compatible with rubber.
Q: How long does rubber sealant take to dry?
A: Drying times vary depending on the sealant type and environmental conditions. Refer to the product instructions for specific drying times.
Q: Can I drive my car immediately after repairing the seals?
A: It’s best to allow the sealant to cure completely before driving to ensure a proper bond and prevent smearing.
Q: How much does it cost to have a professional replace car window seals?
A: The cost of replacement varies depending on the car make and model and the extent of the damage.
Related Car Repair Resources
For more information on car window repair and maintenance, check out these helpful resources:
Do you have additional questions about repairing your car’s rubber window seals or other car maintenance needs? Our team of expert technicians is here to help! Contact us via WhatsApp: +1(641)206-8880, or Email: [email protected]. We provide 24/7 customer support to address all your car repair concerns.


