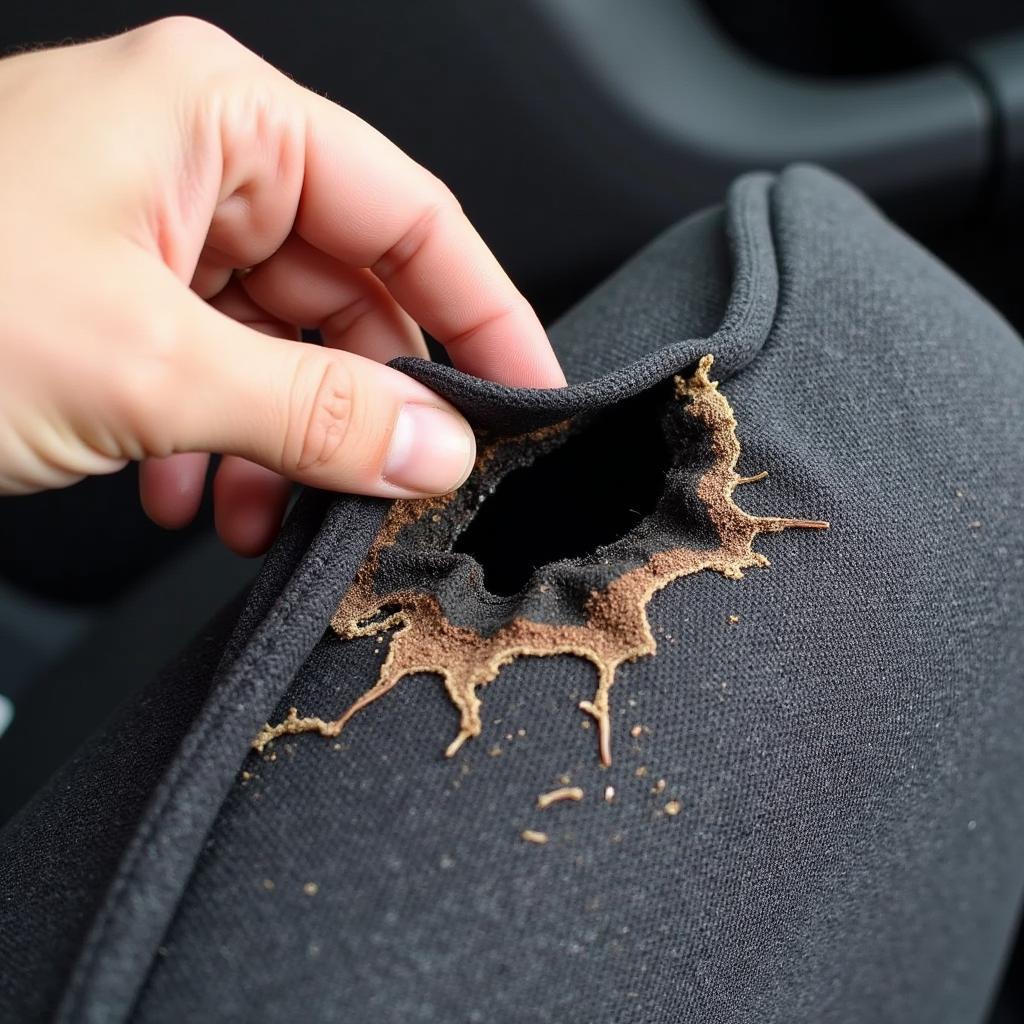
Finding a hole in your car seat can be a frustrating experience. It not only affects the aesthetics of your car’s interior but can also decrease the resale value of your vehicle. Luckily, repairing a quarter-size hole in a car seat is a manageable DIY project that you can tackle head-on, even if you have limited experience. Many helpful YouTube tutorials can guide you through the process.
This article will discuss the necessary steps to repair a quarter-size hole in your car seat, the materials needed, and tips for achieving a professional-looking result.
Understanding the Repair Process
Before diving into the repair, it’s crucial to understand the process and gather the necessary materials. The basic principle involves cleaning the damaged area, applying a backing patch for support, filling the hole with a suitable filler, and then blending the repaired area with the surrounding material.
Materials You Will Need:
- Cleaning Supplies: Gather rubbing alcohol, a clean cloth, and a soft brush to prepare the damaged area.
- Backing Patch: A piece of mesh or fabric slightly larger than the hole will provide support and prevent the filler from sinking.
- Leather or Vinyl Repair Kit: Choose a kit that matches the color and texture of your car seat. These kits typically include a filler compound, color matching guide, and application tools.
- Heat Gun or Hair Dryer: A heat gun or hairdryer helps to speed up the drying process of the filler compound and helps to achieve a smooth finish.
Step-by-Step Repair Guide:
1. Clean the Damaged Area:
Start by cleaning the area around the hole thoroughly. Use rubbing alcohol and a clean cloth to remove any dirt, grease, or debris. Allow the area to dry completely before proceeding.
2. Apply the Backing Patch:
If the hole is deep or on a stressed area of the seat, apply a backing patch. Trim a piece of mesh or a strong fabric slightly larger than the hole. Apply a thin layer of leather or vinyl adhesive to the patch and carefully place it behind the hole. Make sure the patch is secure and lies flat.
3. Fill the Hole:
Using the filler compound from your repair kit, carefully fill the hole. Start by applying a thin layer, ensuring it spreads evenly into the hole and slightly overlaps the surrounding area. Allow each layer to dry completely before applying the next.
4. Smooth and Blend:
Once the filler compound is dry, use a heat gun or hairdryer on a low setting to heat the area. As it warms up, gently press and smooth the filler with your fingers or a plastic spatula to blend it seamlessly with the surrounding material.
5. Apply Colorant (if needed):
If your repair kit includes a colorant, use it to match the repaired area to the original color of your car seat. Apply thin coats, allowing each coat to dry completely before applying the next.
6. Final Touches:
Once the repair is complete and the colorant is dry, apply a leather or vinyl conditioner to the entire seat to nourish the material and restore its original shine.
Tips for a Professional-Looking Finish:
-
Choose the Right Repair Kit: Selecting a high-quality repair kit specifically designed for leather or vinyl is crucial for achieving a professional-looking result.
-
Work in a Well-Ventilated Area: Ensure adequate ventilation when working with adhesives and filler compounds.
-
Don’t Rush the Process: Allow ample drying time between each step to prevent the filler compound from cracking or peeling.
-
Practice on a Hidden Area: If you are unsure about the color match or your skills, practice on a hidden area of the car seat before working on the visible hole.
Conclusion
Repairing a quarter-size hole in your car seat is a manageable DIY project that can save you money and improve the appearance of your car’s interior. By following the steps outlined in this guide and watching helpful YouTube tutorials, you can achieve professional-looking results. Remember to be patient, choose the right materials, and take your time to ensure a successful and long-lasting repair.
FAQ
1. Can I use super glue to repair a hole in my car seat?
Superglue is not recommended for repairing car seats as it can create a stiff and noticeable bond that may crack over time.
2. How long does it take for the filler compound to dry completely?
Drying times vary depending on the product, but most filler compounds require at least 24 hours to dry completely.
3. Can I still repair a hole if the fabric is ripped?
If the fabric is ripped or frayed, you may need to use a patching technique before applying the filler compound to create a smooth surface.
Need Help with Your Car Repair?
Contact us via WhatsApp: +1(641)206-8880 or Email: [email protected]. Our team is available 24/7 to assist you!

