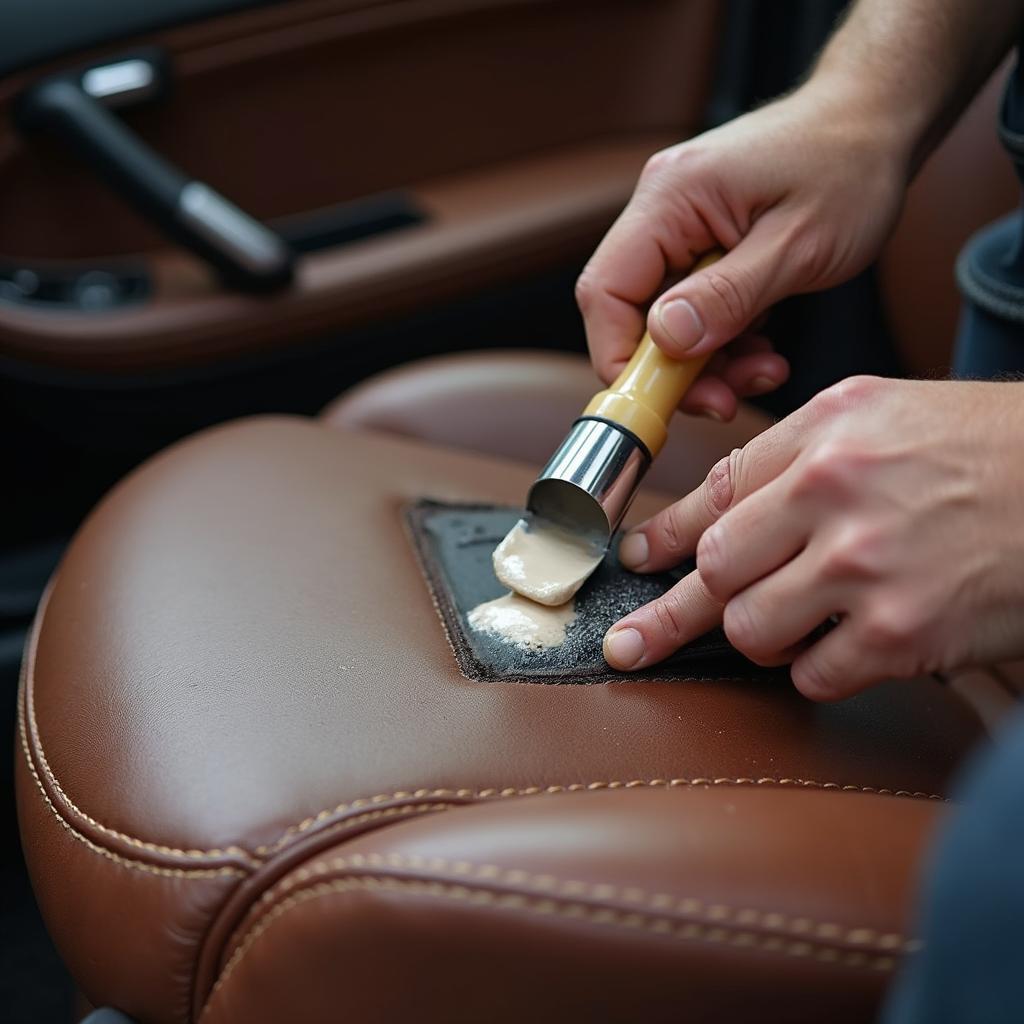
Leather car seats instantly elevate a vehicle’s interior, offering a luxurious look and feel. But over time, wear and tear can take a toll, leading to cracks, scratches, and fading. While professional repairs are an option, many common leather seat issues can be addressed with some DIY know-how and a little elbow grease. This comprehensive guide will explore the ins and outs of how to repair car leather seats, helping you restore their former glory and protect your investment.
Assessing the Damage: Know Your Enemy
Before you embark on your leather seat restoration journey, it’s crucial to identify the type and extent of the damage you’re dealing with.
- Cracks: These are often caused by age, sun exposure, and temperature fluctuations. Small, hairline cracks can often be treated with leather conditioners, while larger cracks may require fillers or patches.
- Scratches: These superficial abrasions can often be buffed out with a leather cleaner and conditioner.
- Fading and Discoloration: Prolonged exposure to sunlight can fade leather’s color. Leather dyes and conditioners can help restore the original hue.
- Tears and Rips: These require more extensive repairs and may necessitate patching or professional intervention. For guidance on repairing specific types of damage, such as tears, check out our dedicated guide on how to repair torn leather car seats.
Gathering Your Arsenal: Essential Tools and Materials
Having the right tools and materials is essential for a successful car leather seat repair. Here’s a list of must-haves:
- Leather Cleaner: Opt for a dedicated leather cleaner that’s pH-balanced and free from harsh chemicals.
- Leather Conditioner: This helps to moisturize and protect the leather, preventing future cracks and dryness.
- Leather Repair Kit: These kits typically include fillers, adhesives, color matching compounds, and various applicators.
- Microfiber Cloths: Use these soft, lint-free cloths for cleaning, applying products, and buffing.
- Rubbing Alcohol: Useful for cleaning the leather surface and ensuring proper adhesion of repair products.
- Scissors: For trimming patches or repair materials.
- Heat Gun or Hair Dryer: Helpful for setting leather fillers and dyes.
A Step-by-Step Guide to Repairing Car Leather Seats
With your tools and materials ready, it’s time to dive into the repair process.
-
Prepare the Surface: Begin by thoroughly cleaning the affected area with a leather cleaner. Use a soft-bristled brush to gently scrub away dirt and grime from cracks and crevices. Wipe down the area with a damp cloth and allow it to dry completely.
-
Address Cracks and Scratches: For minor imperfections, a leather filler can work wonders. Apply the filler to the crack or scratch, pressing it gently into the crevices. Allow it to dry completely, then sand it down using fine-grit sandpaper until it’s flush with the surrounding leather.
“Using a heat gun after applying the filler can help speed up the drying time and create a smoother finish,” advises renowned car leather restoration expert, Johnathan Davies.
-
Repair Tears and Rips: For more significant damage, such as tears and rips, patching may be necessary. Leather repair kits often include patches and adhesives for this purpose. Cut a patch slightly larger than the damaged area, ensuring it matches the color and texture of your car seat. Apply a thin layer of adhesive to the back of the patch and carefully position it over the tear. Use a roller or your fingers to press the patch firmly into place, ensuring there are no air bubbles.
-
Color Matching and Dyeing: If the damage has affected the leather’s color, a leather dye can be used to restore its original hue. Select a dye that closely matches your car seat’s color. Apply the dye in thin, even coats, using a sponge or a paintbrush. Allow each coat to dry completely before applying the next.
-
Condition and Protect: Once the repairs are complete and the dye is dry, apply a high-quality leather conditioner to the entire seat. This will help to moisturize the leather, prevent future cracking, and restore its suppleness.
Seeking Professional Help: When to Call in the Experts
While many leather seat repairs can be tackled with a DIY approach, there are instances when seeking professional assistance is recommended.
- Extensive Damage: If the damage is severe, such as large tears, deep cracks, or extensive fading, professional car leather seats repairers have the expertise and tools to provide a more comprehensive restoration.
- Airbag Concerns: If the damage is near the side airbags, it’s best to err on the side of caution and consult a professional. Tampering with the airbag system can have serious safety implications.
- Lack of Confidence: If you’re unsure about tackling the repairs yourself, don’t hesitate to contact a professional.
Preventing Future Damage: Proactive Care for Lasting Beauty
Prevention is key to maintaining the pristine condition of your leather car seats. Here are some preventive measures to consider:
- Regular Cleaning: Clean your leather seats every few weeks using a dedicated leather cleaner and a soft cloth.
- Conditioning is Key: Apply a leather conditioner after every cleaning and at least once a month to keep the leather moisturized and supple.
- Sun Protection: Use sunshades or park your car in the shade whenever possible to minimize sun damage and fading.
- Avoid Sharp Objects: Be mindful of sharp objects that can scratch or tear the leather.
Conclusion
Repairing car leather seats can be a rewarding DIY project, allowing you to restore their beauty and protect your investment. By following the steps outlined in this guide and taking proactive care measures, you can keep your leather seats looking their best for years to come. Remember, if you encounter extensive damage or lack confidence in your repair abilities, don’t hesitate to reach out to a professional leather repair specialist for assistance.


