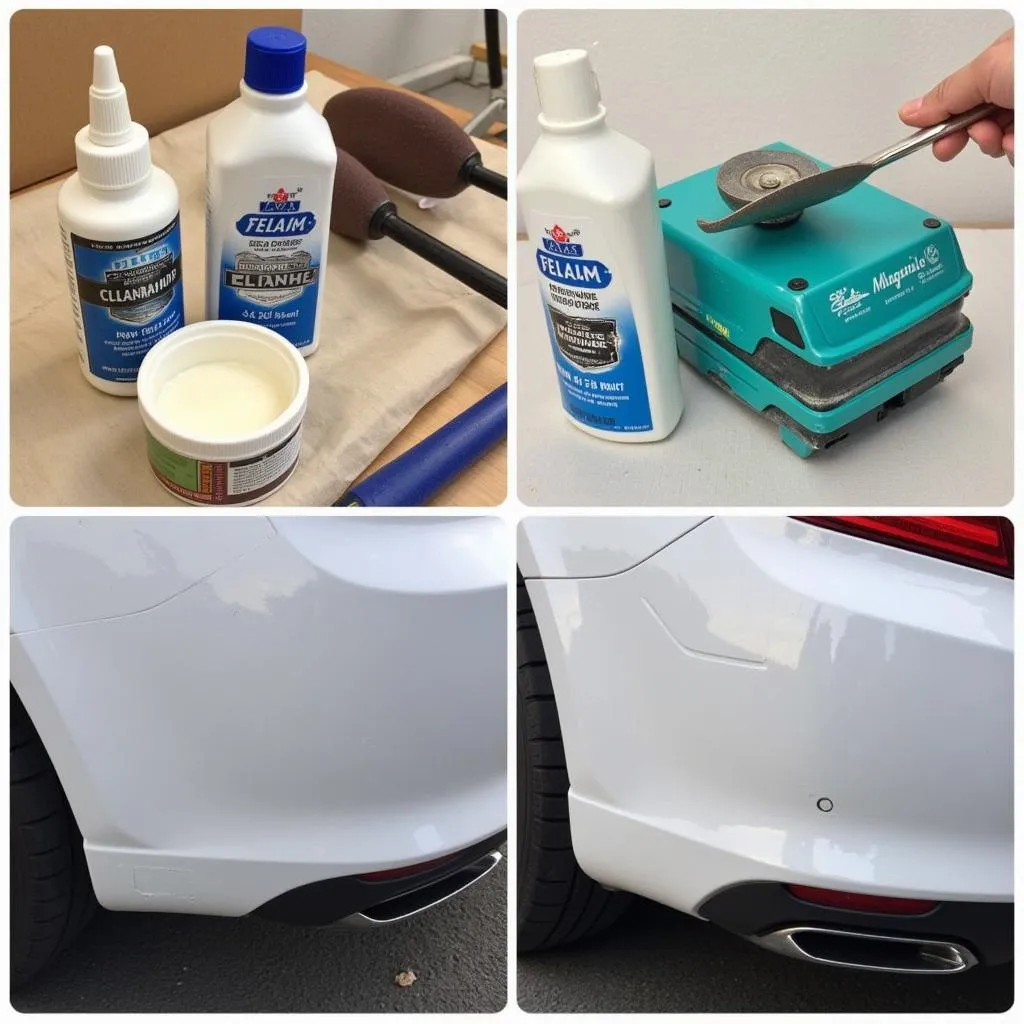
Scratches on your car bumper are an unfortunate reality of driving and parking. Whether it’s a minor scrape from a tight parking spot or a deeper gash from an unexpected encounter, a scratched bumper can detract from your car’s overall appearance. The good news is that repairing a scratched plastic car bumper is often a manageable DIY project. This comprehensive guide will walk you through the steps to restore your bumper’s appearance and save you a potentially costly trip to the auto body shop.
Assessing the Damage: Light vs. Deep Scratches
Before diving into the repair, it’s crucial to assess the severity of the scratches on your plastic car bumper.
Light Scratches: These are superficial scratches that haven’t penetrated the paint layer significantly. They often appear white or lighter than the surrounding paint.
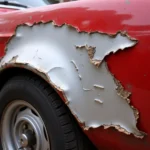
Deep Scratches: These scratches have cut through the paint and primer layers, potentially exposing the bare plastic underneath. Deep scratches may reveal a different color, such as black or gray, depending on the bumper’s material.
The repair method will vary depending on whether you’re dealing with light or deep scratches.
How to Repair Light Scratches on a Car Bumper
Light scratches can often be remedied with relatively simple techniques:
1. Thoroughly Wash and Dry the Bumper: Before starting any repair, thoroughly wash the affected area with car wash soap and water. Rinse well and allow the bumper to dry completely.
2. Use a Scratch Remover Product: Apply a small amount of a reputable scratch remover product to a clean microfiber cloth. Gently rub the product onto the scratch using back and forth motions, following the product’s instructions.
3. Buff the Area: Once the scratch remover has had time to work, use a clean microfiber cloth to buff the area in circular motions. This will help remove any excess product and restore the shine to your bumper.
How to Repair Deep Scratches on a Car Bumper
Repairing deep scratches requires a more involved approach:
1. Clean the Area: As with light scratches, start by cleaning the scratched area thoroughly with soap and water. Allow the bumper to dry completely.
2. Sand the Scratch: Using fine-grit sandpaper (around 200-grit), gently sand the scratch and the surrounding area. The goal is to smooth out any unevenness and create a suitable surface for the primer to adhere to.
3. Apply Primer: Once the area is sanded smooth, clean it with rubbing alcohol to remove any dust or debris. Apply a thin, even coat of plastic primer to the scratched area, extending slightly beyond the edges of the scratch. Allow the primer to dry completely according to the manufacturer’s instructions.
4. Apply Touch-Up Paint: After the primer has dried, select a touch-up paint that matches your car’s paint color. Apply thin coats of paint to the primed area, allowing each coat to dry before applying the next.
5. Apply Clear Coat: Once the final coat of paint has dried, apply a clear coat to seal the repair and provide a glossy finish.
6. Sand and Buff (Optional): For a professional-looking finish, you can wet sand the area with ultra-fine-grit sandpaper (around 2000-grit) after the clear coat has cured. Follow this with buffing compound and a polishing pad to restore the shine.
Tips for a Seamless Repair:
- Test the Color Match: Before applying touch-up paint to the bumper, test the color match on an inconspicuous area to ensure it blends seamlessly.
- Work in a Well-Ventilated Area: When using primers, paints, and clear coats, ensure you work in a well-ventilated area or outdoors to avoid inhaling fumes.
- Apply Thin Coats: It’s always better to apply multiple thin coats of primer, paint, and clear coat rather than one thick coat. This will help prevent runs and ensure even coverage.
- Be Patient: Allow ample drying time between each step of the repair process. Rushing can compromise the final result.
“Remember, patience is key to achieving a professional-looking repair,” says John Smith, an experienced automotive technician at CarRepairOnline. “Take your time, follow the steps carefully, and don’t be afraid to seek advice from reputable sources if needed.”
FAQs about Repairing a Scratched Plastic Car Bumper:
Q: Can I use nail polish to touch up scratches on my car bumper?
A: While it might seem tempting, using nail polish is not recommended. Nail polish is not designed for automotive use and will not hold up well to the elements or car washes.
Q: How much does it cost to repair a scratched bumper professionally?
A: The cost of a professional repair can vary widely depending on the severity of the damage, the type of car, and the repair shop’s rates. Minor scratch repairs might cost around $100-$300, while more extensive damage could cost significantly more.
Q: How can I prevent future scratches on my car bumper?
A: Parking further away from other vehicles, using parking sensors, and being cautious when navigating tight spaces can help minimize the risk of scratching your bumper.
Need Help? We’re Here for You!
For expert guidance and personalized solutions to your car repair needs, reach out to our team at CarRepairOnline. You can contact us via WhatsApp at +1(641)206-8880 or email us at [email protected]. Our dedicated customer support team is available 24/7 to assist you.
Explore More Car Repair Tips and Advice:
For more helpful tips, in-depth guides, and expert advice on all things car repair, browse our comprehensive resources available on how to repair scratch on car bumper.


