A ripped seam on your leather car seat can be an annoying eyesore. Luckily, you don’t need to be a professional mechanic to fix it. With a few tools and a little patience, you can repair the seam yourself and have your car looking its best again. This guide will walk you through the steps of how to repair a seam on a leather car seat, from start to finish.
Assessing the Damage
Before you start gathering your supplies, it’s important to assess the damage to the seam.
- Is the seam simply split, or is the thread torn? A split seam is an easier fix, often only requiring some leather glue. A torn thread, however, may require a needle and thread for repair.
- How long is the seam tear? Smaller tears are much simpler to mend than long rips.
- Is there any other damage to the leather? If the leather itself is ripped or cracked, you might need a more involved repair.
Gathering Your Supplies
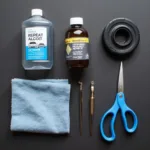
Once you’ve assessed the damage, gather the following supplies:
- Leather Repair Kit: These kits are widely available online and at auto parts stores. They typically contain everything you need for a basic repair, including a color matching guide, leather filler, adhesive, and various applicators.
- Leather Glue: If you’re not using a kit, you’ll need a high-quality leather glue.
- Heavy-duty sewing needle: Choose a curved needle specifically designed for leather. This type of needle makes it easier to sew through the tough material.
- Heavy-duty thread: Opt for a thread that matches the color of your car seat and is specifically designed for leather.
- Scissors
- Rubbing Alcohol
- Clean Cloth
- Optional: Leather Conditioner
Step-by-Step Repair Guide
Follow these steps to repair a seam on a leather car seat:
-
Clean the area: Use rubbing alcohol and a clean cloth to thoroughly clean the area around the seam. This will remove any dirt, grime, or oils that could prevent the adhesive from properly bonding.
-
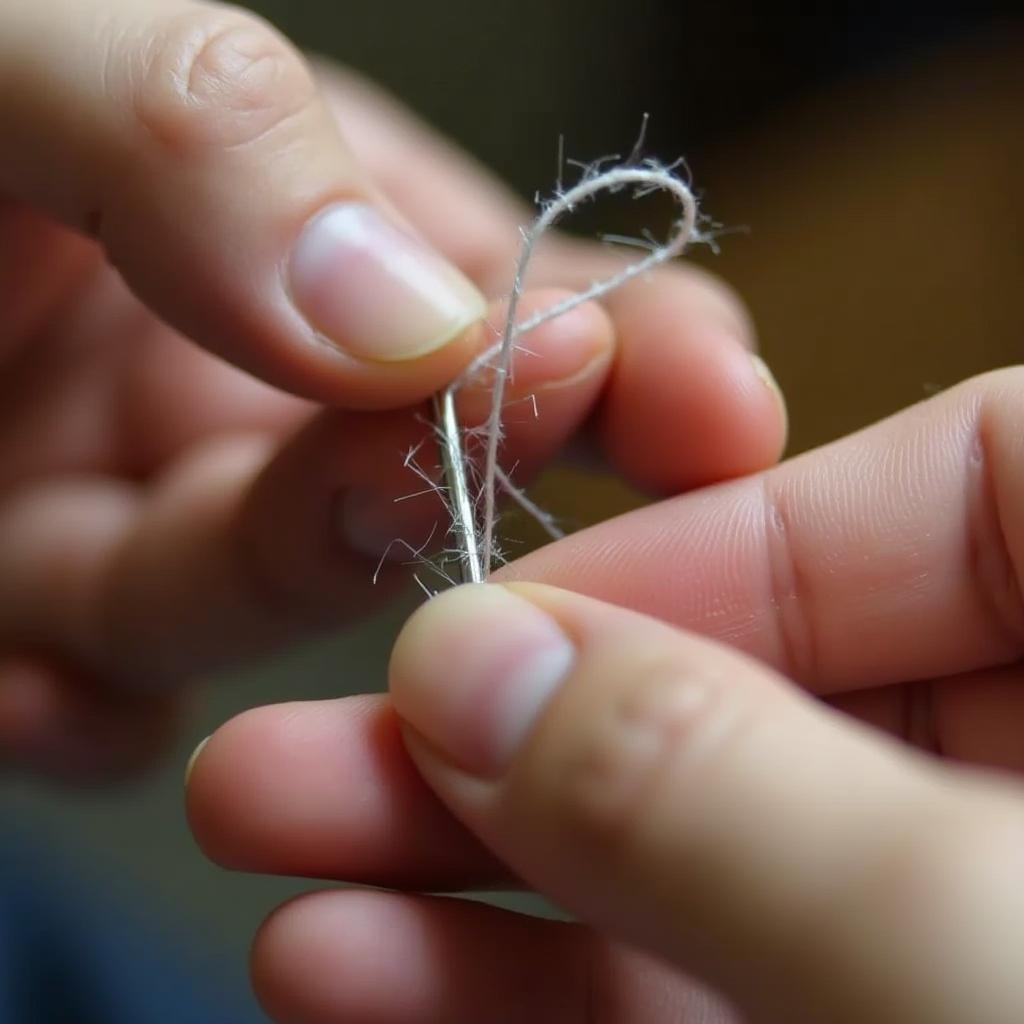
Thread your needle (if necessary): If the seam is torn, thread your needle with a length of heavy-duty thread. Double the thread for added strength, and tie a knot at the end.
-
Apply Leather Glue (if necessary): If you are only dealing with a split seam and not a torn thread, apply a thin layer of leather glue to both sides of the seam. Carefully align the edges of the seam and press them together firmly. Use clamps or binder clips to hold the seam together while the glue dries.
-
Begin sewing (if necessary): For torn threads, start from the inside of the seam if possible. This will help hide the knot. Push the needle through the leather and pull the thread through. Continue sewing along the seam, keeping your stitches small and even. Ensure you’re passing the needle through the existing stitch holes for a cleaner repair.
-
Finishing the repair: Once you’ve sewn the length of the seam, tie off the thread with a knot on the underside of the leather. Trim any excess thread.
- Condition the leather (optional): Applying a leather conditioner to the repaired area will help keep the leather supple and prevent future cracking.
Tips from a Leather Repair Expert
We asked Johnathan Miller, owner of Miller’s Auto Upholstery and a seasoned expert in leather repair, for his top tips on repairing a car seat seam. Here’s what he had to say:
“Don’t rush the cleaning process. A clean surface is crucial for a strong bond whether you’re using glue or sewing. And when it comes to choosing your thread, always go for a heavy-duty option specifically designed for leather. Regular thread won’t hold up to the wear and tear.”
He also added,
“If you’re not confident in your sewing abilities, there’s no shame in taking your car to a professional. It’s better to be safe than sorry, and a well-done professional repair will last for years.”
Frequently Asked Questions
Can I use super glue to repair a leather car seat seam?
While super glue might seem like a quick fix, it’s not recommended for leather repair. Super glue can damage the leather and create a stiff, unsightly finish.
How long does it take for leather glue to dry?
Most leather glues dry to the touch within a few minutes, but it’s essential to allow ample curing time, usually 24-48 hours, before subjecting the repaired seam to stress.
What if I can’t find thread that perfectly matches my car seat color?
If you can’t find an exact color match, opt for a slightly darker shade of thread. This will be less noticeable than a lighter shade.
Need More Help?
For more guides on car repairs, check out these helpful resources:
If you need further assistance or have a more complex repair, don’t hesitate to contact our team of expert technicians. We’re available 24/7 to answer your questions and provide guidance. Reach us via WhatsApp: +1(641)206-8880, Email: [email protected].


