Cracked leather car seats are an eyesore, but they don’t have to be a death sentence for your car’s interior. Whether it’s from wear and tear, sun damage, or improper care, those cracks can be addressed with a bit of effort. This comprehensive guide will show you how to repair cracked leather car seats and restore their former glory.
Understanding the Enemy: Why Leather Seats Crack
Before diving into the repair process, it’s essential to understand the common culprits behind cracked leather car seats:
- Sun Damage: UV rays are brutal, drying out the leather and breaking down its natural oils, leading to cracks over time.
- Heat: Intense heat, especially in a closed car, amplifies the drying effects of the sun, accelerating the cracking process.
- Cold Weather: Extreme cold can make leather brittle and prone to cracking, especially if not properly conditioned.
- Lack of Maintenance: Regular cleaning and conditioning are crucial. Neglecting this allows dirt and grime to embed, further drying and damaging the leather.
DIY or Call a Pro? Assessing the Damage
The severity of the cracks will dictate your approach. Minor cracks and surface-level damage can often be tackled with DIY methods. However, deep cracks, tears, or extensive damage might require professional intervention for optimal results.
Essential Tools and Materials for Leather Repair
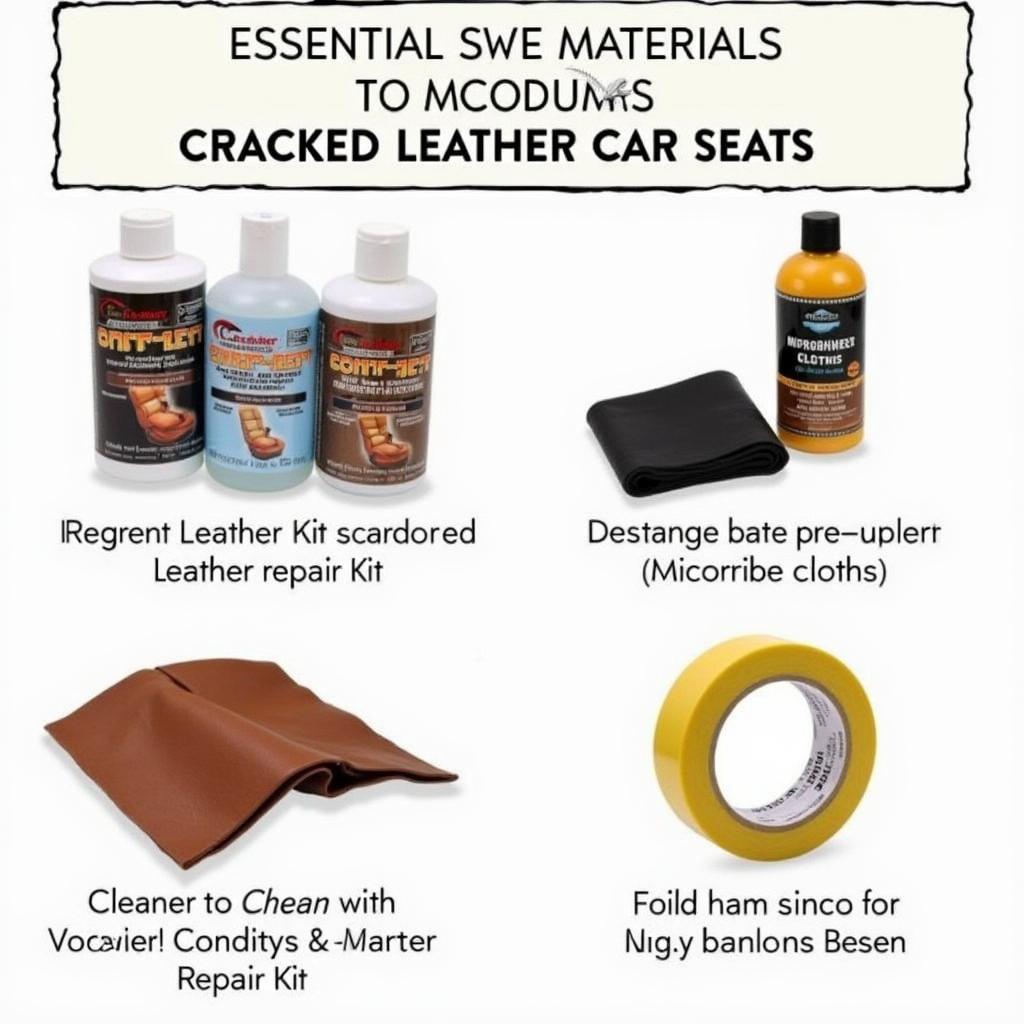
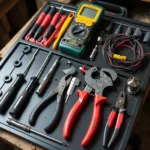
Before you begin your leather seat repair journey, gather the following tools and materials:
- Leather Cleaner: Opt for a dedicated leather cleaner to remove dirt and grime effectively. Avoid harsh chemicals or household cleaners, as they can further damage the leather.
- Leather Conditioner: This is your secret weapon against dryness. A good leather conditioner will moisturize and revitalize the leather, restoring its suppleness and preventing further cracking.
- Leather Repair Kit: These kits usually include a color-matched filler compound, adhesive, and various applicators to address cracks and tears.
- Microfiber Cloths: Soft and absorbent, microfiber cloths are ideal for cleaning and applying products without scratching the leather.
- Masking Tape: Use masking tape to protect surrounding areas when applying filler or dye.
- Scissors: For trimming patching materials or excess filler.
- Hair Dryer (Optional): Speed up the drying process of leather filler or conditioner.
 Leather Repair Kit Essentials
How to Repair Cracked Leather Car Seats: A Step-by-Step Guide
Here’s a detailed guide on how to repair cracked leather car seats:
-
Preparation is Key:
- Park your car in a well-ventilated area, preferably in the shade.
- Thoroughly vacuum the seats to remove loose dirt and debris.
- Using your chosen leather cleaner and a microfiber cloth, gently clean the affected areas. Work in circular motions for optimal results.
- Allow the seats to dry completely before proceeding.
-
Addressing the Cracks:
- If using a leather repair kit, follow the manufacturer’s instructions carefully.
- For minor cracks, apply a small amount of leather filler to the affected area using a palette knife or applicator tool.
- Gently press the filler into the cracks, ensuring a smooth and even finish. Remove any excess filler with the palette knife.
- Allow the filler to dry completely. You can use a hairdryer on a low setting to speed up the process, but be cautious not to overheat the leather.
-
Blending and Matching:
- Once the filler is dry, use fine-grit sandpaper (around 400-grit) to gently sand down any rough edges, creating a seamless blend with the surrounding leather.
- If the repair kit includes a colorant, apply it to the repaired area using a sponge or applicator, following the product instructions.
- Allow the colorant to dry completely. Multiple light coats are generally better than one heavy coat.
-
The Finishing Touch:
- After the repair is complete and the area is dry, apply a high-quality leather conditioner to the entire seat. This will help moisturize and protect the leather, preventing further cracking.
- Use a clean microfiber cloth to work the conditioner into the leather, using circular motions.
- Allow the conditioner to soak in for the recommended time, then buff away any excess with a clean cloth.
Prolonging the Life of Your Leather Seats
Preventing future damage is just as important as the repair itself. Here are some tips:
- Regular Cleaning: Clean your leather seats at least once a month, or more frequently if they are exposed to heavy use or harsh conditions.
- Conditioning is Key: Condition your seats every few months, or more often in dry climates, to keep the leather supple and moisturized.
- Sun Protection: Park in the shade whenever possible, use a windshield sunshade, or consider tinted windows to minimize sun exposure.
- Avoid Extreme Temperatures: Don’t leave your car baking in the sun or freezing in extreme cold for extended periods.
Frequently Asked Questions About Cracked Leather Seat Repair
Q: Can I use home remedies to repair cracked leather car seats?
A: While some home remedies might seem tempting, they are not recommended for leather car seat repair. Using products not specifically designed for leather can worsen the damage or create an uneven finish.
Q: How much does professional leather seat repair cost?
A: The cost of professional repair can vary depending on the severity of the damage, the type of leather, and the location. It’s best to get a quote from a reputable auto upholstery shop for an accurate estimate.
Q: Can I prevent leather car seats from cracking in the first place?
A: Absolutely! Regular cleaning, conditioning, and protecting your leather seats from extreme temperatures and sun damage will go a long way in preventing cracks and maintaining their pristine condition.
Need More Help?
Cracked leather car seats can be a real pain, but with a little effort, you can restore their former glory and keep them looking their best for years to come.
Still have questions or need expert assistance? Contact us via WhatsApp: +1(641)206-8880, or Email: cardiagtechworkshop@gmail.com. Our 24/7 customer support team is here to help!


