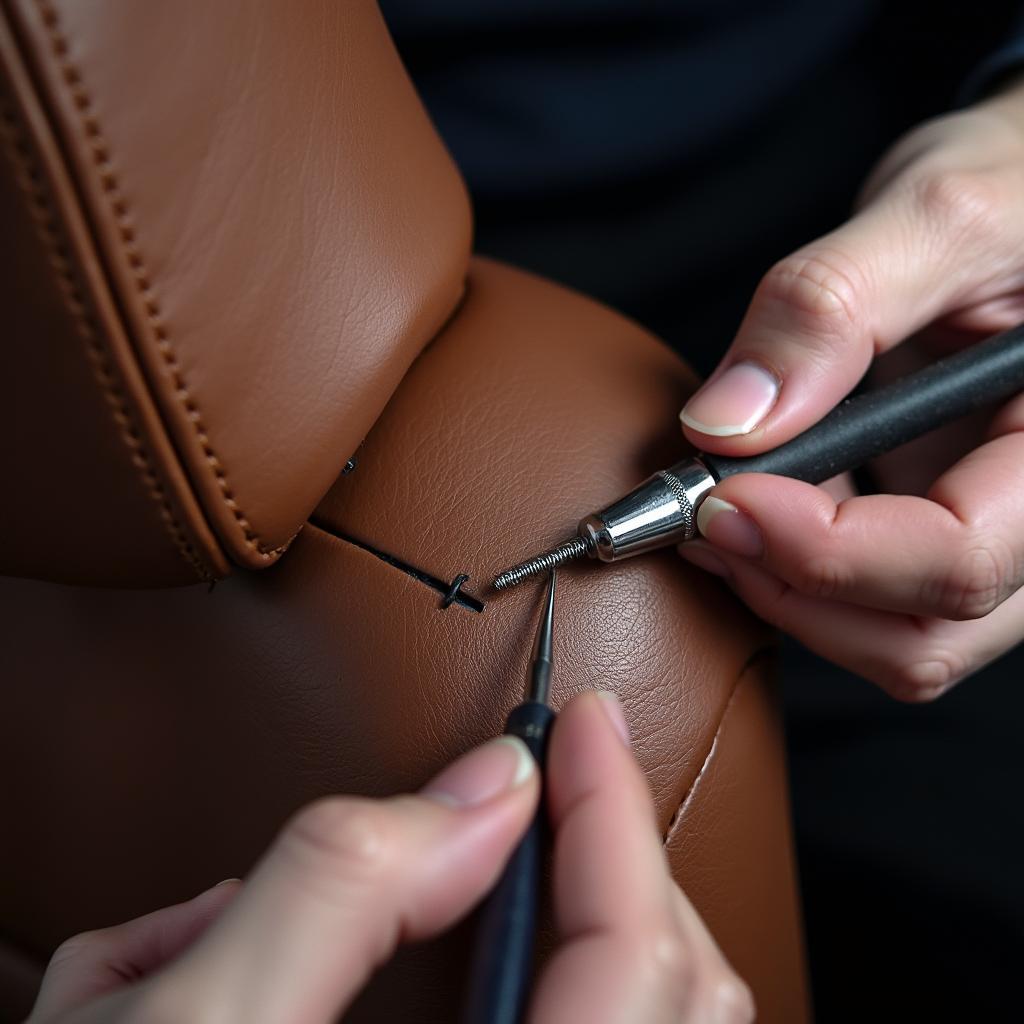
Repairing a Tear in Leather Car Seat
A tear in your leather car seat can be an eyesore and even affect the resale value of your car. Fortunately, you don’t always need a professional to fix it. With the right materials and a little patience, you can often repair the tear yourself and restore your car’s interior. This comprehensive guide will walk you through the process, step by step.
Assessing the Damage: What Type of Tear Is It?
Before you begin, it’s important to assess the damage to your leather car seat. Tears can vary in size, shape, and severity, and the repair method will depend on the type of tear you have.
- Small cracks or scratches: These can often be addressed with a leather filler or a repair compound.
- Minor tears: For tears that are less than an inch long and not too deep, a leather adhesive or patch can be used.
- Large tears or holes: These typically require more advanced techniques and materials, such as a leather repair kit with a backing fabric.
 Repairing a Tear in Leather Car Seat
Gathering Your Tools and Materials
Once you’ve determined the severity of the tear, gather the necessary tools and materials for the repair. Here’s a general list:
- Leather cleaner and conditioner: To prep the area before repair.
- Leather repair kit: Choose a kit that’s appropriate for the size and type of tear.
- Scissors: For cutting patches or backing fabric.
- Tweezers: For precise placement of patches.
- Spatula or palette knife: For applying filler or adhesive.
- Heat gun or hairdryer (optional): To speed up drying time.
- Color matching kit (optional): To blend the repair with the surrounding leather.
Step-by-Step Guide to Repairing the Tear
Follow these steps to repair the tear in your leather car seat:
- Clean the area: Thoroughly clean the damaged area and surrounding leather with a leather cleaner to remove dirt, grime, and debris.
- Trim loose threads: Carefully trim any loose threads or frayed edges around the tear using sharp scissors.
- Apply leather filler (if needed): If the tear is deep or has missing leather, apply a leather filler to the area and allow it to dry completely according to the manufacturer’s instructions.
- Cut and apply the patch: For larger tears, cut a patch from the backing fabric provided in your repair kit. Make sure the patch is slightly larger than the tear. Apply leather adhesive to the back of the patch and carefully position it under the tear, ensuring a smooth and even surface.
- Apply leather repair compound: Apply a thin layer of leather repair compound over the tear and surrounding area, blending it seamlessly with the existing leather.
- Use a heat gun or hairdryer (optional): To expedite the drying process, use a heat gun or hairdryer on a low setting. Be cautious not to overheat the leather.
- Sand and repeat: Once dry, lightly sand the repaired area with fine-grit sandpaper to create a smooth and even surface. Repeat the process of applying leather repair compound and sanding until you achieve the desired finish.
- Color match (if needed): If necessary, use a leather color matching kit to blend the repaired area with the rest of the car seat.
- Apply leather conditioner: Once the repair is complete, apply a leather conditioner to the entire seat to restore its suppleness and protect it from future damage.
Tips for a Professional-Looking Repair
Achieving a professional-looking repair takes patience and attention to detail. Here are some additional tips:
- Work in a well-ventilated area: Leather repair products often contain strong fumes.
- Test on a hidden area first: Always test any product on an inconspicuous area of your car seat before applying it to the visible damage.
- Apply thin layers: Apply all products in thin, even layers to avoid clumping or an uneven finish.
- Take your time: Don’t rush the process. Allow ample drying time between each step.
When to Call a Professional
While many leather car seat tears can be successfully repaired at home, some situations might require professional intervention. If you’re dealing with any of the following, consider seeking help from a car upholstery specialist:
- Extensive damage: If the tear is very large, deep, or involves multiple panels of leather, a professional might be needed to achieve a satisfactory repair.
- Airbag seams: Never attempt to repair tears or damage near airbag seams.
- Valuable or classic cars: If you have a valuable or classic car, it’s best to entrust the repair to a professional experienced in working with high-end vehicles.
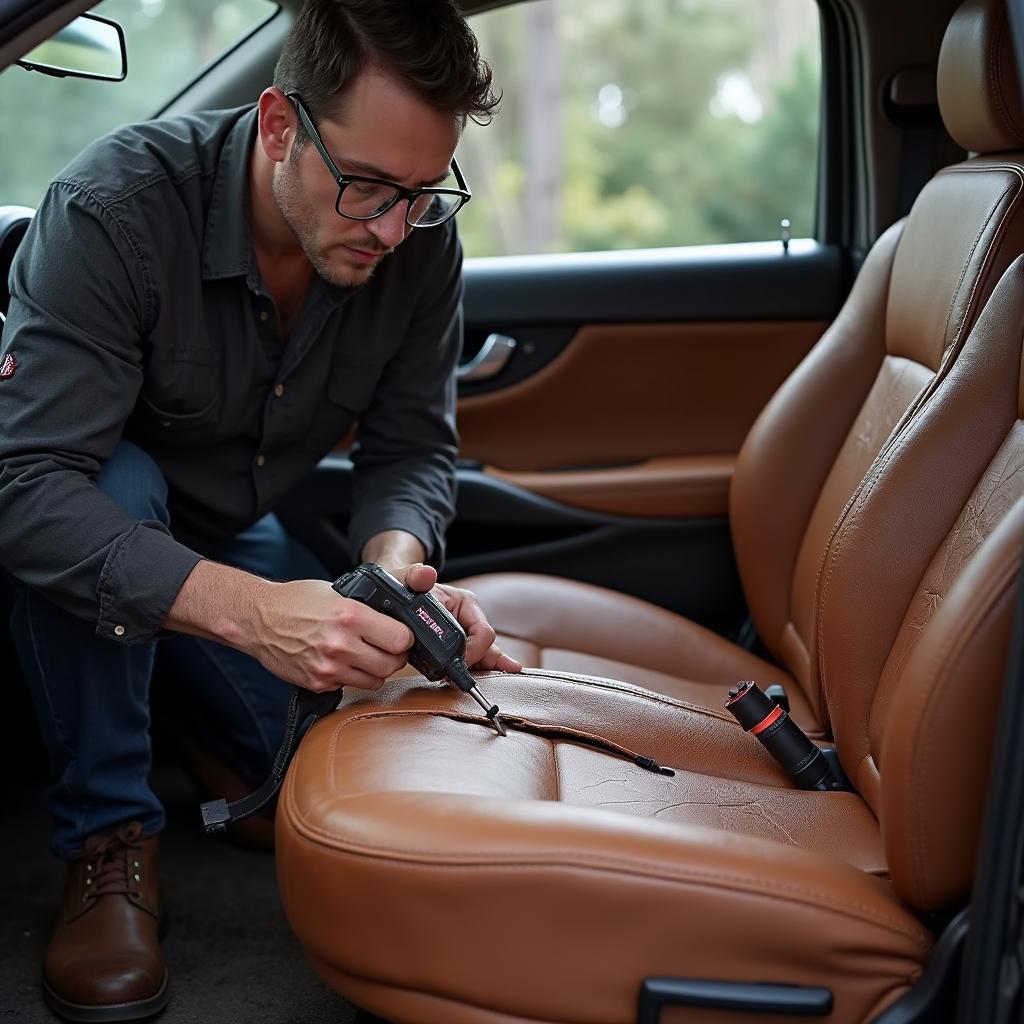
 Professional Car Upholstery Repair
Maintaining Your Repaired Leather Car Seat
Once you’ve repaired your leather car seat, proper maintenance can help prevent future tears and keep the leather looking its best.
- Regular cleaning: Regularly clean your leather car seats with a leather cleaner to remove dirt and grime that can cause wear and tear.
- Conditioning: Use a leather conditioner every few months to keep the leather soft, supple, and protected from drying out and cracking.
- Avoid sharp objects: Be mindful of sharp objects like keys, pens, and tools that can scratch or puncture the leather.
- Protect from sunlight: Prolonged exposure to sunlight can fade and damage leather. Park your car in the shade or use a sunshade to protect your seats.
By following these simple tips, you can extend the life of your repaired leather car seat and keep your car’s interior looking great for years to come.
FAQs
Q: Can I use super glue to repair a tear in my leather car seat?
A: It’s not recommended to use super glue on leather car seats. Super glue can create a rigid bond that may crack or peel over time, and it can also damage the surrounding leather.
Q: How long does it take for leather repair compound to dry?
A: Drying time varies depending on the specific product and environmental conditions. However, most leather repair compounds will be dry to the touch within a few hours and fully cured within 24 hours.
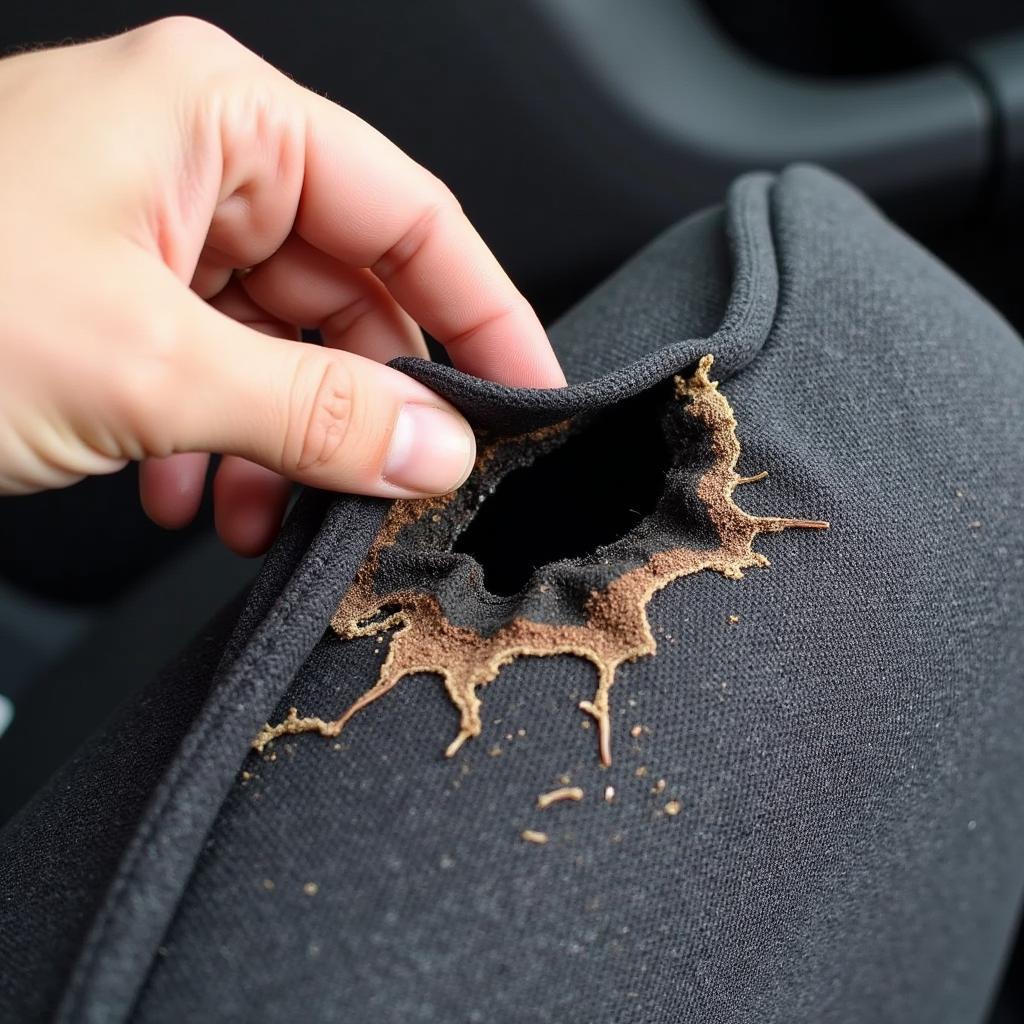
Q: Can I repair burns or cigarette holes in my leather car seat?
A: While minor burns or cigarette holes can sometimes be improved using similar techniques as those for tears, deep or extensive damage will likely require professional repair or replacement of the affected panel.
Q: How much does it cost to have a leather car seat professionally repaired?
A: The cost of professional repair depends on factors like the severity of the damage, the type of leather, and the location of the repair shop. On average, you can expect to pay anywhere from $100 to $500 or more for professional leather car seat repair.
Q: Can I prevent future tears in my leather car seats?
A: While it’s impossible to completely prevent all wear and tear, taking steps like regular cleaning and conditioning, avoiding sharp objects, and protecting your car from extreme temperatures and sunlight can significantly prolong the life of your leather car seats and minimize the risk of future damage.
Need More Help?
For more information on car seat upholstery repairs, check out these resources:
- Car Seat Upholstery Repairs
- Car Leather Seat Upholstery Repair
- How to Repair Cracks in Leather Car Seats
- Repair Tear in Leather Car Seat
- Best Leather Repair for Car Seats
If you have a challenging tear in your leather car seat and aren’t confident in tackling the repair yourself, don’t hesitate to contact us for expert advice.
Get in touch with our team:
WhatsApp: +1(641)206-8880
Email: [email protected]
We offer 24/7 customer support to assist you with all your car repair needs.

