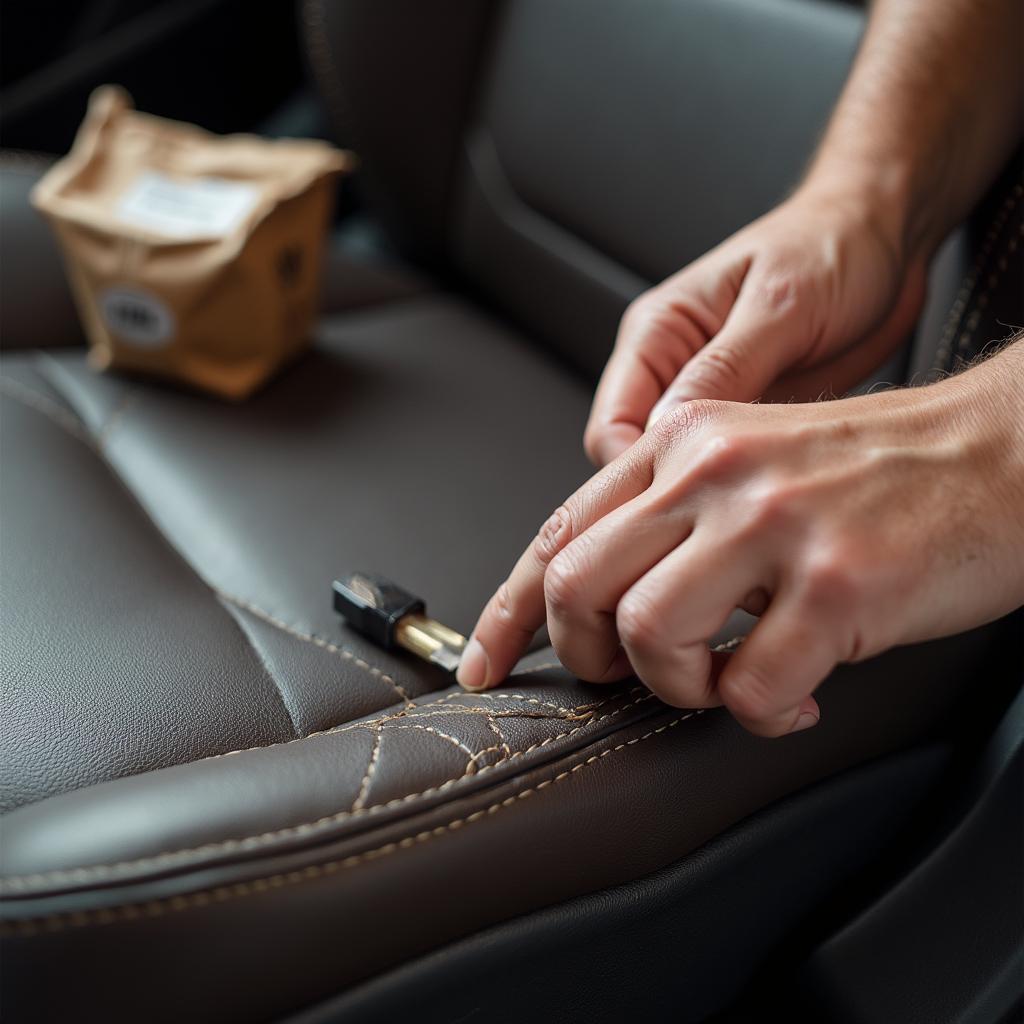
Leather car seats are a luxurious addition to any vehicle, offering both comfort and style. However, over time, leather can become dry, brittle, and prone to cracking. This damage not only detracts from the appearance of your car’s interior but can also decrease the value of your vehicle. Thankfully, repairing cracks in leather car seats is achievable with the right tools and techniques. This comprehensive guide will provide you with all the information you need to restore your leather seats to their former glory.
Understanding the Causes of Leather Car Seat Cracks
Before diving into the repair process, it’s essential to understand what causes cracks in leather car seats in the first place. This knowledge can help you prevent future damage and prolong the lifespan of your seats.
Here are some common culprits:
- Sun Exposure: Prolonged exposure to UV rays from the sun can dry out leather, making it susceptible to cracking and fading.
- Heat: Excessive heat, like that from leaving your car parked in direct sunlight, can further exacerbate the drying effects of the sun, accelerating the cracking process.
- Lack of Maintenance: Regular cleaning and conditioning are crucial for keeping leather supple and preventing it from drying out and cracking.
- Wear and Tear: Frequent use, especially getting in and out of the car, can cause friction and stress on the leather, eventually leading to cracks in high-wear areas.
“Prevention is key when it comes to leather car seat care,” says John Smith, a seasoned automotive leather repair expert with over 20 years of experience. “Regular cleaning and conditioning can significantly extend the lifespan of your leather seats and prevent premature cracking.”
Assessing the Damage: Can You Repair It Yourself?
Not all leather damage is created equal. While minor cracks and scratches can often be addressed with DIY methods, more severe damage might require professional intervention.
Consider these factors:
- Size and Depth of the Cracks: Small, superficial cracks are generally easier to repair than deep, wide ones that penetrate multiple layers of the leather.
- Location of the Damage: Cracks in high-stress areas like the seat edges or seams might require more specialized repair techniques.
- Overall Condition of the Leather: If your leather is extremely dry, brittle, or has multiple areas of damage, professional restoration might be the best course of action.
Gathering Your Leather Repair Arsenal: Essential Tools and Materials
Once you’ve determined that DIY repair is feasible, it’s time to gather the necessary tools and materials. Fortunately, there are comprehensive leather repair kits available that include most of what you need.
Here’s a basic list:
- Leather Cleaner: A dedicated leather cleaner will remove dirt, grime, and conditioning residue without over-drying the leather.
- Leather Repair Compound/Filler: This compound fills in cracks and imperfections, creating a smooth surface for subsequent steps.
- Colorant/Dye: Choose a colorant that closely matches your leather’s original color to camouflage the repairs.
- Applicator Sponges, Brushes, and Palette Knife: These tools help with applying the repair compound, colorant, and finishing products.
- Heat Gun or Hair Dryer (Optional): Heat can accelerate the drying process of the repair compound and colorant.
- Leather Conditioner: After the repair, a good leather conditioner will moisturize the leather and help prevent future cracking.
“Investing in a high-quality leather repair kit can make a significant difference in the outcome of your repair,” advises Smith. “Look for kits that offer a range of color options and include detailed instructions.”
how to repair cracks in car leather seats
A Step-by-Step Guide to Repairing Cracks in Leather Car Seats
Now that you’re equipped with the necessary tools and knowledge, let’s walk through the repair process step by step:
-
Clean the Area: Begin by thoroughly cleaning the affected area with a dedicated leather cleaner to remove dirt, dust, and oils. This will ensure proper adhesion of the repair compound.
-
Prepare the Cracks: For deeper cracks, use a fine-grit sandpaper (around 600-grit) to gently abrade the edges of the cracks. This creates a slightly rough surface for the repair compound to grip.
-
Apply the Leather Repair Compound: Using a palette knife or the provided applicator, carefully fill the cracks with the leather repair compound, ensuring a smooth and even application. Remove any excess compound with the palette knife.
-
Heat Setting (Optional): If your repair compound requires heat setting, use a heat gun or hair dryer on a low setting to accelerate the drying process. Follow the manufacturer’s instructions for drying times.
-
Apply the Colorant: Once the repair compound is dry, use a clean applicator sponge or brush to apply the leather colorant to the repaired area. Apply in thin, even coats, allowing each coat to dry before applying the next.
-
Blend and Finish: To achieve a seamless look, blend the edges of the colorant into the surrounding leather. If necessary, use a clean cloth and a small amount of leather cleaner to soften any harsh lines.
-
Condition the Leather: After the colorant has dried completely, apply a high-quality leather conditioner to the entire seat to restore moisture and protect the leather.
Maintaining Your Repaired Leather Car Seats: Tips for Long-Lasting Results
Congratulations! You’ve successfully repaired the cracks in your leather car seats. Now, it’s time to focus on maintaining your handiwork to prevent future damage.
- Regular Cleaning: Clean your leather seats regularly with a dedicated leather cleaner to remove dirt and grime that can contribute to wear and tear.
- Conditioning is Key: Regularly condition your leather seats with a high-quality leather conditioner to keep the leather supple and prevent it from drying out.
- UV Protection: Park your car in the shade whenever possible, or use a windshield sunshade to minimize UV damage. Consider using UV protectant sprays specifically designed for leather.
- Address Spills Promptly: Accidental spills happen. Blot spills immediately with a clean cloth to prevent liquids from penetrating the leather.
By following these maintenance tips and addressing any new cracks or damage promptly, you can keep your leather car seats looking their best for years to come.
FAQs about Repairing Cracks in Leather Car Seats
Can I use super glue or other household adhesives to repair cracks in my leather car seats?
While it might be tempting to reach for readily available adhesives, using super glue or similar products on leather is not recommended. These adhesives can cause further damage, making professional repair more difficult and costly in the future.
How long will the repair last?
The longevity of your repair depends on the severity of the damage, the quality of the repair materials used, and how well you maintain your leather seats. With proper care and maintenance, a well-executed repair can last for several years.
Can I change the color of my leather car seats during the repair process?
While you can slightly alter the shade of your leather seats during the repair process, drastically changing the color requires more extensive work and is best left to professional leather restoration specialists.
What should I do if the cracks are too severe for me to repair myself?
If you’re unsure about your ability to repair the cracks or if the damage is too extensive, it’s always best to consult with a professional leather repair specialist. They have the expertise and specialized tools to handle even the most challenging repairs.
How can I prevent cracks in my leather car seats in the first place?
Prevention is key! Regularly clean and condition your leather seats, protect them from sun damage, and address any spills or damage promptly.
[how to repair color leather car seats with cracks](https://carrepairon.com/how to-repair-color-leather-car-seats-with-cracks/)
Conclusion: Restoring Your Leather Car Seats to Their Former Glory
Repairing cracks in leather car seats is a rewarding DIY project that can save you money and restore the beauty of your car’s interior. By understanding the causes of cracking, gathering the right tools, and following the step-by-step guide outlined above, you can achieve professional-looking results. Remember, regular cleaning, conditioning, and UV protection are essential for maintaining your repaired leather and preventing future damage. With a little effort and know-how, you can enjoy the luxurious look and feel of your leather car seats for years to come.
Don’t hesitate to contact us via WhatsApp at +1(641)206-8880 or email us at [email protected] if you have any questions or require further assistance. Our dedicated customer support team is available 24/7 to provide you with the guidance you need.


