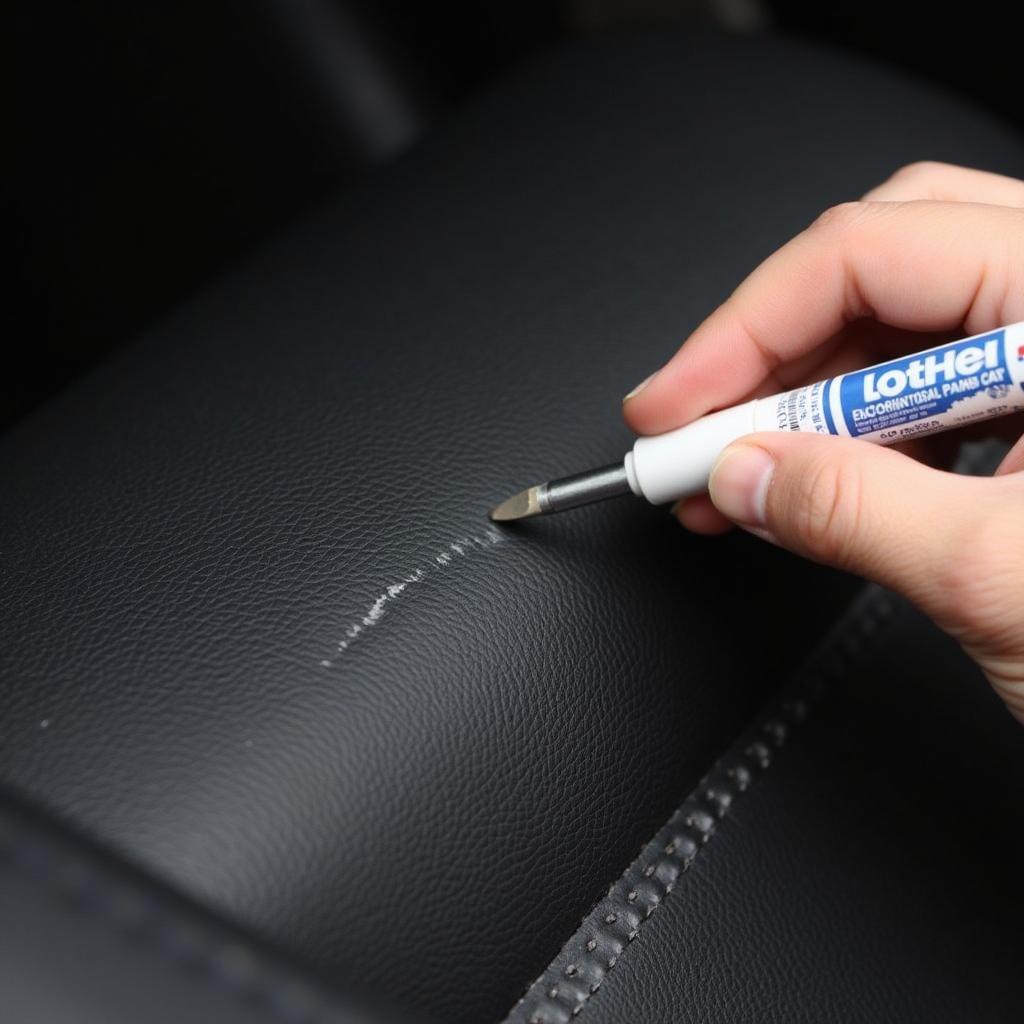
Leather car seats exude a sense of luxury and sophistication, but they’re not immune to the wear and tear of daily use. Scratches, in particular, can mar their pristine appearance. Fortunately, you don’t need a professional to fix minor scratches on your leather car seats. With a few simple tools and techniques, you can restore their beauty and protect your investment.
Understanding the Enemy: Types of Leather Seat Scratches
Before you embark on the repair journey, it’s crucial to identify the type of scratch you’re dealing with. This will help you determine the best course of action and prevent further damage.
- Surface Scratches: These are the most common and easiest to fix. They only affect the top layer of the leather and appear as light marks or abrasions.
- Deep Scratches: These penetrate beyond the surface layer and may expose the fibers beneath. They require more attention and specialized repair products.
- Color Transfer Scratches: These occur when another material rubs against the leather, leaving behind a trace of its color. Think blue jeans or a stray pen!
Gathering Your Arsenal: Essential Tools and Materials
Having the right tools and materials on hand can make the repair process smoother and more effective. Here’s what you’ll need:
- Leather cleaner and conditioner: Opt for products specifically designed for car seats.
- Soft microfiber cloths: Avoid abrasive materials that can further scratch the leather.
- Leather filler (for deep scratches): Choose a color-matched filler to seamlessly blend the repair.
- Leather dye (for color transfer scratches): Use a dye that matches the original color of your car seats.
- Leather sealant: This provides a protective layer and prevents future damage.
- Cotton swabs: These are useful for precise application of cleaners, dyes, and sealants.
- Rubbing alcohol (optional): This can help remove stubborn stains or color transfer.
Repairing Scratches in Leather Car Seats: A Step-by-Step Guide
Now that you’re familiar with the types of scratches and have gathered your supplies, let’s delve into the repair process:
Step 1: Preparation is Key
- Clean the affected area: Use a leather cleaner and a microfiber cloth to remove dirt, dust, and debris from the scratch and its surrounding area.
- Allow the area to dry completely: This ensures that the repair products adhere properly.
Step 2: Tackling Surface Scratches
- Apply a small amount of leather conditioner: Gently massage the conditioner into the scratch using circular motions. The conditioner helps to moisturize the leather and minimize the appearance of the scratch.
- Buff the area with a clean microfiber cloth: This will remove any excess conditioner and restore the leather’s natural shine.
For deeper scratches, you might need to repeat the conditioning process several times.
how to repair a tear brown leather car seat
Step 3: Repairing Deep Scratches
- Clean the scratch thoroughly: Use a leather cleaner to remove any debris or loose leather fibers.
- Apply leather filler: Choose a color-matched filler and apply a small amount to the scratch. Use a palette knife or a cotton swab for precise application.
- Allow the filler to dry completely: Follow the manufacturer’s instructions for drying time.
- Sand the area smooth: Once dry, use fine-grit sandpaper to gently level the filler with the surrounding leather surface.
- Apply leather dye (if necessary): If the filler doesn’t perfectly match the leather color, use a color-matched leather dye to blend the repair seamlessly.
- Let the dye dry completely.
Step 4: Addressing Color Transfer Scratches
- Clean the affected area: Use a leather cleaner to remove any surface dirt or debris.
- Apply rubbing alcohol (optional): If the color transfer is stubborn, dampen a cotton swab with rubbing alcohol and gently rub the affected area. Be careful not to saturate the leather.
- Apply leather dye: Use a color-matched leather dye to restore the original color of the affected area. Apply the dye in thin coats, allowing each coat to dry completely before applying the next.
Step 5: Sealing the Deal
- Apply leather sealant: Once the repair is complete and the area is dry, apply a leather sealant to protect the repaired area from future damage and fading.
- Follow the manufacturer’s instructions: Drying times and application methods may vary depending on the specific sealant used.
Expert Insights
“Many car owners underestimate the importance of regular leather conditioning,” says Johnathan Peterson, a seasoned automotive leather repair specialist. “Regular conditioning not only keeps your leather seats looking their best but also helps to prevent scratches and other damage.”
[how to repair leather seat tear in car](https://carrepairon.com/how to-repair-leather-seat-tear-in-car/)
Conclusion
Repairing scratches in leather car seats doesn’t have to be a daunting task. By following these steps and using the right products, you can restore your car’s interior to its former glory and maintain its value for years to come. Remember, prevention is always better than cure. Regular cleaning, conditioning, and prompt attention to any scratches will help keep your leather car seats looking their best.


