Replacing Car Seat Springs
A sagging or uncomfortable car seat can quickly take the joy out of driving. While there are many potential culprits, broken car seat springs are often the cause. If your car seat feels uneven, makes squeaking noises, or just isn’t offering the support it used to, it might be time to tackle those broken springs. This guide will provide you with a step-by-step approach on How To Repair Broken Car Seat Springs and restore your ride to its former glory.
Assessing the Damage
Before you dive into the repair, it’s crucial to assess the extent of the damage.
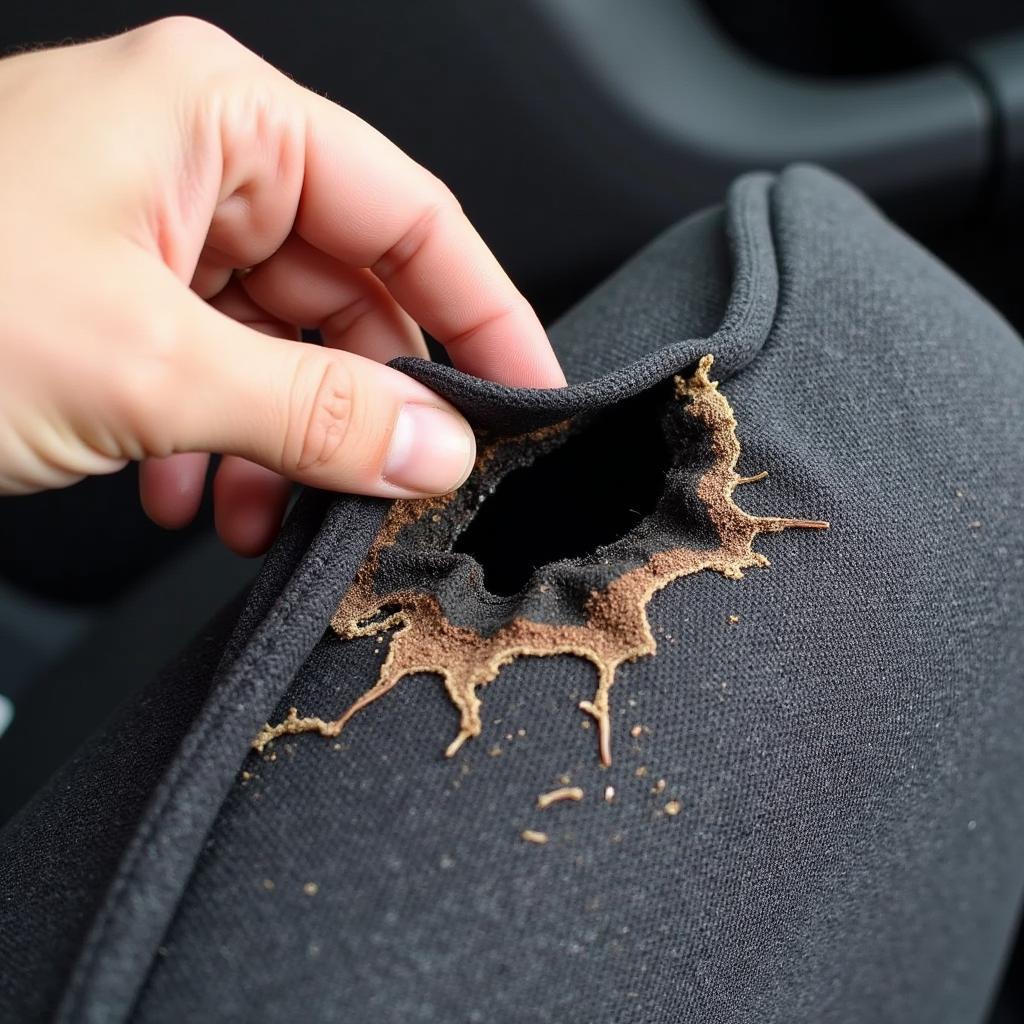
- Inspect the Seat: Carefully examine the car seat’s surface for any visible signs of wear and tear, such as sagging, rips, or tears.
- Feel for the Springs: Press down on different areas of the seat to pinpoint the location of broken or damaged springs. You’ll likely notice a difference in resistance or hear squeaking sounds.
- Determine the Type of Springs: Car seats typically use either coil springs or zig-zag springs. Knowing the type of springs will help you gather the correct replacement parts.
Gathering Your Tools and Materials
Having the right tools and materials on hand will make the repair process much smoother. Here’s what you’ll need:
- Replacement Springs: Purchase the correct type and size of springs for your car seat. Check your owner’s manual or contact your car dealer for the exact specifications.
- Hog Ring Pliers: These specialized pliers are essential for removing and installing the hog rings that secure the springs.
- Screwdriver Set: You’ll need various sizes of screwdrivers to remove the seat from the car and disassemble the upholstery.
- Upholstery Removal Tools: A tack lifter or flathead screwdriver will help you carefully remove the upholstery without causing damage.
- Heavy-duty Fabric Scissors: Sharp fabric scissors are essential for cutting new upholstery material if needed.
- Marking Pen or Chalk: Use these to mark the position of the springs and upholstery before removal.
- Needle Nose Pliers: Helpful for reaching tight spaces and maneuvering springs.
- Safety Glasses: Protect your eyes from flying debris.
- Work Gloves: Protect your hands from sharp edges.
Step-by-Step Guide to Repairing Broken Car Seat Springs
Now that you have a good understanding of the damage and the necessary tools, let’s walk through the repair process:
-
Remove the Seat from the Car: Locate the bolts securing the seat to the car’s floor and carefully remove them using the appropriate wrench or socket set.
-
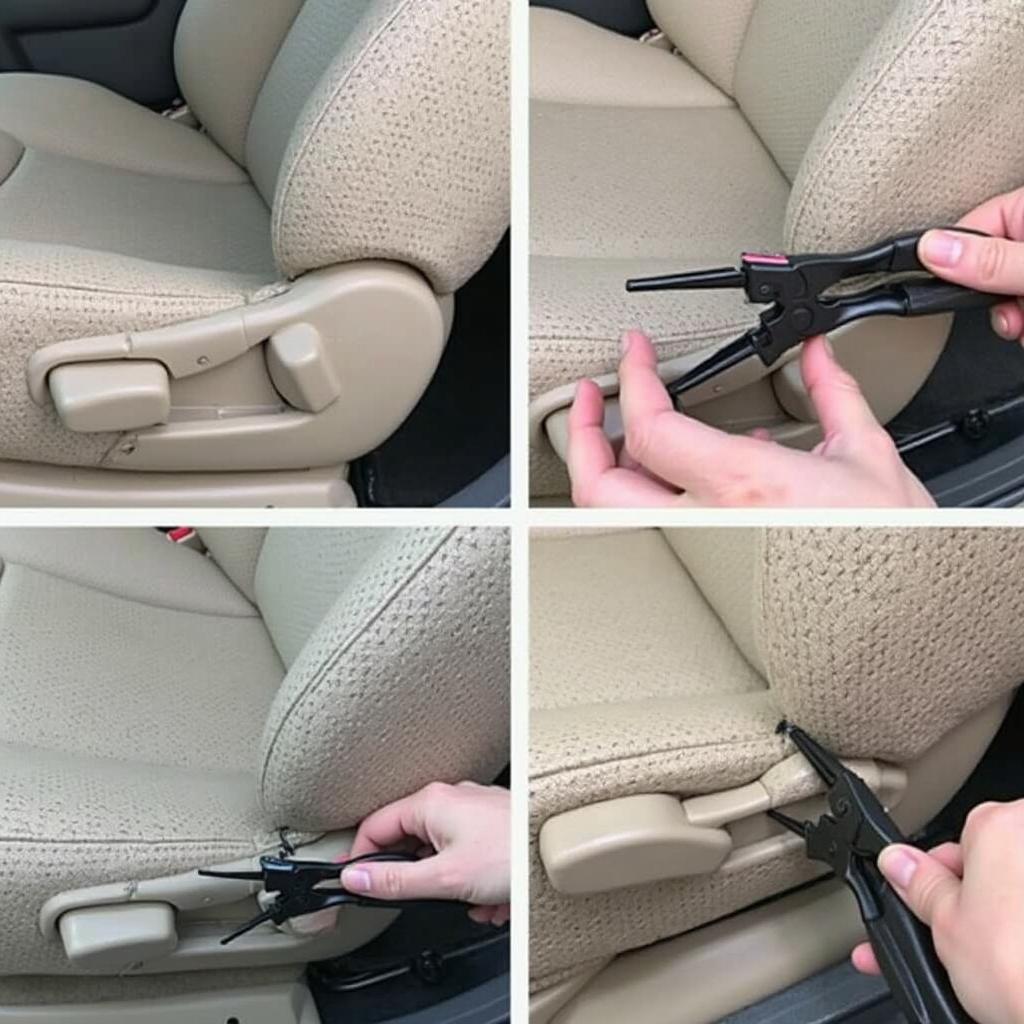
Detach the Upholstery: Carefully detach the upholstery from the seat frame. Begin by removing any plastic covers or trim pieces. Then, locate the hog rings securing the upholstery and carefully remove them using hog ring pliers. Take your time and use caution to avoid tearing the fabric.
-
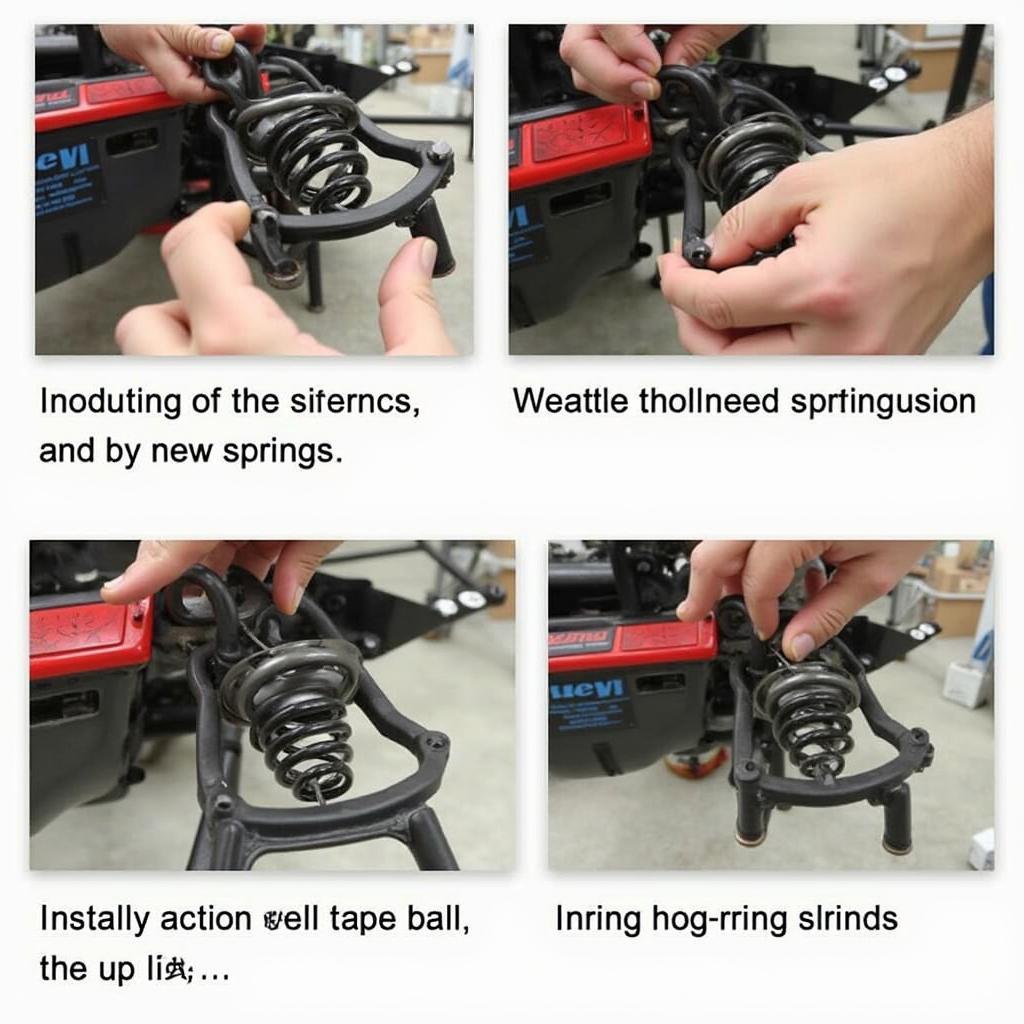
Inspect and Replace Springs: With the upholstery removed, you can fully assess the condition of the springs. Replace any broken or damaged springs with new ones. If you’re working with coil springs, you can usually hook them into place. Zig-zag springs, on the other hand, require attaching to the seat frame using hog rings.
 Replacing Car Seat Springs
 -
Reattach the Upholstery: Once the new springs are securely in place, reattach the upholstery to the seat frame. Align the fabric carefully and use hog rings to re-secure it to the frame. Ensure the upholstery is taut and free of wrinkles.
-
Reinstall the Car Seat: Place the repaired seat back into the car and align it with the mounting bolts. Tighten the bolts securely to ensure the seat is stable.
Tips for Success
- Take Pictures: Before disassembling your car seat, take clear pictures of the spring configuration and upholstery attachment points. These will serve as valuable references during reassembly.
- Work in a Well-Lit Area: Adequate lighting will help you see the small parts and work more efficiently.
- Be Patient: This repair can be time-consuming, especially if you’re working with intricate upholstery. Take your time and don’t rush the process.
 Reattaching Car Seat Upholstery
When to Consult a Professional
While repairing broken car seat springs is achievable for DIY enthusiasts, there are instances when seeking professional help is recommended:
- Extensive Damage: If you find extensive damage to the springs, frame, or upholstery, it might be best to consult a professional upholsterer or mechanic.
- Airbag Concerns: If your car seat has side-impact airbags, it’s best to leave the repair to a qualified technician to avoid interfering with the airbag system.
- Lack of Experience: If you’re uncomfortable working with tools or lack experience in upholstery work, it’s wise to seek professional assistance.
Conclusion
Repairing broken car seat springs is a satisfying DIY project that can save you money and restore comfort to your ride. By carefully following this guide, you’ll be well on your way to enjoying a more comfortable driving experience. Remember, if you encounter any challenges or have doubts about your ability to complete the repair, don’t hesitate to reach out to a qualified automotive professional.
For related car seat repairs, you can find helpful guides on our website, such as how to repair a car seat cushion, how to repair ripped vinyl car seats, and can car rear seat squab be repaired.

