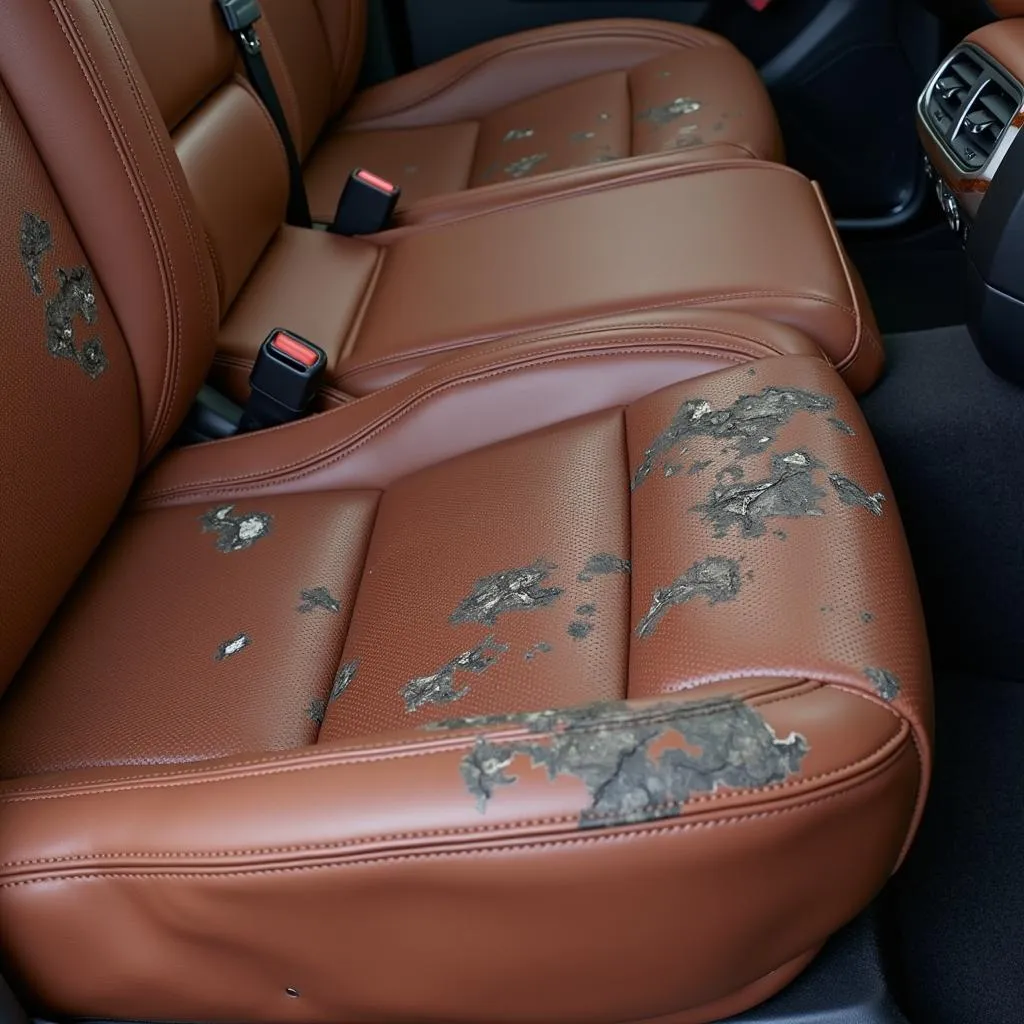
Leather car seats are a luxurious feature, but they require special care to keep them looking their best. Over time, wear and tear can take their toll, leading to cracks, fading, and discoloration. The good news is that with a little effort and the right techniques, you can often repair minor to moderate damage yourself and restore your leather seats to their former glory.
Understanding the Causes of Leather Seat Wear
Before diving into repair methods, it’s essential to understand what causes leather car seats to wear down. Here are the most common culprits:
- Friction: Constant rubbing from getting in and out of the car is a primary cause of wear, especially on the driver’s seat bolster and seat edges.
- Sunlight: Prolonged exposure to UV rays can fade leather’s color and dry it out, making it more susceptible to cracking.
- Heat: High temperatures inside a parked car can exacerbate the drying effects of sunlight and accelerate the aging process of the leather.
- Spills and Stains: Liquids like coffee, juice, or even water can penetrate the leather’s pores and cause staining if not cleaned promptly.
- Lack of Maintenance: Regular cleaning and conditioning are crucial for keeping leather supple and preventing premature aging.
DIY Leather Car Seat Repair: A Step-by-Step Guide
Repairing minor to moderate leather car seat wear is achievable with the right materials and a bit of patience. Here’s a step-by-step guide to help you get started:
1. Gather Your Supplies:
- Leather Cleaner: Choose a dedicated leather cleaner formulated to remove dirt, grime, and oils without drying out the leather.
- Leather Conditioner: A good leather conditioner will replenish moisture, keep the leather supple, and help prevent future cracking.
- Leather Repair Kit (if needed): These kits typically include a color-matched filler compound, adhesive, and various tools for repairing cracks, tears, and burns.
- Microfiber Cloths: Use soft, lint-free microfiber cloths for cleaning and applying products to avoid scratching the leather.
- Soft-Bristled Brush: A soft-bristled brush is useful for gently cleaning crevices and textured areas.
- Gloves: Wearing gloves will protect your hands from the cleaning and repair products.
2. Clean the Affected Area:
- Vacuum the seats thoroughly to remove any loose dirt or debris.
- Apply the leather cleaner to a microfiber cloth and gently wipe down the entire seat surface, following the product’s instructions.
- For stubborn stains, use a soft-bristled brush to work the cleaner into the leather.
- Wipe away any cleaner residue with a clean, damp cloth and allow the seats to air dry completely.
3. Repair Cracks and Tears (if needed):
- If your leather seats have cracks or tears, a leather repair kit is your best bet.
- Follow the kit’s instructions carefully, as procedures vary depending on the kit and the severity of the damage.
- In most cases, you’ll apply a color-matched filler compound to the damaged area, allowing it to dry and then sanding it smooth.
4. Condition the Leather:
- Once the repaired areas are dry (if applicable), apply a high-quality leather conditioner to the entire seat surface.
- Use a clean microfiber cloth and massage the conditioner into the leather using circular motions.
- Allow the conditioner to soak in for the time recommended on the product label, typically 15-30 minutes.
- Buff away any excess conditioner with a clean, dry microfiber cloth.
5. Maintain Your Leather Seats:
- To prevent future wear and tear, make leather seat care a regular part of your car maintenance routine.
- Clean your leather seats every few weeks using a dedicated leather cleaner.
- Condition your seats every 1-2 months, or more frequently if you live in a hot or sunny climate.
- Use a sunshade to protect your car’s interior from harmful UV rays when parked outside.
- Avoid eating or drinking in your car to minimize the risk of spills and stains.
Professional Leather Seat Repair: When to Call the Experts
While DIY repairs can address minor to moderate wear, there are situations where professional help is necessary:
- Extensive Damage: If the leather is severely cracked, torn, or has holes, professional repair is recommended.
- Deep Stains: Certain stains, like ink or dye, can be incredibly difficult to remove without professional help.
- Airbag Concerns: If the damage is on a seat with a side airbag, it’s best to leave the repair to professionals to avoid interfering with airbag deployment.
FAQs about Leather Car Seat Repair
Can I use household cleaners on my leather car seats?
It’s best to avoid using household cleaners, as they can contain harsh chemicals that can damage leather. Stick to dedicated leather cleaners formulated for automotive use.
How often should I condition my leather car seats?
It’s generally recommended to condition your leather car seats every 1-2 months. However, if you live in a hot or sunny climate, you may need to condition them more frequently.
Can I prevent leather car seats from cracking in the first place?
Regular cleaning, conditioning, and protecting your leather seats from direct sunlight and heat are the best ways to prevent premature cracking and other damage.
Conclusion
Taking care of your leather car seats is essential to maintain their luxurious look and feel for years to come. By understanding the causes of wear and implementing a regular cleaning and conditioning routine, you can keep your seats looking their best. And remember, if you’re dealing with significant damage or deep stains, don’t hesitate to seek professional help. By following these tips, you can enjoy beautiful, well-maintained leather car seats for the long haul.
Need expert advice or assistance with your car repairs? Contact us via WhatsApp at +1(641)206-8880 or email us at [email protected]. Our team is available 24/7 to assist you.


