Leather car seats elevate the look and feel of any vehicle’s interior. However, daily wear and tear can take a toll on their pristine appearance. Scratches, cracks, and tears can diminish their luxurious appeal. The good news is, with the right knowledge and a bit of effort, you can often restore your leather car seats to their former glory. This comprehensive guide will provide you with all the information you need to know about how to repair leather car seats, tackling common issues and providing DIY solutions.
Understanding the Different Types of Leather Car Seat Damage
Before diving into repair techniques, it’s crucial to understand the specific type of damage your leather car seats have sustained. This will help you determine the most appropriate repair method and ensure optimal results. Here are some common types of leather car seat damage:
- Scratches: Superficial scratches are common and often affect only the top layer of the leather.
- Scuffs: These are deeper abrasions that penetrate beyond the surface, potentially exposing the fibers underneath.
- Cracks: Usually caused by drying, cracking can range from thin, hairline fractures to larger, more prominent breaks.
- Tears: Rips or punctures in the leather, often caused by sharp objects or accidents.
- Fading and Discoloration: Prolonged exposure to sunlight and heat can lead to fading, while spills and stains can cause discoloration.
Essential Materials for Leather Car Seat Repair
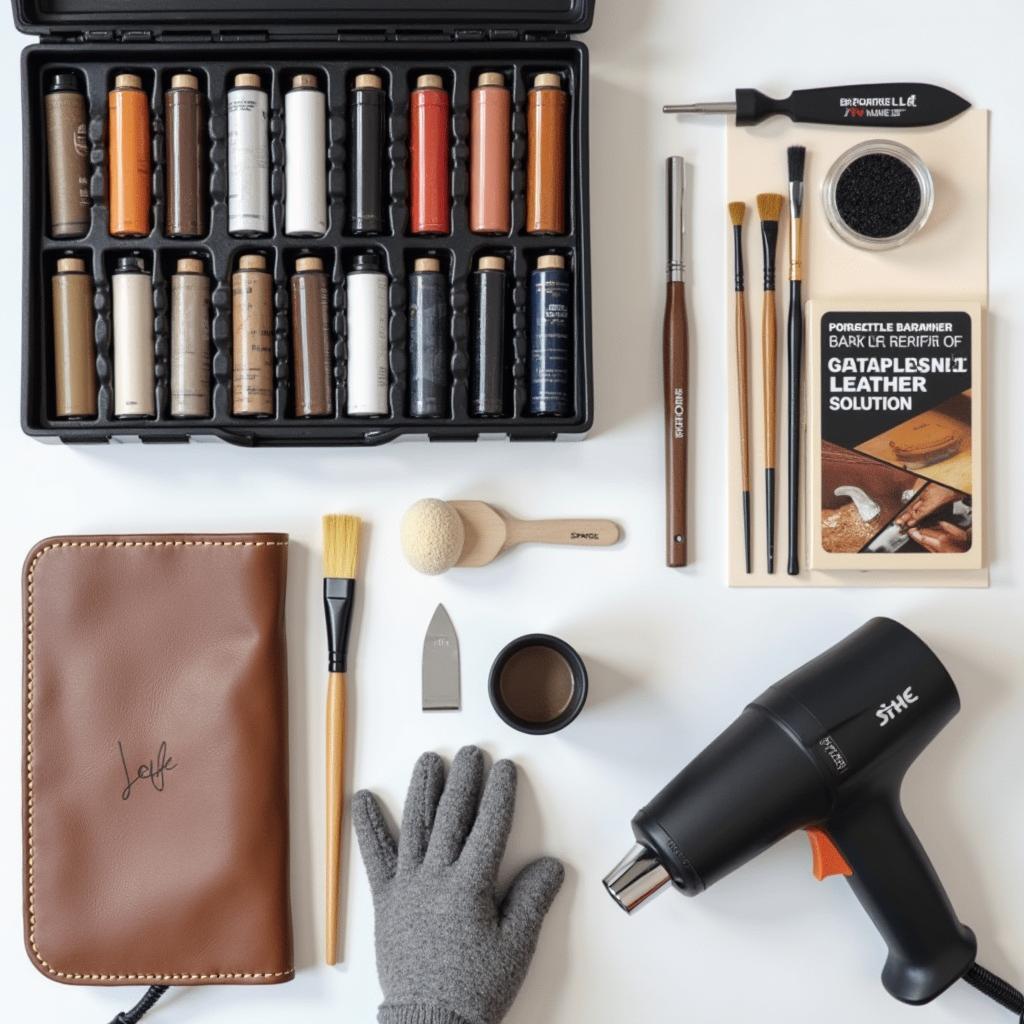
To effectively repair your leather car seats, gather the following materials:
- Leather Cleaning Solution: Use a dedicated leather cleaner to remove dirt, grime, and any existing protectants.
- Leather Repair Kit: These kits typically include leather filler, a color-matching guide, adhesive, and various applicators.
- Microfiber Cloths: These are essential for cleaning, applying products, and buffing the leather.
- Heat Gun or Hair Dryer: Heat helps to set the leather filler and achieve a seamless repair.
- Rubbing Alcohol (Isopropyl Alcohol): Useful for prepping the surface and removing any residue.
- Masking Tape: Helps to protect surrounding areas when working on specific sections.
- Gloves: Protect your hands from chemicals and ensure a cleaner repair process.
Step-by-Step Guide to Repairing Common Leather Car Seat Issues
How to Repair Leather Car Seat Scratches and Scuffs
- Clean the Area: Start by thoroughly cleaning the affected area with a leather cleaner and a microfiber cloth.
- Apply Leather Filler (if needed): For deeper scuffs, use a leather filler that matches your seat’s color. Apply it with a palette knife, pressing it firmly into the damaged area.
- Level and Smooth: Remove any excess filler and use a damp microfiber cloth to create a smooth, even surface.
- Heat Treat (optional): If your repair kit includes a heat activator, use a heat gun or hairdryer to set the filler.
- Apply Leather Conditioner: Once the filler is dry, apply a leather conditioner to restore moisture and protect the repaired area.
How to Repair a Rip in Leather Car Seat
- Clean the Tear: Thoroughly clean the tear and the surrounding area with leather cleaner.
- Back the Tear (if necessary): For larger tears, use a piece of leather repair patch or a strong fabric to provide backing. Secure it behind the tear using leather adhesive.
- Apply Leather Filler: Fill the tear with leather filler, ensuring a smooth and even application.
- Heat Set and Level: Use a heat gun or hairdryer to set the filler, then use a damp microfiber cloth to create a seamless blend.
- Apply Leather Dye (if needed): If the color match isn’t perfect, use a matching leather dye to blend the repair.
- Condition the Leather: Finish by applying a leather conditioner to protect the repaired area and restore its suppleness.
How to Repair Cracked Leather Car Seats
- Clean the Cracks: Clean the cracked area thoroughly with leather cleaner to remove dirt and oils.
- Apply Liquid Leather Filler: Use a liquid leather filler that closely matches your seat’s color and texture. Apply it to the cracks, ensuring complete coverage.
- Spread and Blend: Use a palette knife or a sponge to spread the filler evenly and blend it into the surrounding leather.
- Repeat if Necessary: For deeper cracks, you may need to apply multiple thin coats of filler, allowing each coat to dry before applying the next.
- Condition the Leather: Once the filler is dry, apply a leather conditioner to restore moisture and protect the repaired area.
Preventing Future Damage
While repairs can be effective, prevention is key to maintaining the pristine look of your leather car seats.
- Regular Cleaning: Regularly clean your seats with a dedicated leather cleaner to prevent dirt and grime buildup.
- UV Protection: Park your car in the shade or use a sunshade to protect your seats from harmful UV rays.
- Leather Conditioning: Condition your leather seats every few months to keep them moisturized and prevent drying and cracking.
- Avoid Sharp Objects: Be mindful of sharp objects that can scratch or tear the leather.
- Address Spills Immediately: Blot spills promptly to prevent them from setting into the leather and causing stains.
When to Seek Professional Leather Car Seat Repair
While DIY repairs can effectively address minor damage, certain situations call for professional intervention:
- Extensive Damage: Large tears, deep cracks, or widespread damage may require the expertise of a professional.
- Airbag Deployment: If your car has been in an accident and the airbags deployed, it’s crucial to have the seats inspected by a professional for any hidden damage.
- Lack of Confidence: If you’re unsure about performing the repairs yourself, it’s always best to seek professional help.
Finding “Car Leather Seat Repairs Near Me”
When searching for professional help, a simple online search for “car leather seat repairs near me” can yield numerous results. Make sure to check reviews, compare prices, and choose a reputable shop with experienced technicians.
Conclusion
Maintaining the luxurious appeal of your leather car seats is achievable with the right knowledge and a bit of effort. By following the tips and techniques outlined in this guide, you can effectively repair common leather car seat issues and keep your car’s interior looking its best for years to come. Remember, regular maintenance and prompt attention to damage are essential for extending the lifespan of your leather car seats and preserving their luxurious appeal.


