A ripped seam on your leather car seat can be an eyesore and affect the overall look and feel of your vehicle’s interior. While it might seem like a job for a professional upholsterer, repairing a leather car seat rip seam is a manageable DIY project that can save you time and money. This comprehensive guide will walk you through the process step-by-step, providing you with all the information and tips you need to confidently tackle this repair.
Assessing the Damage: Is it a DIY Fix?
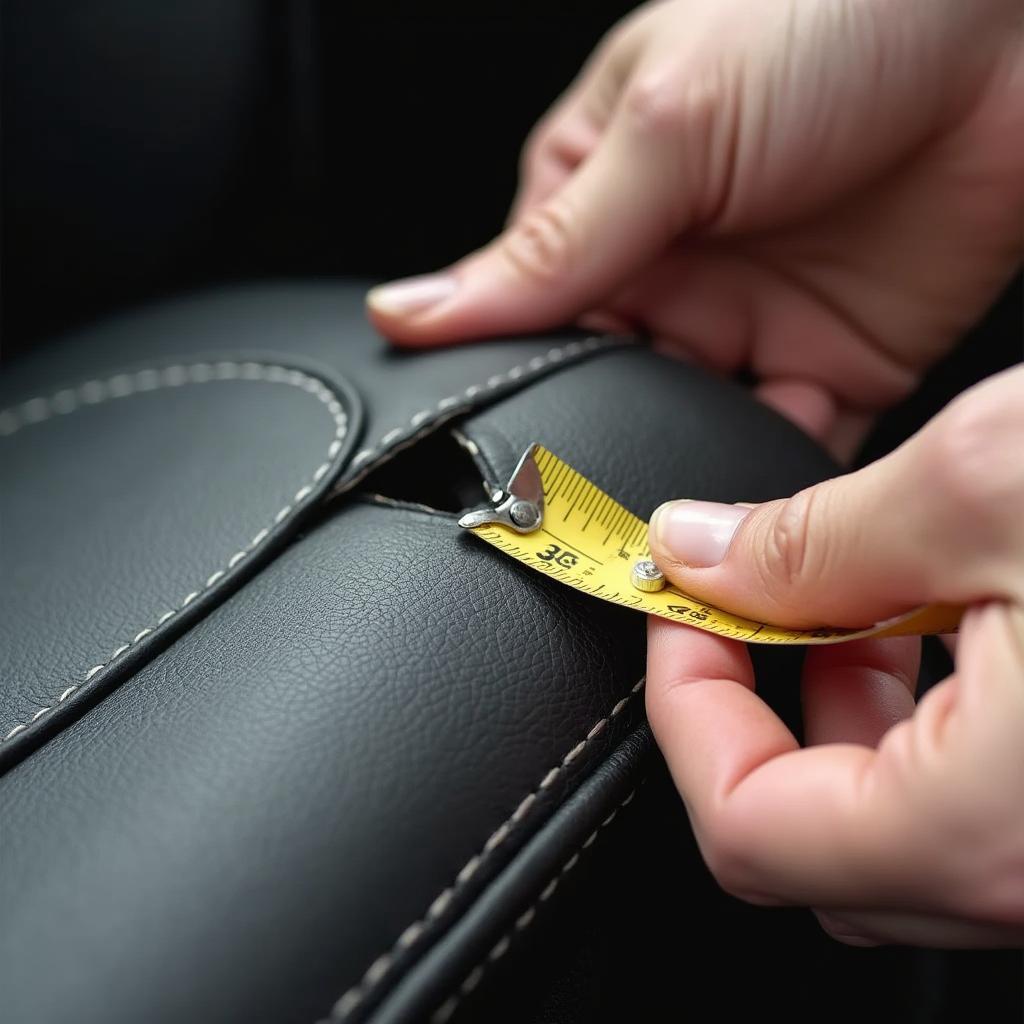
Before you grab your tools, it’s important to assess the severity of the rip. Minor seam separations can be easily fixed at home, while larger tears or damage to the leather itself might require professional intervention.
Gathering Your Supplies: What You’ll Need
Having the right tools and materials is crucial for a successful repair. Here’s a list of what you’ll need to get started:
- Leather Repair Kit: Choose a high-quality kit that matches the color and grain of your car’s leather.
- Sewing Needle: Opt for a curved upholstery needle specifically designed for working with leather.
- Heavy-Duty Upholstery Thread: Use a thread that closely matches the color of your car seat’s stitching.
- Scissors
- Seam Ripper: This tool will help you remove the old stitching.
- Painter’s Tape: Use this to secure the edges of the rip while you work.
- Leather Cleaner and Conditioner
- Optional: Leather adhesive, clamps
Step-by-Step Guide: How to Repair the Rip Seam
Follow these steps to repair your leather car seat rip seam:
-
Clean the Area: Use a leather cleaner to thoroughly clean the area around the rip, removing any dirt, grime, or debris. This will ensure a strong bond for the repair.
-
Prepare the Seam: Carefully use a seam ripper to remove any loose threads from the existing seam. Be sure to avoid further damaging the leather.
-
Secure the Edges: Use painter’s tape to hold the edges of the rip together. Make sure the edges are aligned correctly to create a seamless repair.
-
Sew the Seam: Thread your upholstery needle with a generous length of heavy-duty thread. Starting from one end of the rip, carefully stitch the seam back together using a simple straight stitch. Keep your stitches even and close together for a professional-looking result.
Pro Tip: “For added strength, consider using a drop of leather adhesive between the seam edges before stitching. This will help prevent future tearing,” advises Sarah Williams, a seasoned automotive upholsterer.
-
Finishing Touches: Once you reach the end of the rip, tie off the thread securely. Trim any excess thread and remove the painter’s tape.
-
Condition the Leather: Apply a high-quality leather conditioner to the repaired area and the surrounding leather to keep it supple and prevent cracking.
How to Repair a Fabric Car Seat Seam
While this article focuses on leather car seats, the steps for repairing a fabric car seat seam are very similar. You will use fabric glue instead of leather adhesive and regular upholstery thread. You can find more detailed information on how to repair a fabric car seat seam on our website.
Preventing Future Rips: Maintenance Tips
To prevent future seam rips in your car seats, follow these simple maintenance tips:
- Regular Cleaning: Regularly clean your car seats with a leather cleaner or fabric protector, depending on the material.
- Avoid Sharp Objects: Be mindful of sharp objects that could potentially puncture or tear the leather or fabric.
- Address Issues Promptly: Don’t wait to fix minor rips or tears. The sooner you address the issue, the easier and less expensive the repair will be.
Conclusion: Keep Your Car Interior Looking Its Best
Repairing a ripped seam on your leather car seat is a manageable DIY project that can restore the interior of your vehicle and prevent further damage. By following the step-by-step guide and tips outlined in this article, you can achieve professional-looking results and extend the life of your car seats. If you’re not confident in your ability to repair a torn leather seat in your car, it’s best to consult a professional upholsterer. For more helpful car repair tips and product recommendations, check out our article on the best leather repair kits for car seats.


