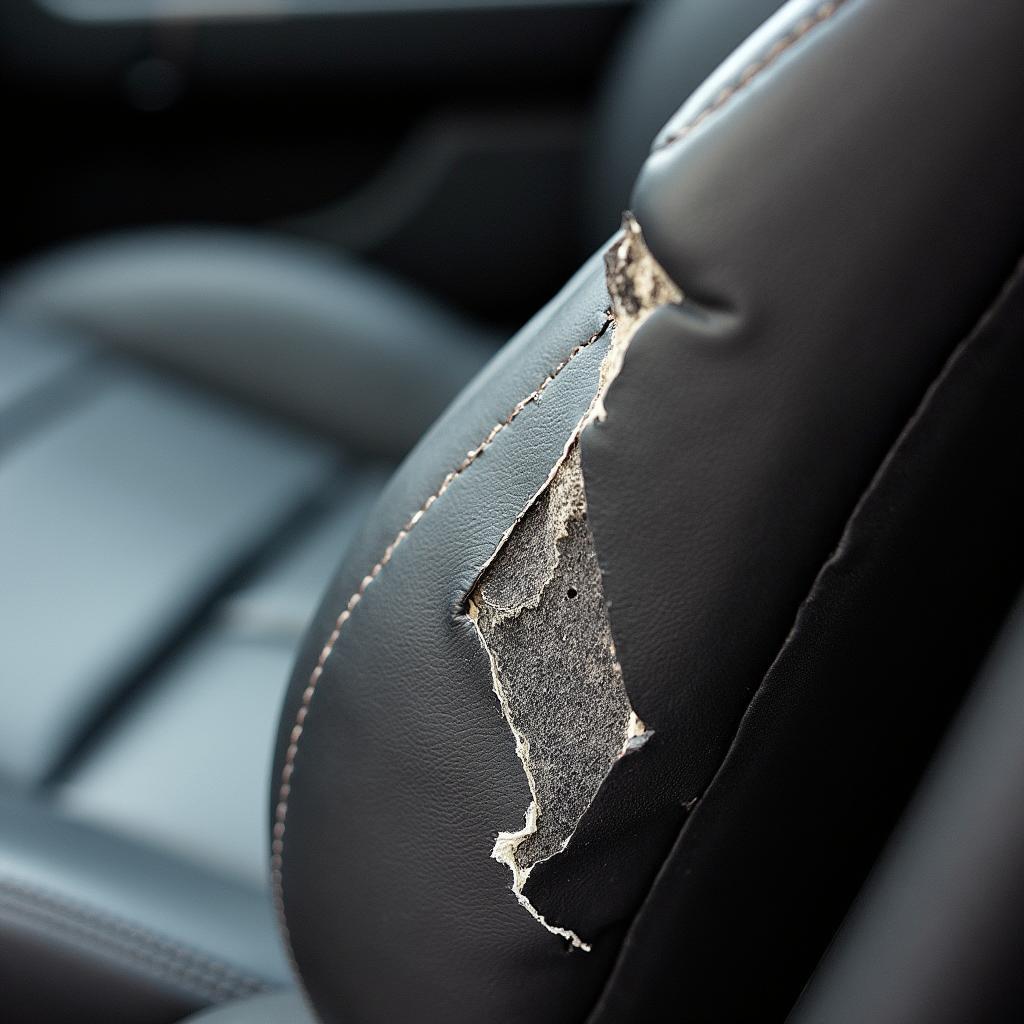
A large tear in your leather car seat can be unsightly and affect the resale value of your vehicle. While it might seem like a job for a professional, it is possible to repair a large tear yourself with the right tools and techniques. This comprehensive guide will walk you through the process step-by-step, helping you restore your car seat to its former glory and save on costly repairs.
Assessing the Damage and Gathering Supplies
Before diving into the repair, you need to assess the damage and gather the necessary supplies.
- Examine the Tear: Determine the severity of the tear – is it a clean cut or a jagged tear? Is the leather just separated or is there material missing?
- Clean the Area: Use a leather cleaner and a soft-bristled brush to remove dirt, dust, and debris from the torn area and its surrounding surface.
- Gather Your Supplies: For this repair, you’ll need a leather repair kit (which typically includes a backing fabric, leather filler, adhesive, a color-matching kit, and various applicators), a pair of sharp scissors, a heat gun or hairdryer, and a leather sealant.
Repairing the Tear: A Step-by-Step Guide
Follow these steps carefully to achieve a professional-looking repair:
- Prepare the Backing Fabric: Cut a piece of backing fabric from the repair kit slightly larger than the tear on all sides. This will provide support and prevent the filler from seeping through.
- Apply the Leather Filler: Using a palette knife or the provided applicator, carefully apply the leather filler to the tear. Ensure the filler fills the entire depth of the tear and slightly overlaps the edges.
- Smooth and Shape the Filler: While the filler is still wet, use the palette knife to smooth it out and create a seamless transition with the surrounding leather. Try to match the original texture of the car seat as much as possible.
- Apply Heat (Optional): If your leather filler is heat-activated, use a heat gun or hairdryer on a low setting to speed up the drying process. Keep the heat source moving to avoid burning the leather.
- Sand and Shape (If Necessary): Once the filler is completely dry, use fine-grit sandpaper to gently sand down any rough edges or imperfections. Be careful not to sand the actual leather.
- Color Matching and Application: If the tear is large and noticeable, you can use a leather color-matching kit to blend the repair seamlessly. Follow the instructions provided with the kit to achieve the closest color match.
- Apply Leather Sealant: After the colorant has dried, apply a leather sealant to the entire repaired area. This will protect the repair from future wear and tear, and help to prevent cracking or fading.
Maintaining Your Repaired Leather Car Seat
To keep your newly repaired car seat looking its best, consider these maintenance tips:
- Regular Cleaning: Use a leather cleaner and a soft cloth to clean your car seats regularly. This will prevent dirt and grime from building up and damaging the leather.
- Leather Conditioner: Apply a leather conditioner every few months to keep the leather supple and prevent cracking.
- UV Protection: Park your car in the shade or use a sunshade to protect your leather seats from harmful UV rays, which can cause fading and cracking over time.
“Prevention is key when it comes to leather car seat care,” says Sarah Jones, a seasoned automotive upholsterer with over 20 years of experience. “Regular cleaning and conditioning can significantly extend the lifespan of your leather seats and prevent costly repairs down the road.”
FAQs About Car Seat Repair
Q: Can I use super glue to repair a leather car seat tear?
A: While it might be tempting, using super glue is not recommended. Super glue can damage leather and create a stiff, unsightly repair.
Q: How long does it take for leather filler to dry?
A: Most leather fillers take 24-48 hours to fully dry. Refer to the instructions provided with your specific product for accurate drying times.
Q: Can I repair a tear in a heated car seat?
A: Repairing a tear in a heated car seat requires special considerations. It’s best to consult a professional upholsterer familiar with working with heated seats.
Conclusion
Repairing a large tear in your leather car seat doesn’t have to break the bank. By following this comprehensive guide and using the right techniques, you can achieve professional-looking results and restore your car’s interior to its former glory. Remember, regular maintenance is key to preventing future damage and keeping your leather car seats looking their best for years to come.
For situations that require more expertise or if you’re uncomfortable with DIY repairs, consider seeking professional help. Refer to our other articles for guidance on how to repair a car seat seam, how to repair cracked leather car seat, how to repair torn leather seat in car, how to repair leatherette car seat, and more about repairing leather car seats. We offer a range of resources and tips to help you keep your car in top condition.
If you need any assistance, feel free to contact us via WhatsApp: +1(641)206-8880 or email us at [email protected]. Our dedicated support team is available 24/7 to assist you.


