A ripped or torn car seat seam can make your interior look worn and detract from the overall appearance of your vehicle. While it might seem easier to call a professional, learning how to repair a car seat seam yourself is a relatively simple task for most car owners. With a few basic tools and a little patience, you can have your car seats looking as good as new in no time.
Assessing the Damage and Gathering Your Supplies
Before you begin your car seat seam repair, it’s crucial to evaluate the extent of the damage. This will help you determine the best approach and gather the necessary materials.
- Inspect the Seam: Carefully examine the ripped seam to understand the type of fabric, the length of the tear, and if there’s any underlying damage to the padding or structure of the seat.
- Choose the Right Thread: Select a heavy-duty thread that closely matches the color of your car seat upholstery. For leather seats, opt for a dedicated leather sewing thread.
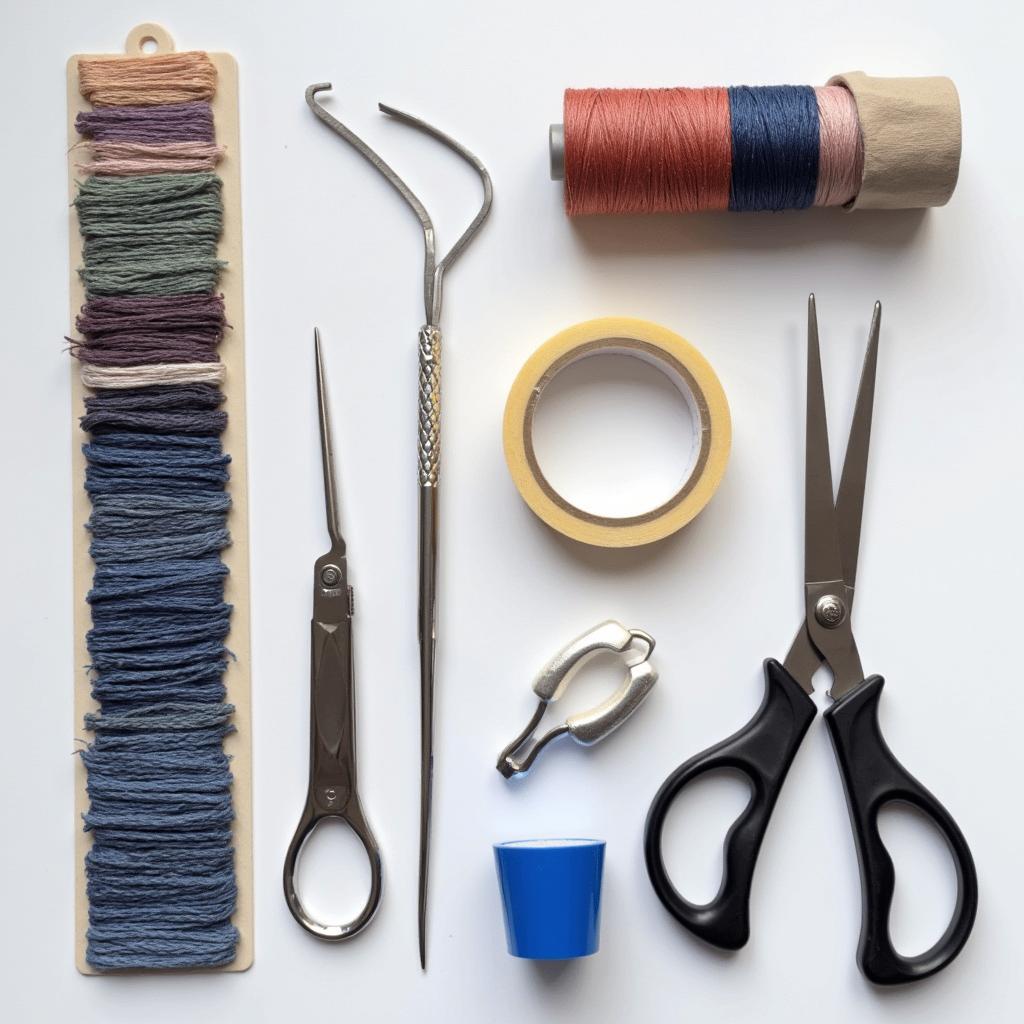
- Gather Your Tools: You’ll need a curved upholstery needle, a pair of sharp scissors, a seam ripper, some masking tape, and a thimble (optional, for pushing the needle).
Step-by-Step Guide to Repairing a Car Seat Seam
Follow these simple steps to effectively repair the seam on your car seat:
- Prepare the Area: Clean the area around the ripped seam thoroughly using a suitable cleaner for your car upholstery. Allow it to dry completely before moving on.
- Remove Loose Threads: Gently use the seam ripper to remove any loose threads around the damaged area. Be careful not to further damage the fabric.
- Reinforce the Seam (If Necessary): For larger tears or weakened fabric, cut a small piece of matching fabric slightly larger than the damaged area. Using fabric glue, carefully adhere this patch to the underside of the torn seam, ensuring it lays flat and smooth.
- Thread Your Needle: Cut a length of thread (about 18-24 inches), thread your upholstery needle, and tie a secure knot at the end.
- Begin Stitching: Starting about an inch from the beginning of the tear, insert the needle from the underside of the fabric. Pull the thread through until the knot catches.
- Sewing the Seam: Using a straight stitch or a backstitch for added strength, continue sewing along the seam line. Keep your stitches even and close together for a neat and durable repair.
- Knotting Off: Once you reach the end of the tear, make a few backstitches to secure the thread. Tie off the thread with a knot on the underside of the fabric.
Tips for a Seamless Repair
- Practice Makes Perfect: If you’re new to sewing, consider practicing on a scrap piece of fabric before working on your car seat.
- Use Masking Tape: For a straight seam, apply masking tape along the tear line to use as a guide. Remove the tape after you’re finished sewing.
- Take Your Time: Don’t rush the process. Sewing slowly and carefully will yield the best results.
“When it comes to car seat seam repair, patience is key,” says John Smith, a veteran automotive upholsterer with over 20 years of experience. “Take your time, use the right tools and materials, and you’ll be surprised at the professional-looking results you can achieve.”
Repairing More Than Just Seams:
While this guide focuses on how to repair a car seat seam, the same basic principles can be applied to other minor upholstery repairs in your car.
- How to Repair a Cut in Leather Car Seat: Learn how to tackle those pesky cuts and scratches on your leather seats, restoring their luxurious look and feel.
- How to Repair Vinyl Trim to Leather Car Seats: If the vinyl trim on your leather seats has come loose or damaged, this guide will show you how to fix it.
- How to Repair a Car Seat Upholstery: Explore various methods and techniques for repairing different types of car seat upholstery.
Conclusion
Learning how to repair a car seat seam is a valuable skill for any car owner. It allows you to maintain the interior of your vehicle, enhance its appearance, and potentially save on costly professional repairs. With the right approach, a little effort, and the information provided in this guide, you can confidently tackle those ripped seams and keep your car seats looking their best.


