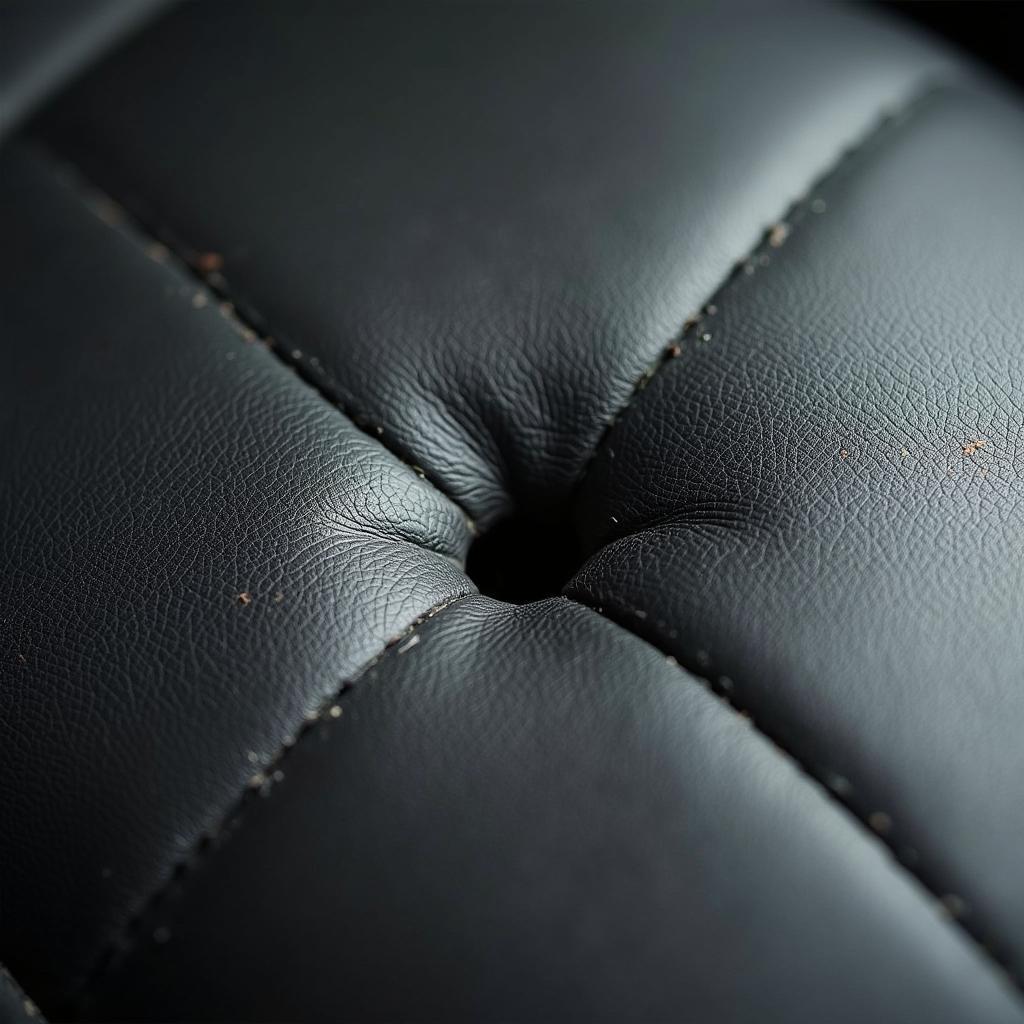
A small hole in your leather car seat can be an eyesore, but it doesn’t have to mean a costly trip to the upholstery shop. With a little patience and the right materials, you can often repair the damage yourself and restore your car’s interior to its former glory. This guide will walk you through the steps of how to repair a small hole in a leather car seat, saving you money and the hassle.
Understanding Leather Car Seat Damage
Before diving into the repair process, it’s important to assess the damage and determine the best course of action.
- Type of Hole: Is it a clean puncture, a tear, a burn mark, or a cut? The repair method will vary slightly depending on the nature of the hole.
- Size of the Hole: Small holes (less than 1/4 inch) can often be repaired with simple techniques using readily available kits. Larger holes may require more advanced methods or professional intervention.
- Location of the Hole: Holes on the seat surface are generally easier to repair than those on seams or edges.
Gather Your Materials
Once you’ve assessed the damage, gather the necessary materials. Most repairs will require:
- Leather Repair Kit: These kits are available online or at auto parts stores and typically include a color-matched filler paste, a backing fabric, an applicator tool, and instructions.
- Cleaning Solution: Use a dedicated leather cleaner or a mild soap solution to clean the area around the hole.
- Rubbing Alcohol: This helps to remove any residual dirt or grease before applying the repair compound.
- Microfiber Cloth: Use this for cleaning and buffing the leather.
- Scissors: For trimming the backing fabric if needed.
- Hair Dryer (Optional): To speed up the drying time of the repair compound.
Step-by-Step Guide to Repairing a Small Hole in Leather Car Seat
Follow these steps to effectively repair a small hole in your leather car seat:
- Clean the Area: Using your chosen cleaning solution and a microfiber cloth, thoroughly clean the area around the hole. This removes dirt and debris that could compromise the repair.
- Dry Thoroughly: Ensure the area is completely dry before proceeding. You can use a clean microfiber cloth or a hair dryer on a low setting.
- Prepare the Backing Fabric (If Necessary): For holes larger than a small puncture, cut a piece of the backing fabric from your repair kit slightly larger than the hole. This provides extra support for the filler compound.
- Apply the Filler Compound: Carefully apply the leather filler compound to the hole, using the applicator tool provided in your kit. Push the compound into the hole and smooth it out as much as possible, ensuring it’s level with the surrounding leather surface. If using a backing fabric, insert it over the hole and then apply the filler compound on top.
- Dry and Repeat: Allow the filler compound to dry completely. Drying times vary depending on the product, so refer to your kit’s instructions. You may need to apply multiple thin coats to achieve a smooth and even finish.
- Sand and Blend: Once the compound is fully dry, use the fine-grit sandpaper provided in your kit to gently sand down any excess material and blend the repair with the surrounding leather.
- Apply Leather Conditioner: After sanding, apply a leather conditioner to the repaired area and the surrounding leather. This helps to rehydrate the leather and restore its suppleness.
Tips for a Seamless Repair:
- Matching the Color: Choose a leather repair kit that closely matches the color of your car’s interior. Many kits offer a range of colors or allow for blending to achieve an exact match.
- Practice Makes Perfect: If you’re unsure about the process, practice on a hidden area of the seat or a piece of scrap leather before tackling the visible damage.
- Patience is Key: Take your time with each step, allowing adequate drying time between coats and sanding carefully.
When to Call a Professional:
While DIY repairs can be effective for small holes, some situations may require professional upholstery repair, such as:
- Large or Complex Tears: Extensive damage or holes on seams or edges are best handled by professionals with specialized tools and experience.
- Airbag Deployment: If the hole in your seat is related to airbag deployment, it’s crucial to have it inspected and repaired by a qualified technician to ensure the airbag system’s integrity.
- Valuable or Classic Cars: For high-value or classic cars, consider seeking professional repair to maintain the vehicle’s value and ensure a top-notch finish.
Preventing Future Damage
Once you’ve repaired your leather car seat, take steps to prevent future damage by:
- Regular Cleaning and Conditioning: Keeping your leather seats clean and conditioned helps to maintain their flexibility and prevent cracks and tears.
- Using Seat Covers: Consider using seat covers to protect your leather seats from everyday wear and tear, especially if you frequently transport pets or cargo.
- Avoiding Sharp Objects: Be mindful of sharp objects like keys, pens, or tools that could potentially puncture or scratch the leather.
Conclusion
Repairing a small hole in your leather car seat can be a satisfying DIY project that saves you money and keeps your car’s interior looking its best. By following the steps outlined in this guide, you can achieve professional-looking results. However, always remember that larger or more complex repairs are best left to experienced upholstery professionals.
Remember, regular care and maintenance are key to preserving the beauty and longevity of your leather car seats.


